The aim of this project is to explore and produce a range of substrates to stitch into.I got stuck deciding which drawings to move on with so I started manipulating paper with no specific ideas for stitching in mind but an awareness that antique fabric, bark and leaves were probable. Creating surfaces is so much fun ! I could play with paper for weeks – but it’s more important that I play catch up!
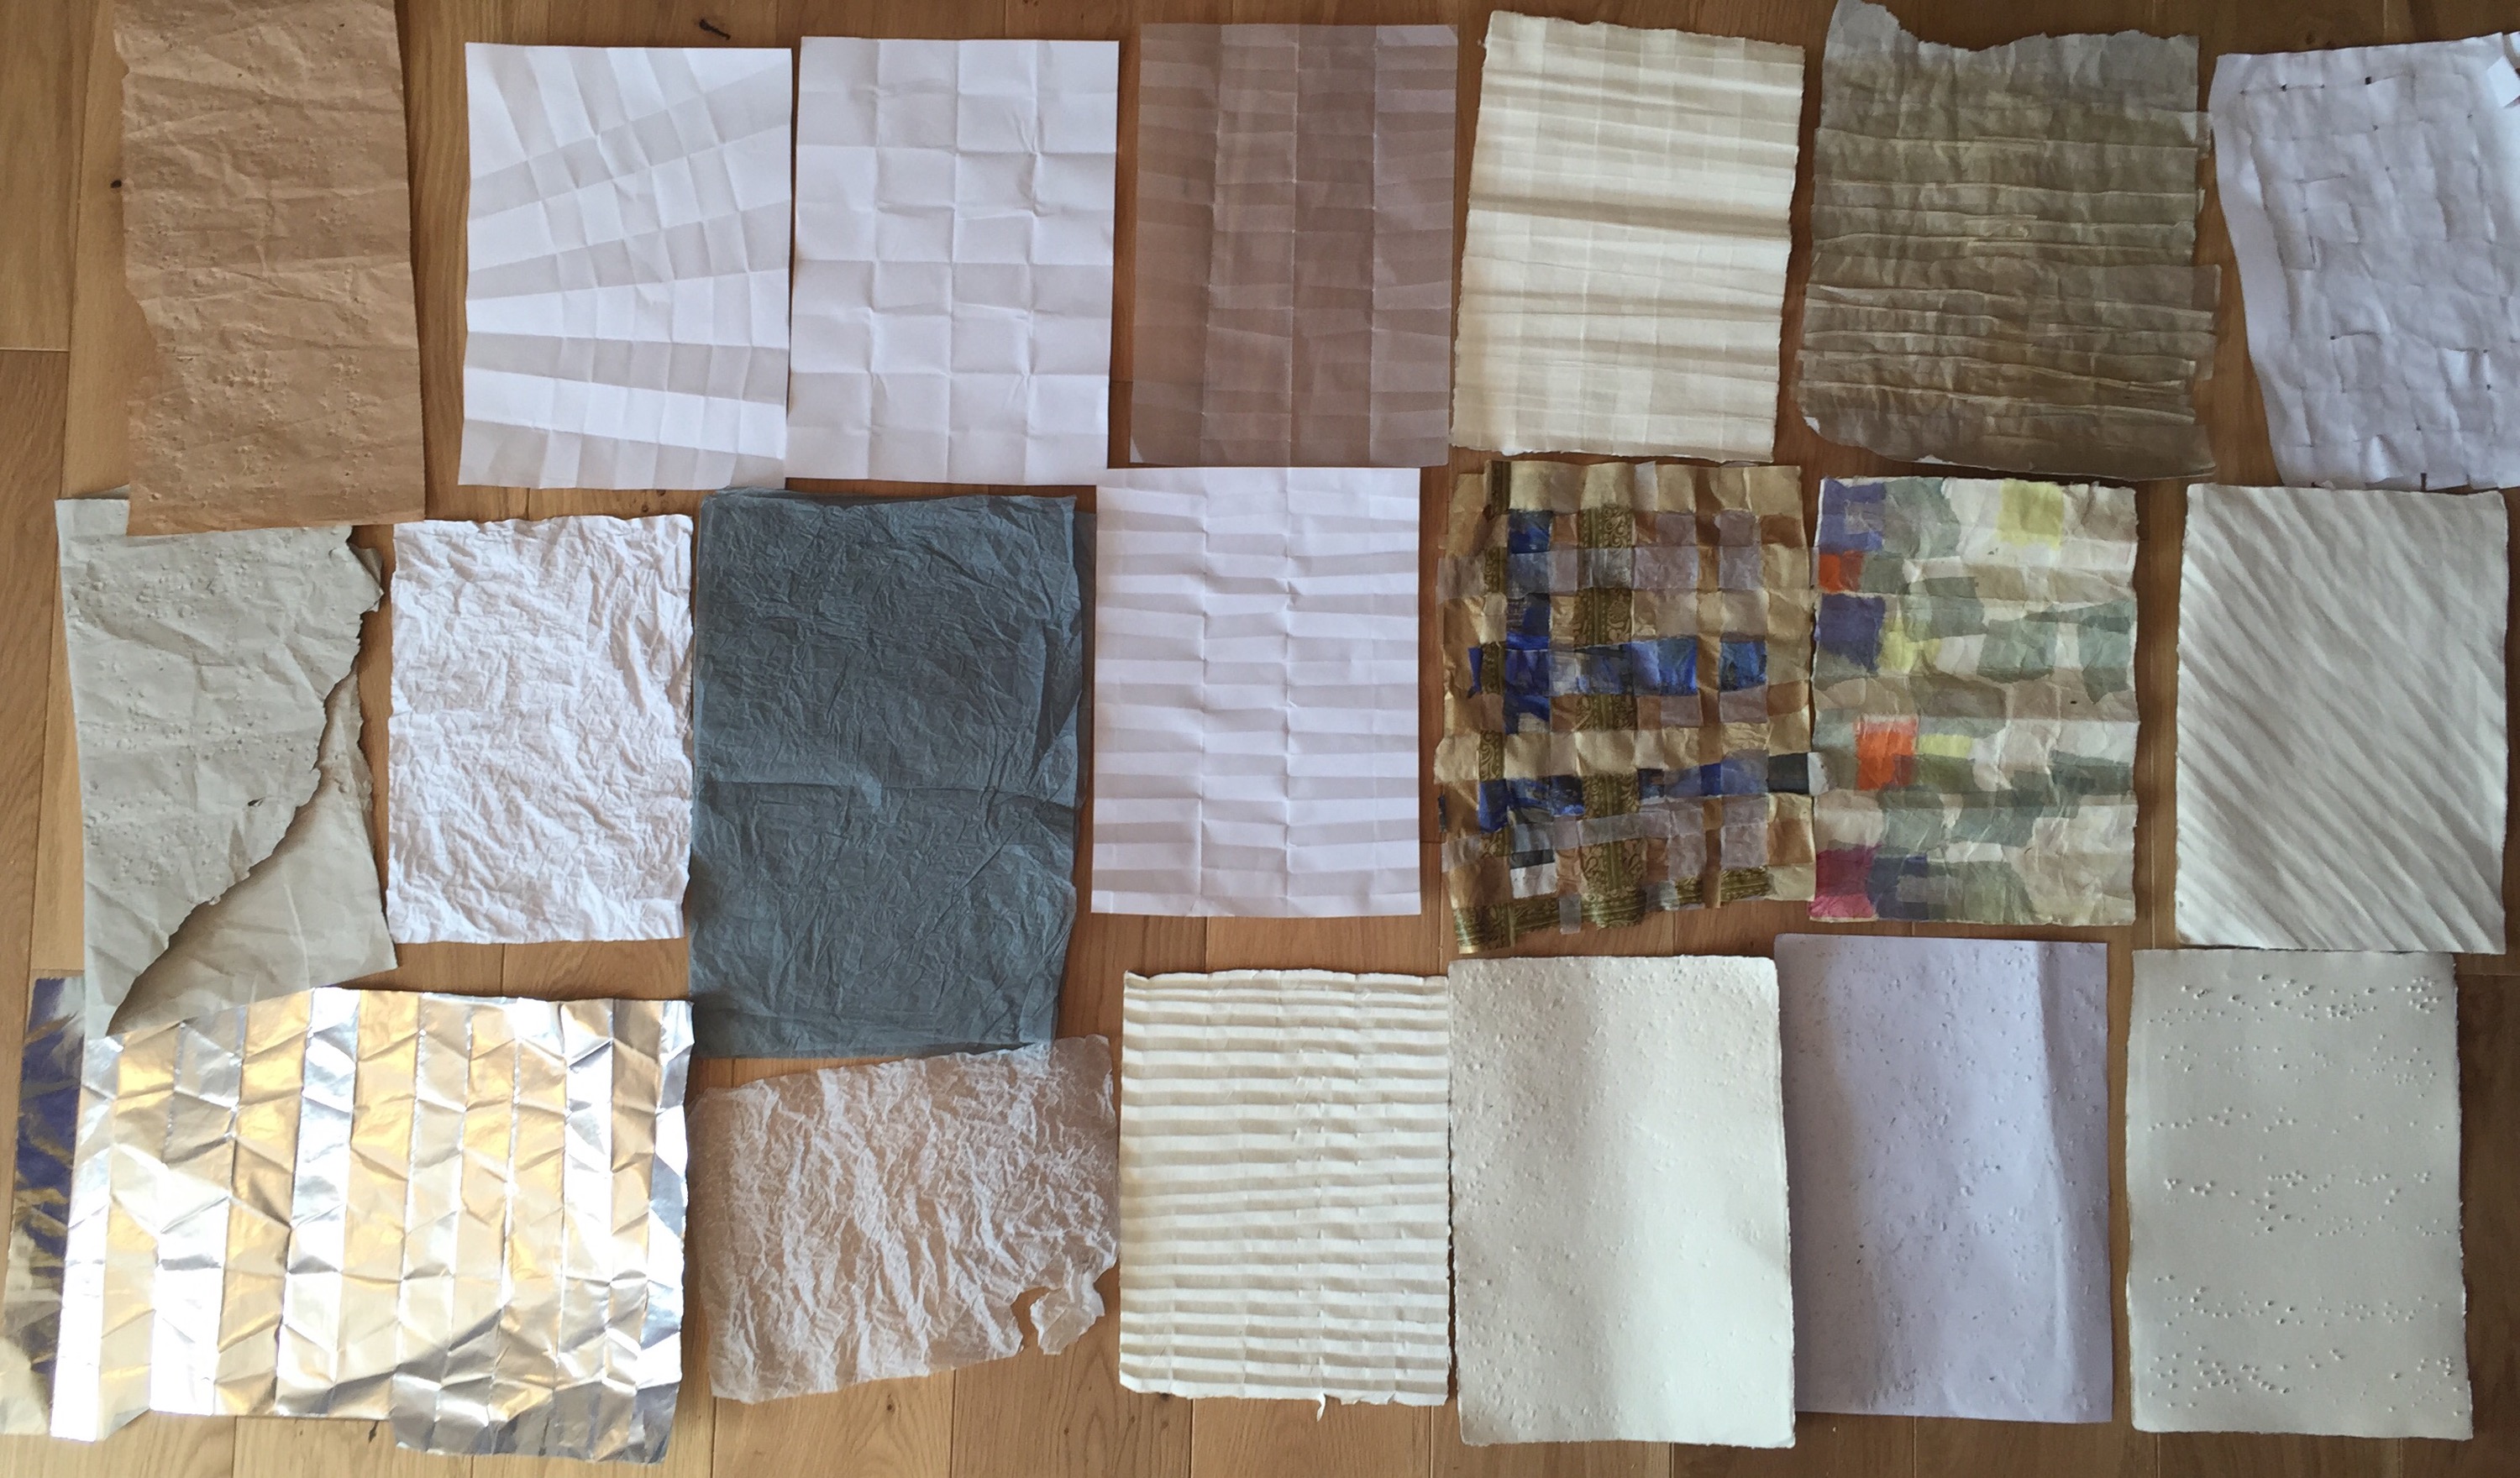
I started by creasing and folding, inspired a little by a visit to Aahus museum in the summer.

6 reliefs by Paul Gernes in 1962, made in an unidentified metal, I love the creases left by folding and unfolding, they are very representative of woven fabric I think.
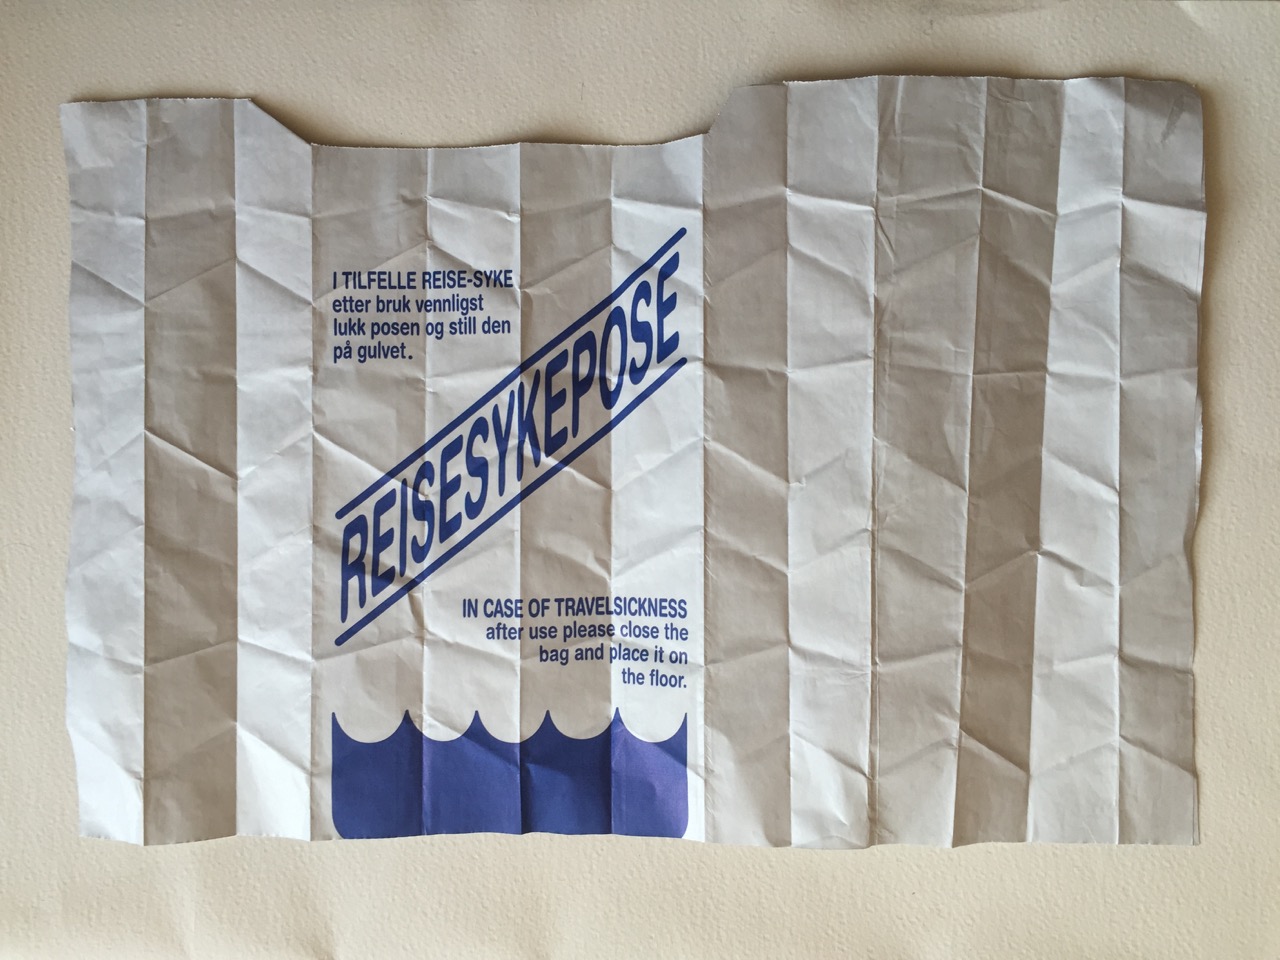
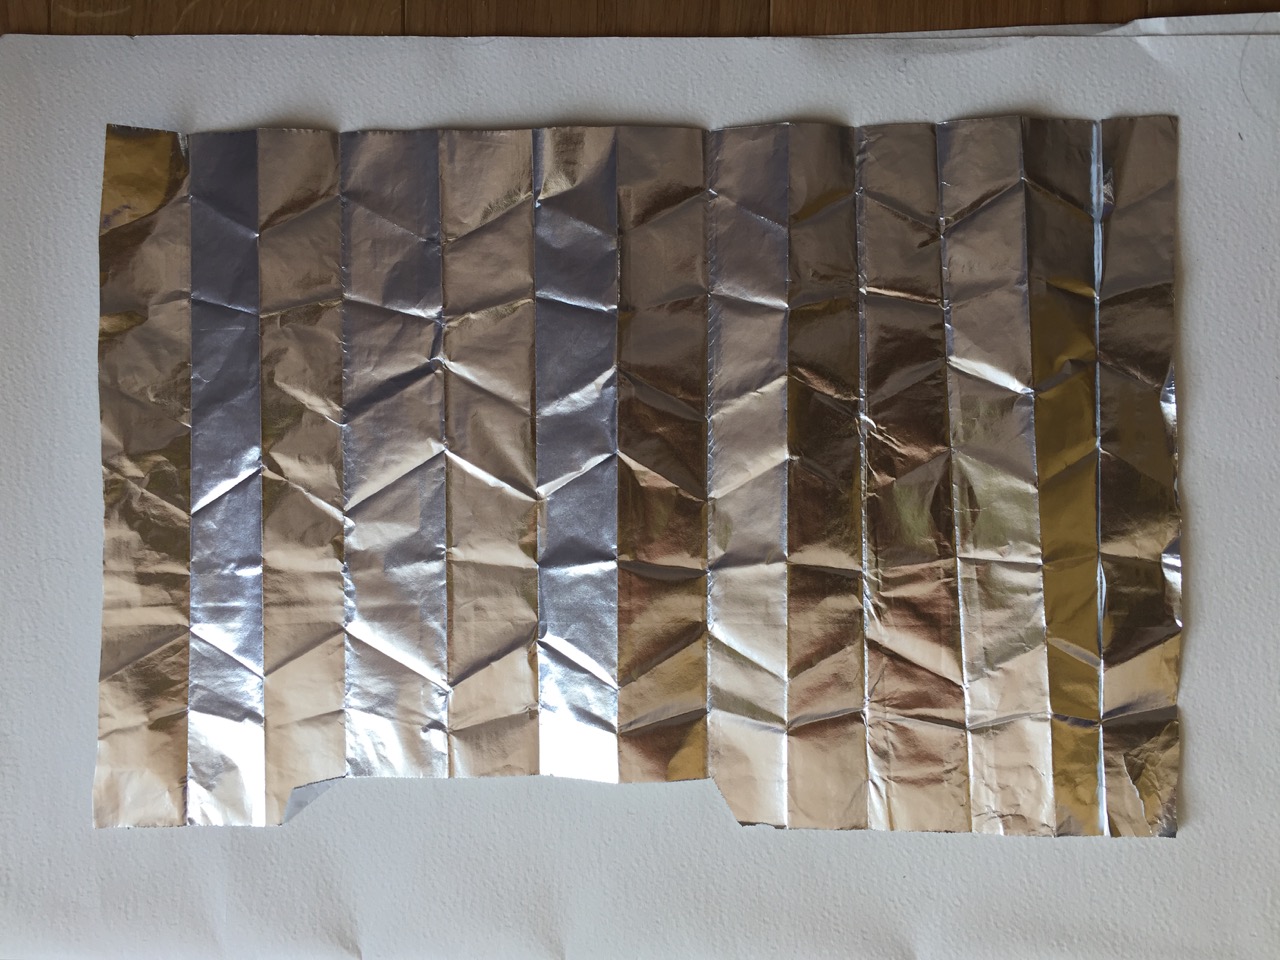
Sick bags from the ferry! paper on one side, foil on the other. The creases held really well, I made quite chunky folds, I think that this would also work with smaller folds. Many snacks come in foil lined bags so probably quite a colour range to choose from.
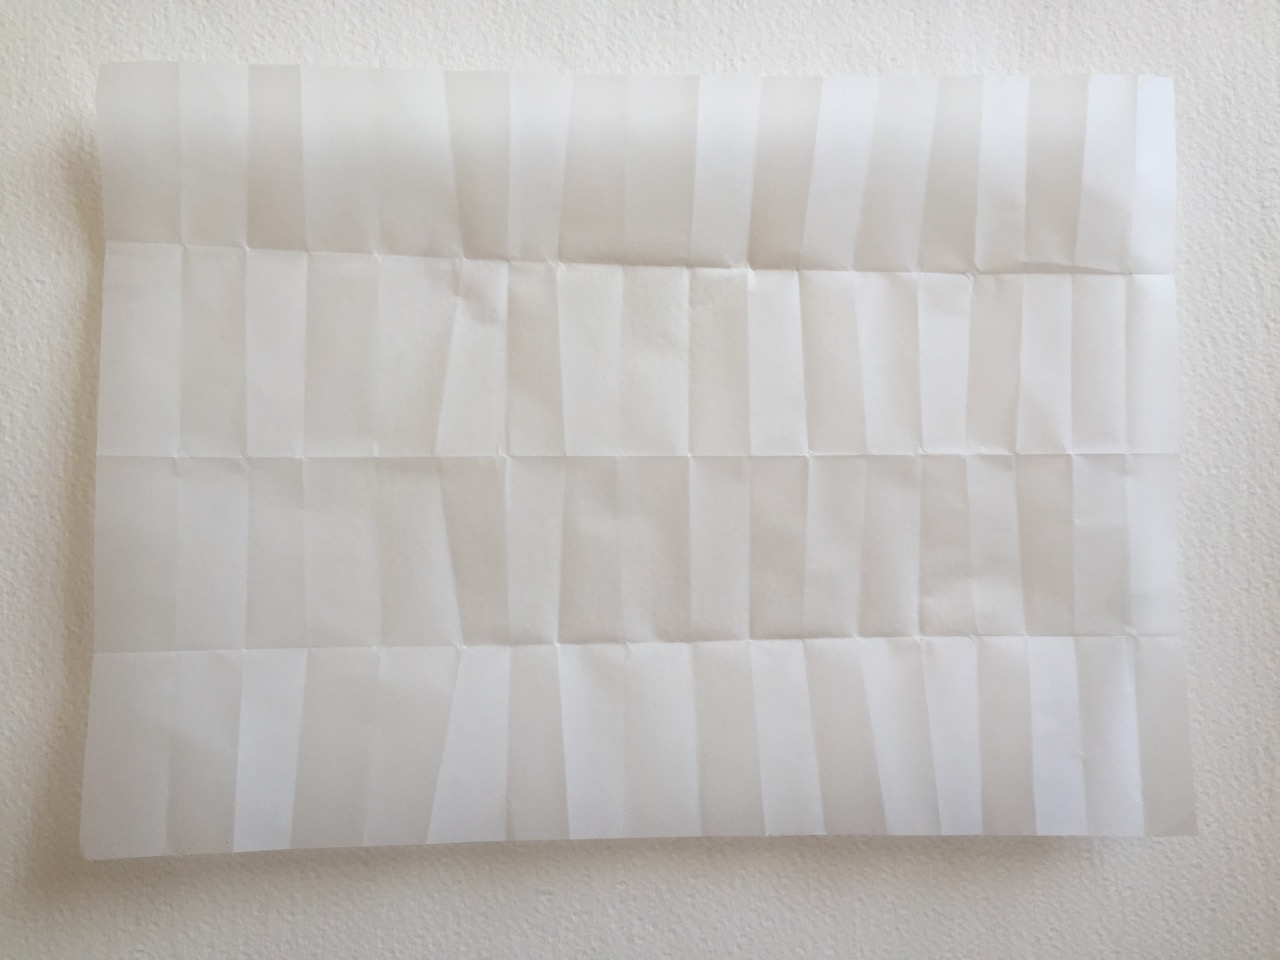
Different shaped folds, I like the way the shadows form, top left is tracing paper, the translucent quality is lovely.
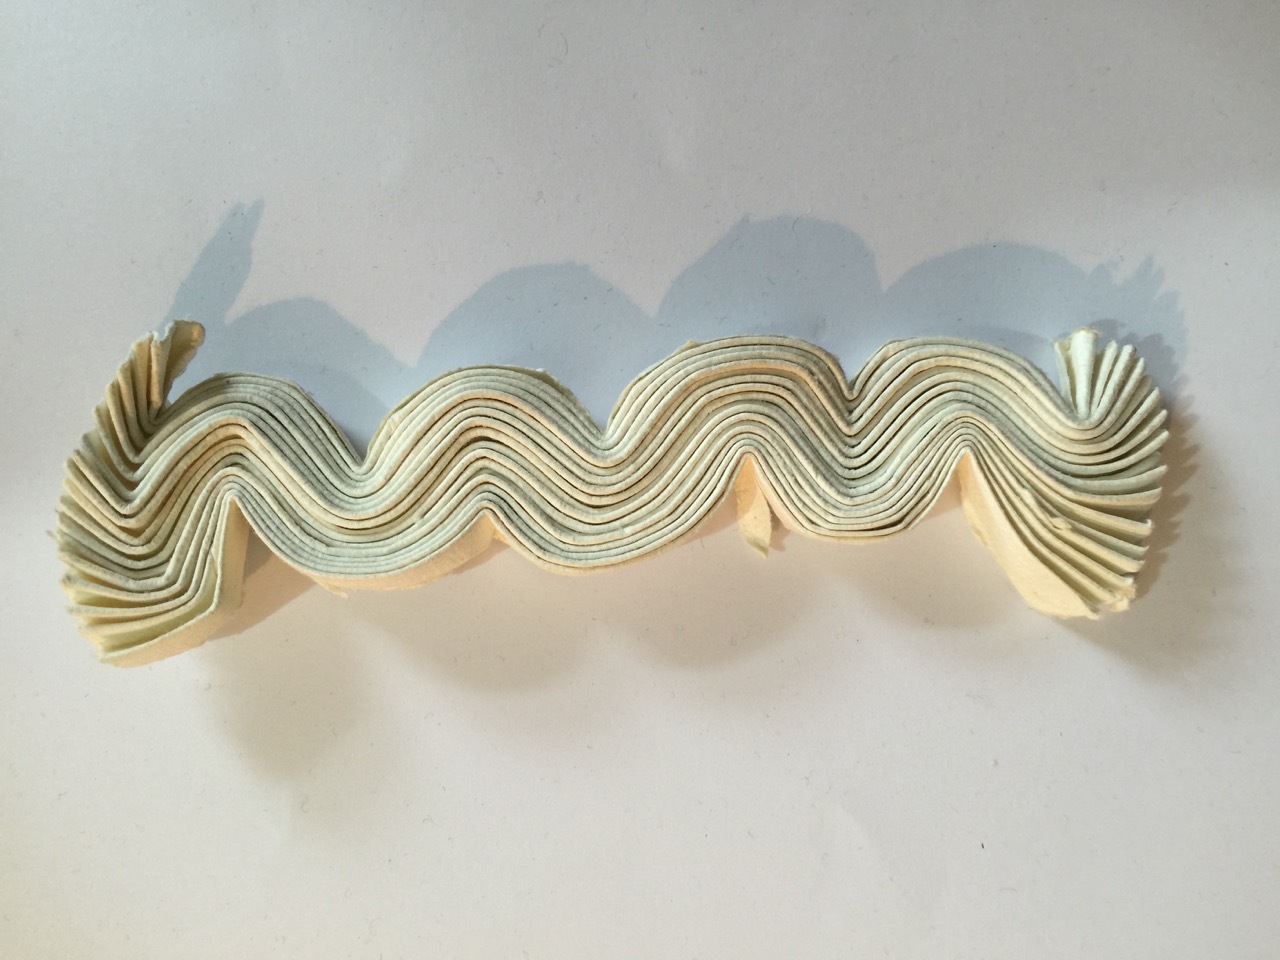
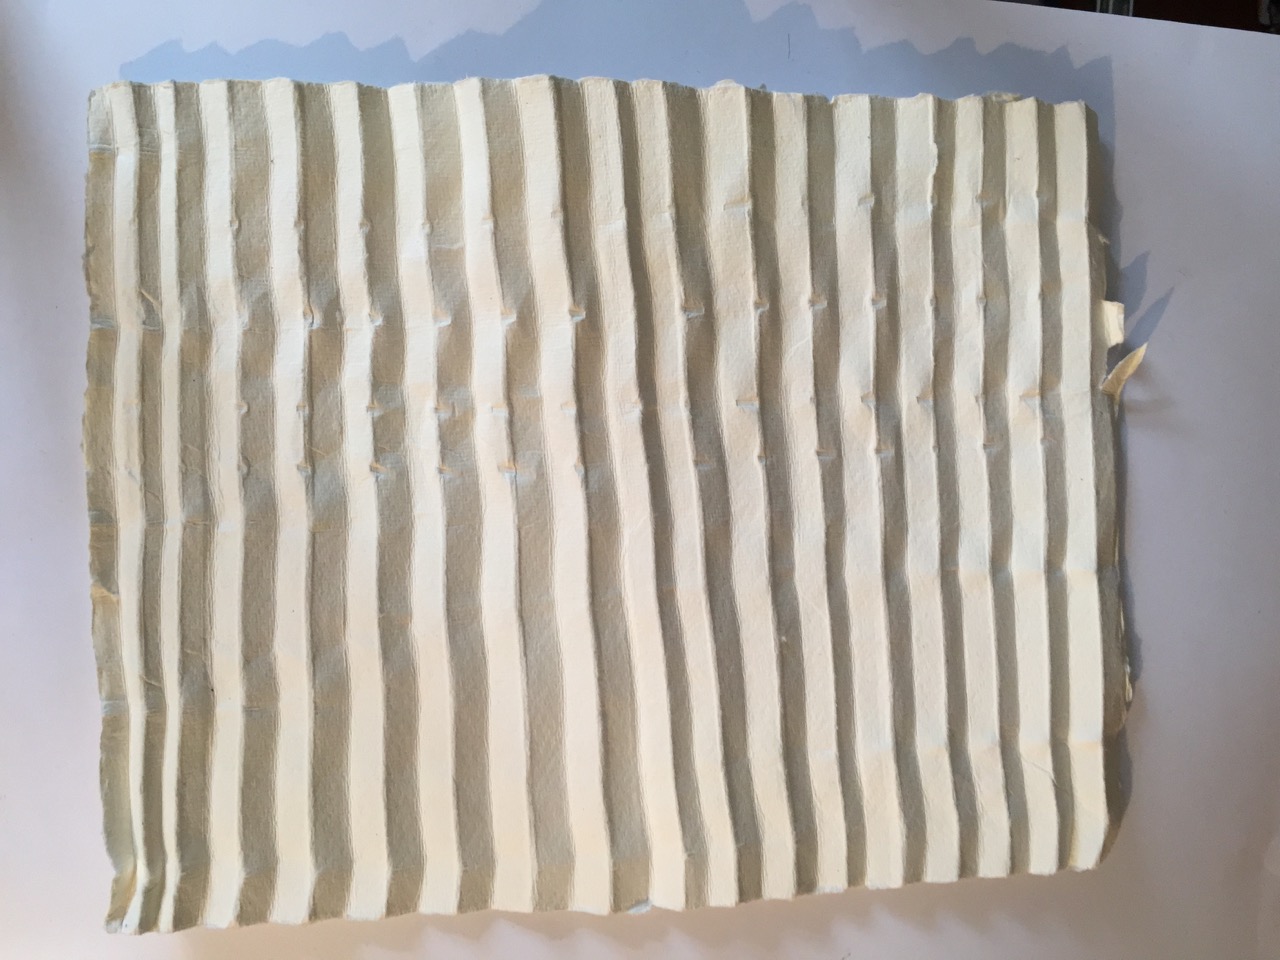
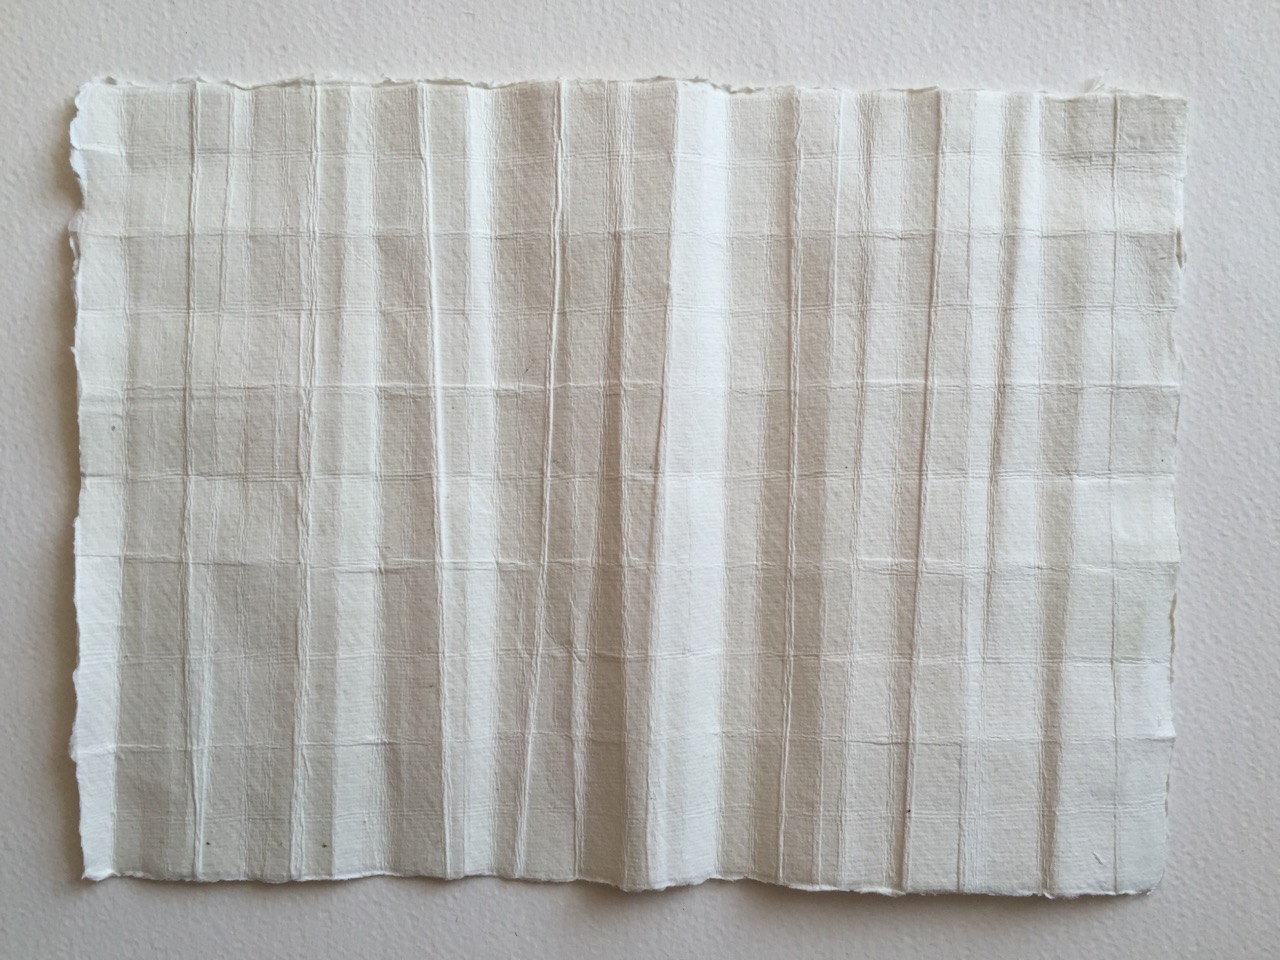
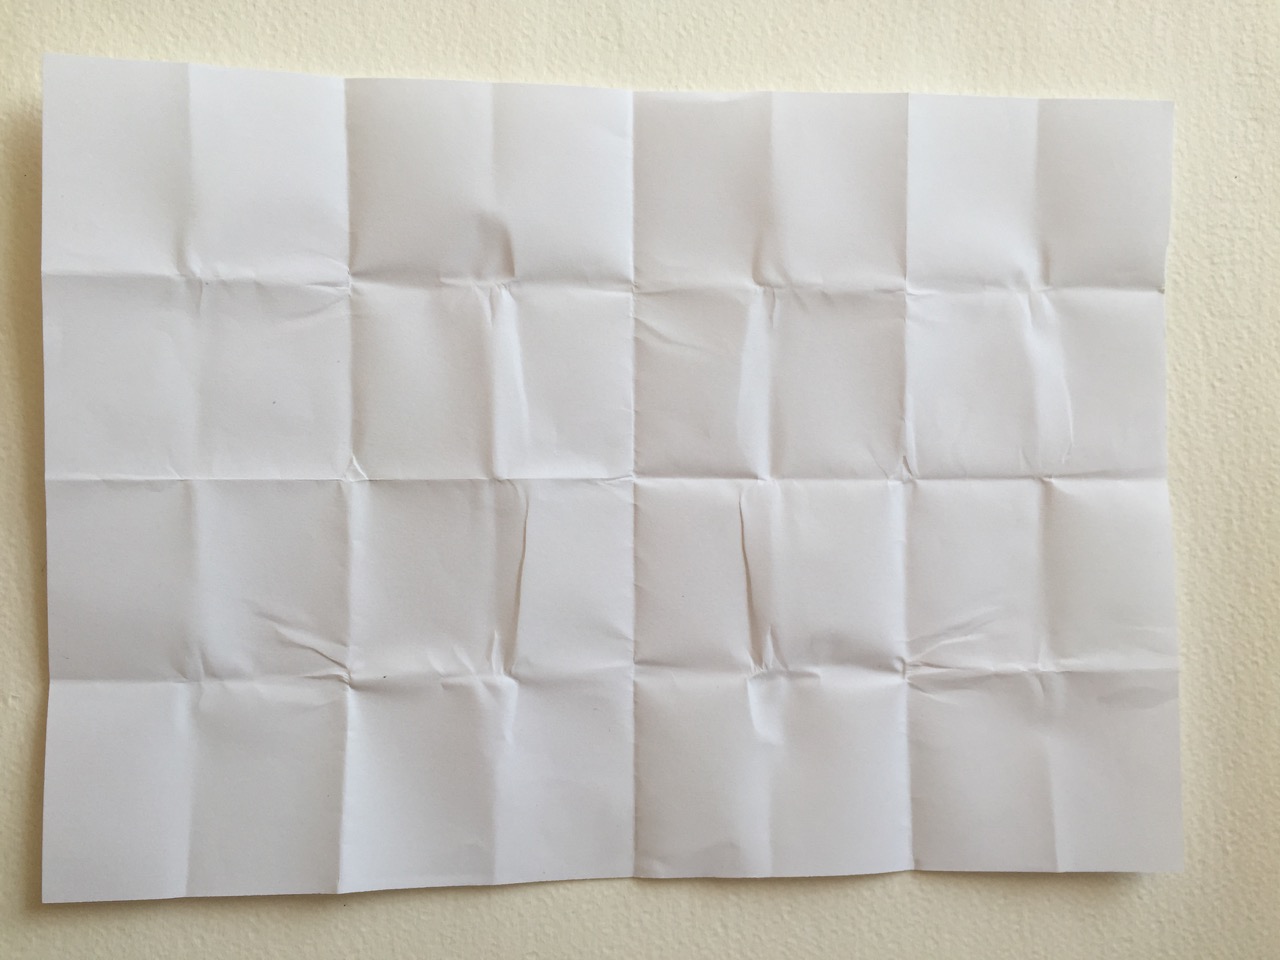
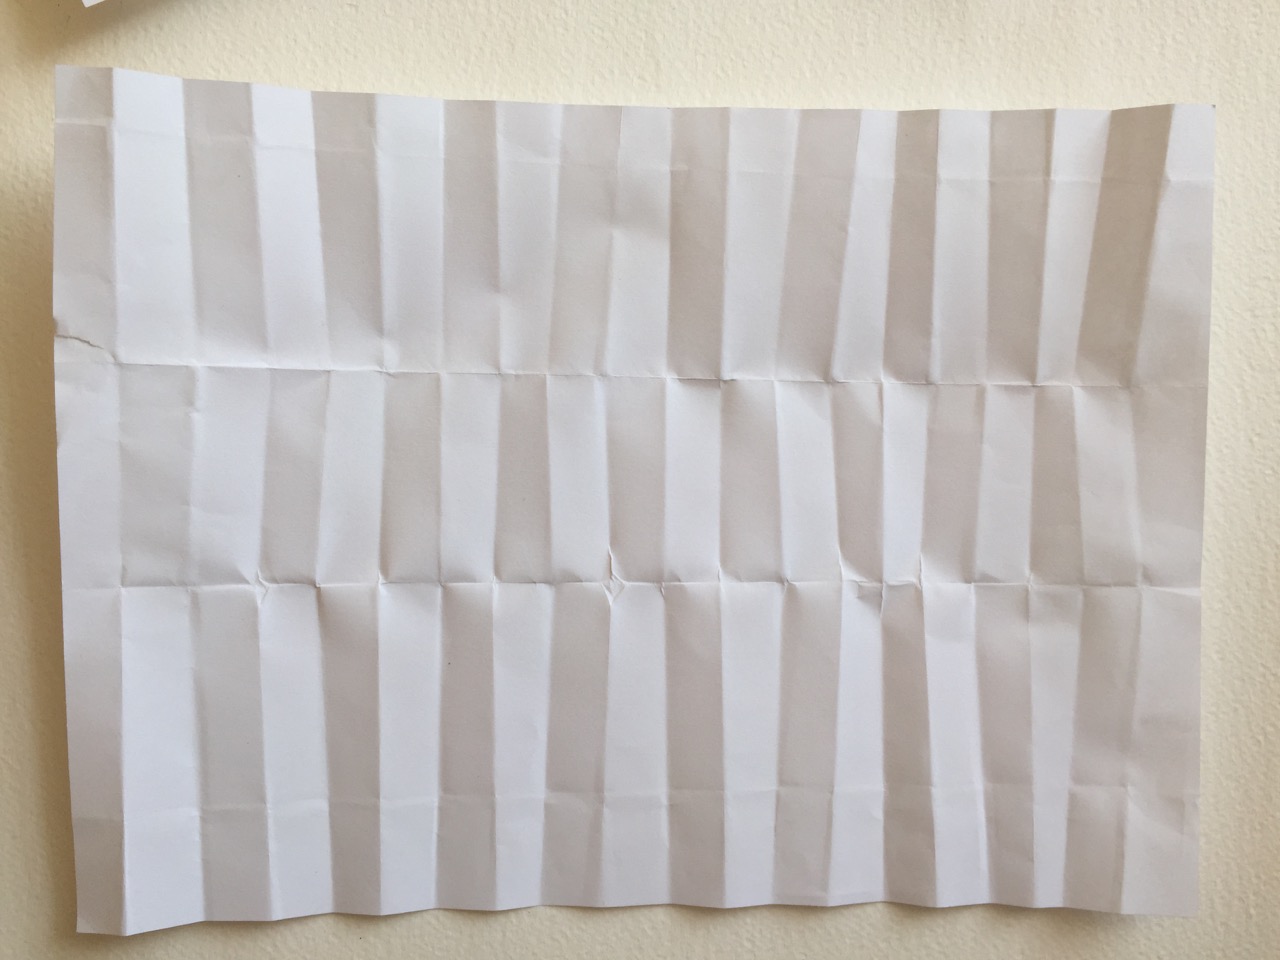
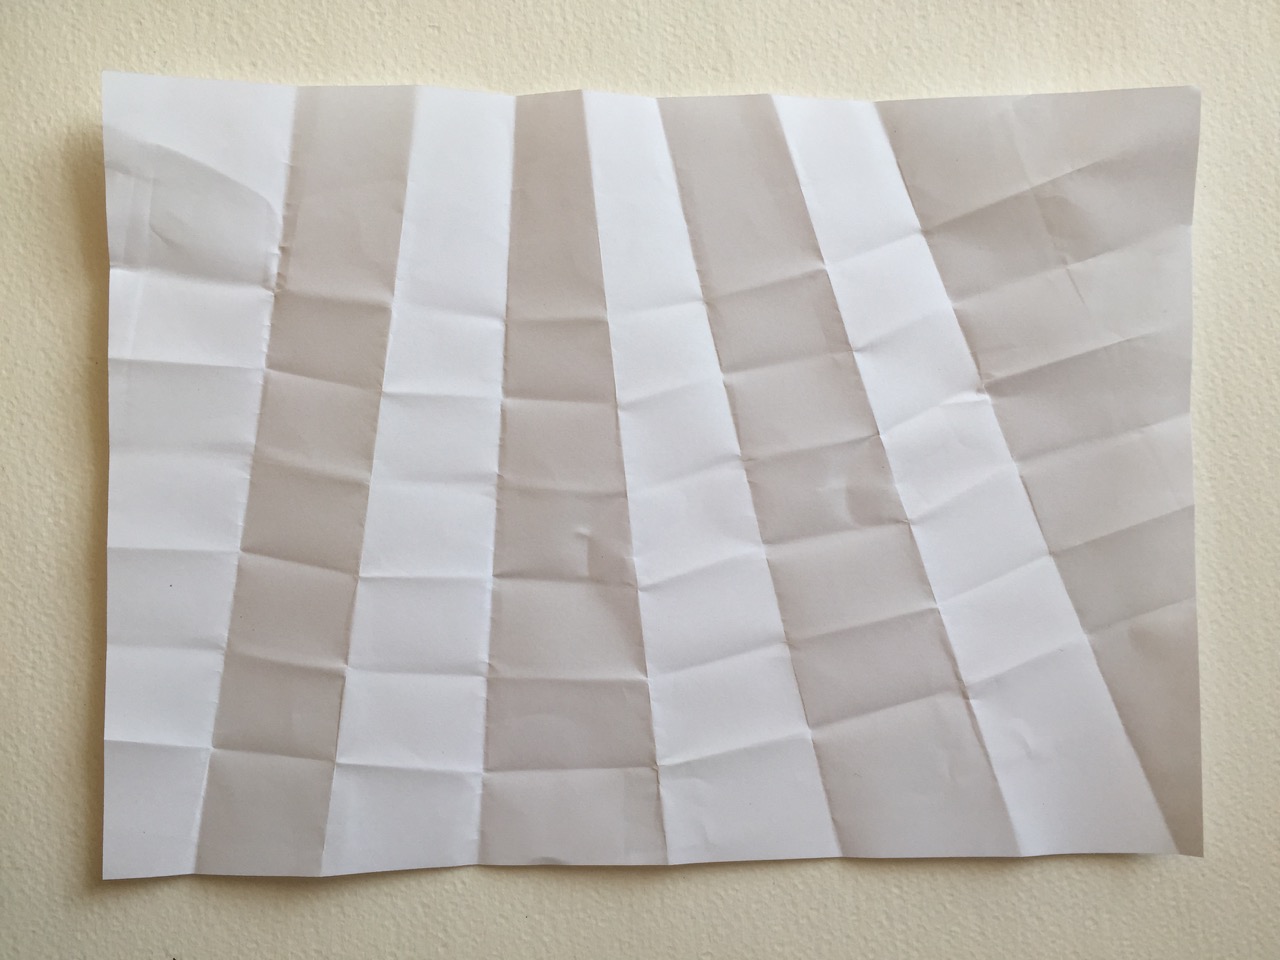
Kadi paper is made from 100% cotton rag, this is 320gsm so quite thick. It looks fabulous while pleated, bending the paper backwards and forwards while pleated generated a lovely wrinkle when flattened out. I used a hammer while folded to see what the indents would look like. The bottom image is the same paper folded backwards and forwards a bit haphazardly then unfolded turned 90 degrees and repeating the process. I really like this effect and it brings to mind bark and cloth- useful!

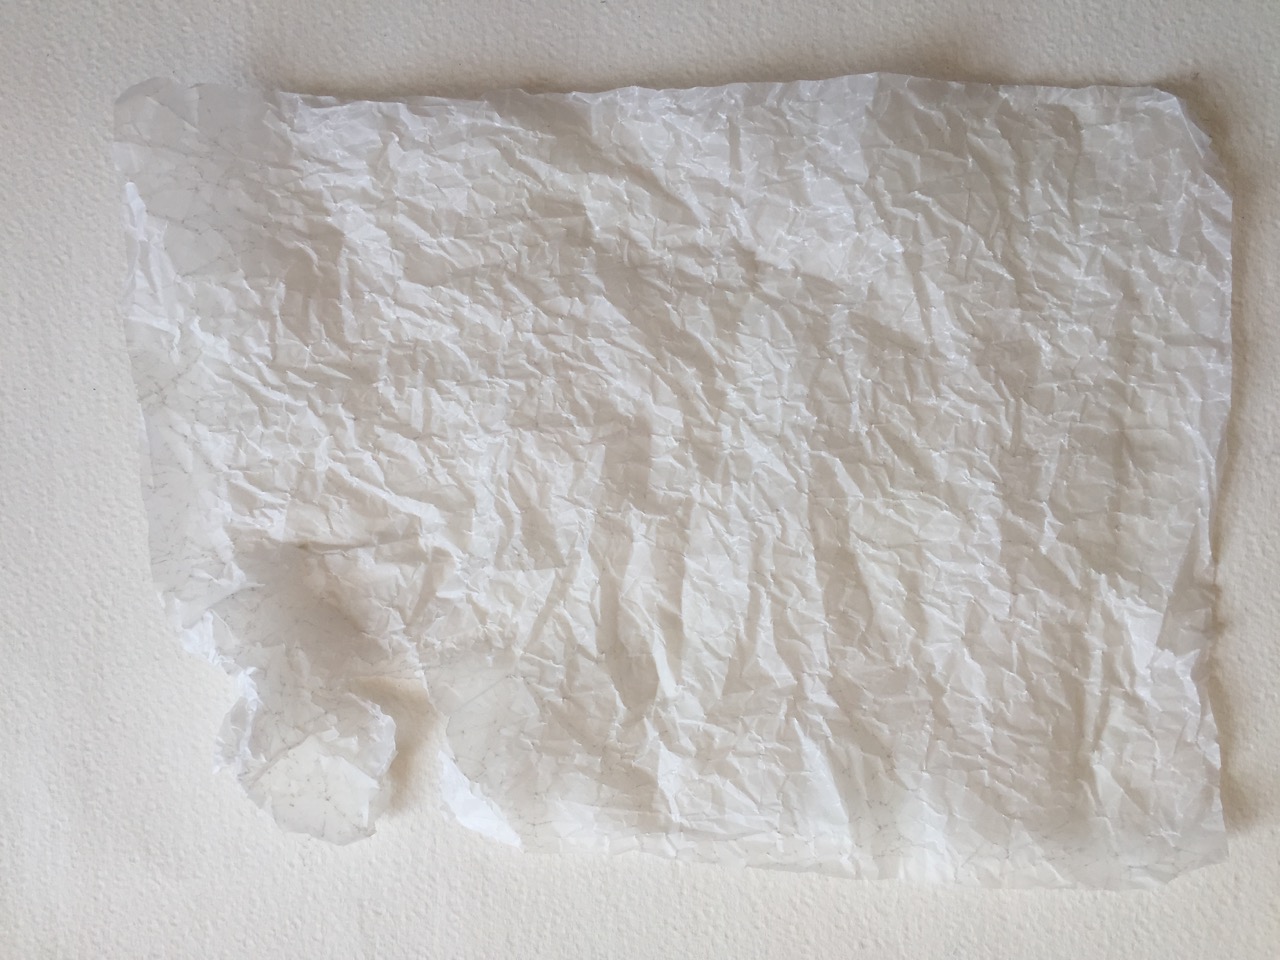

Crumpling – splendid word, crumple crumple crumple.People crumple when discarding things which is sad, but also associated with present opening – way more joyful! A quick and effective way of testing the properties of a paper, grey tissue paper, very soft and fragile.Tracing paper, not observable in the photo but there are delightful white dots at the apex of creases, its very brittle though – it needs laminating with something else.
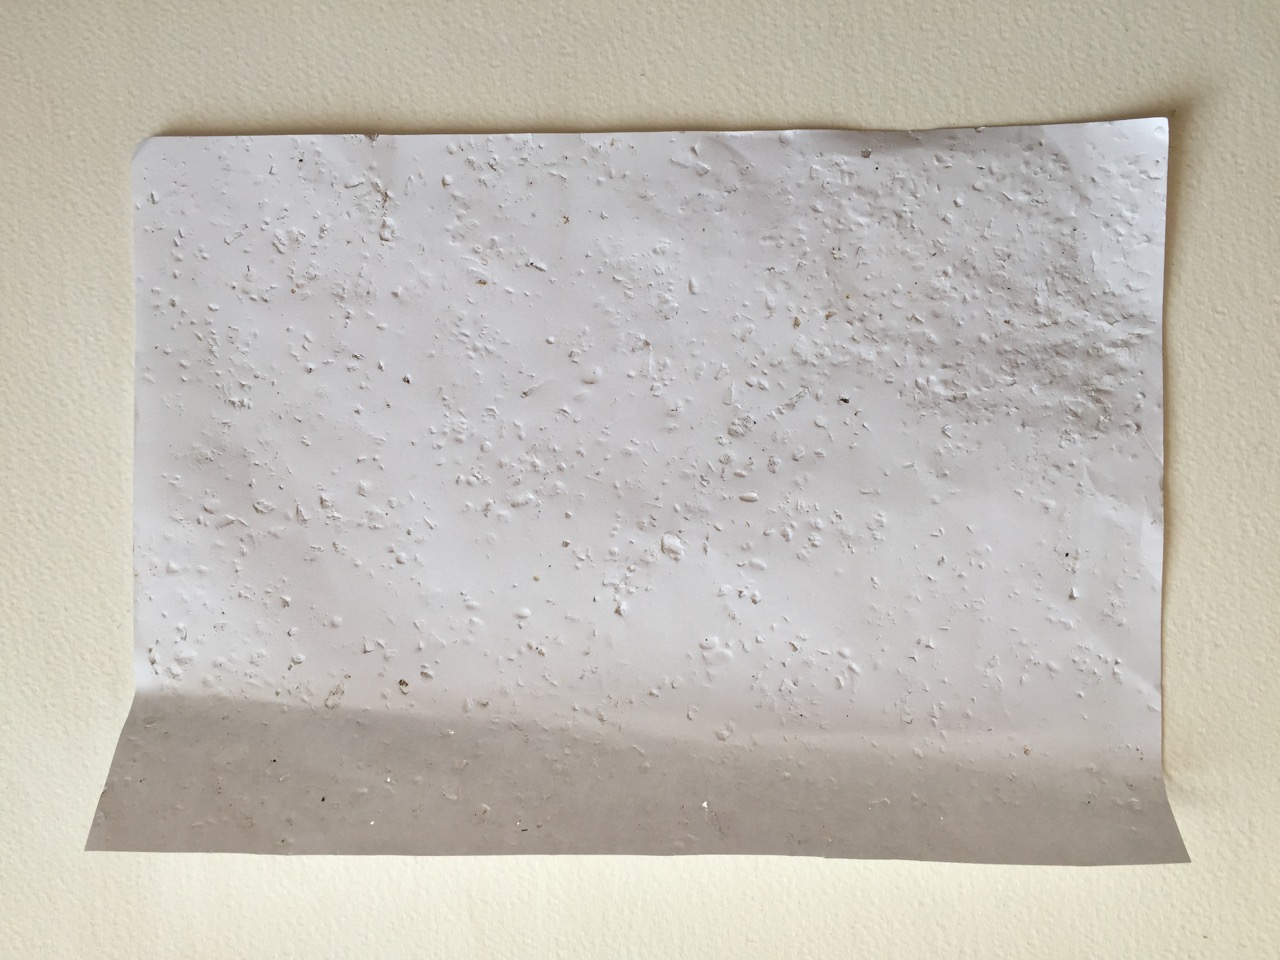

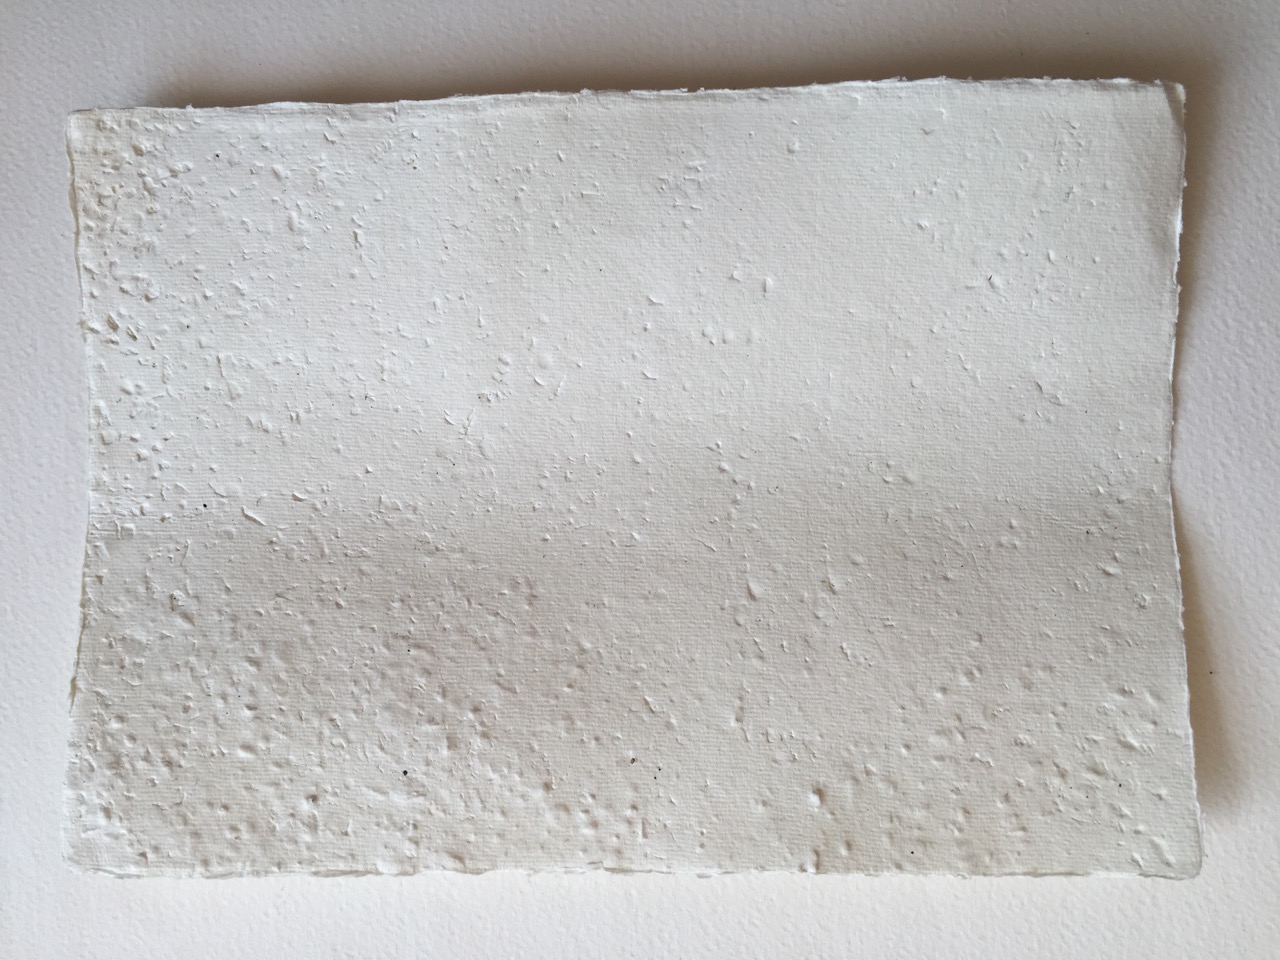
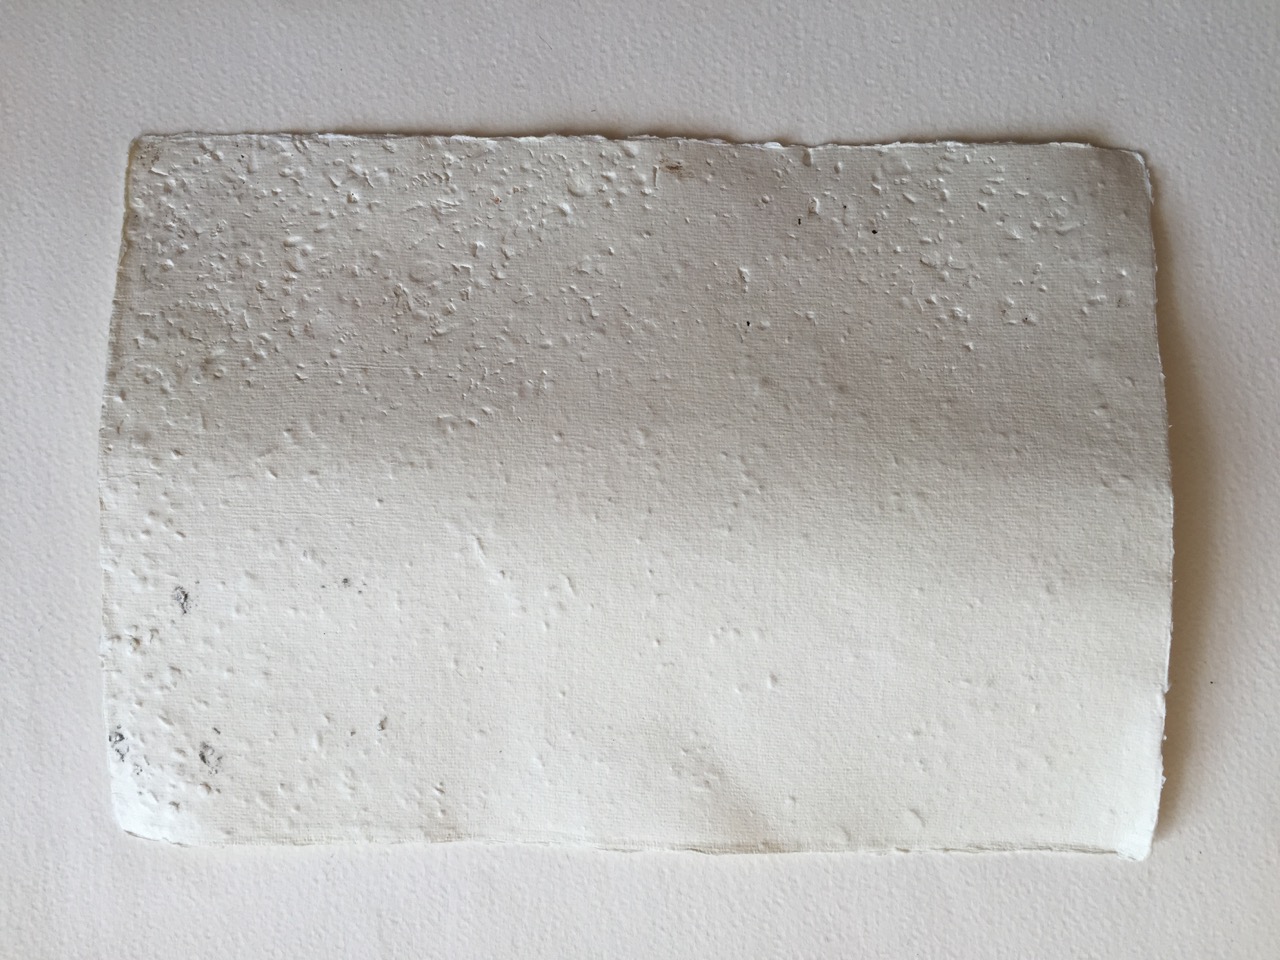
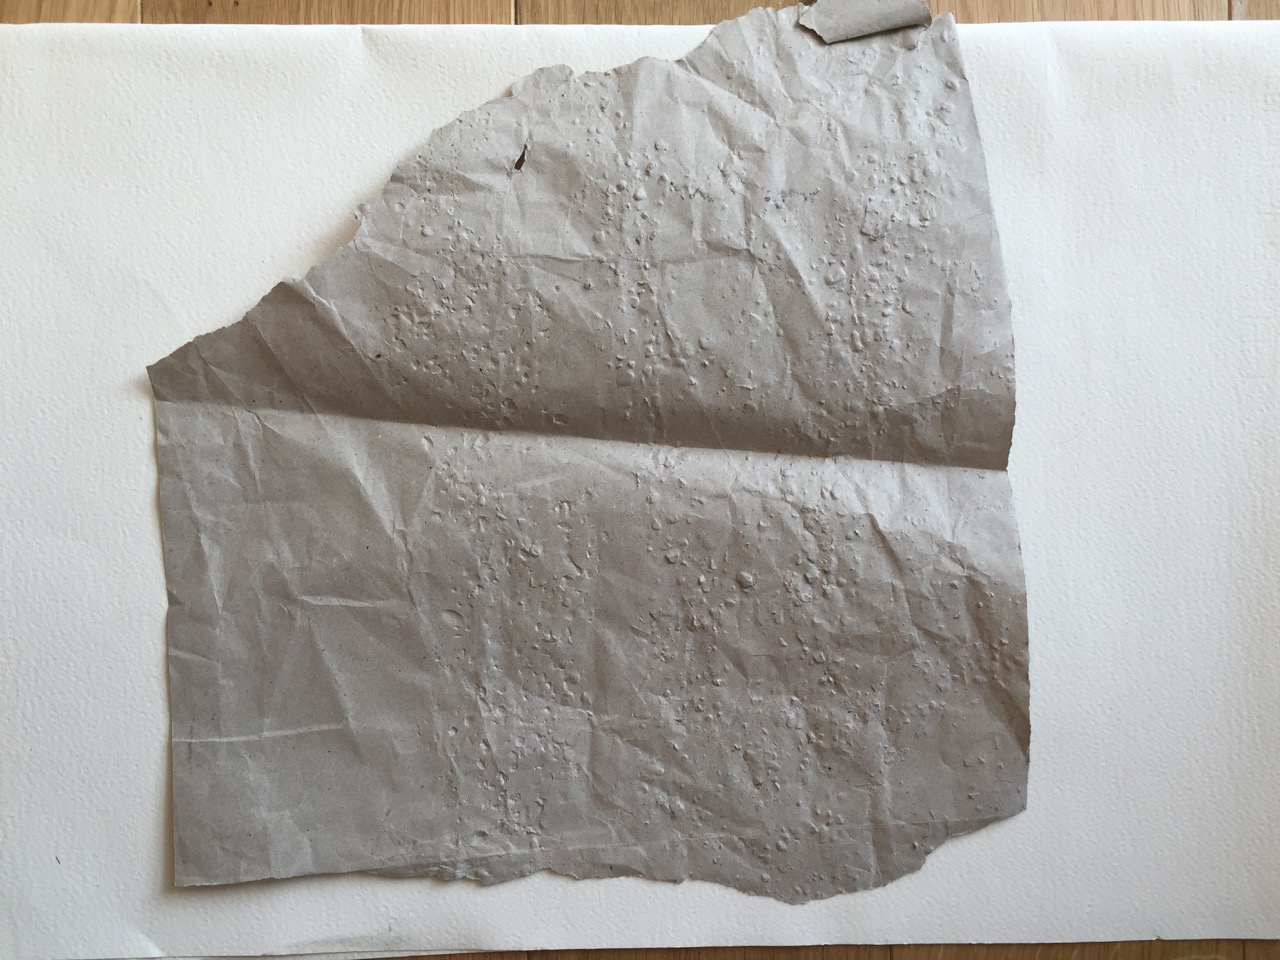
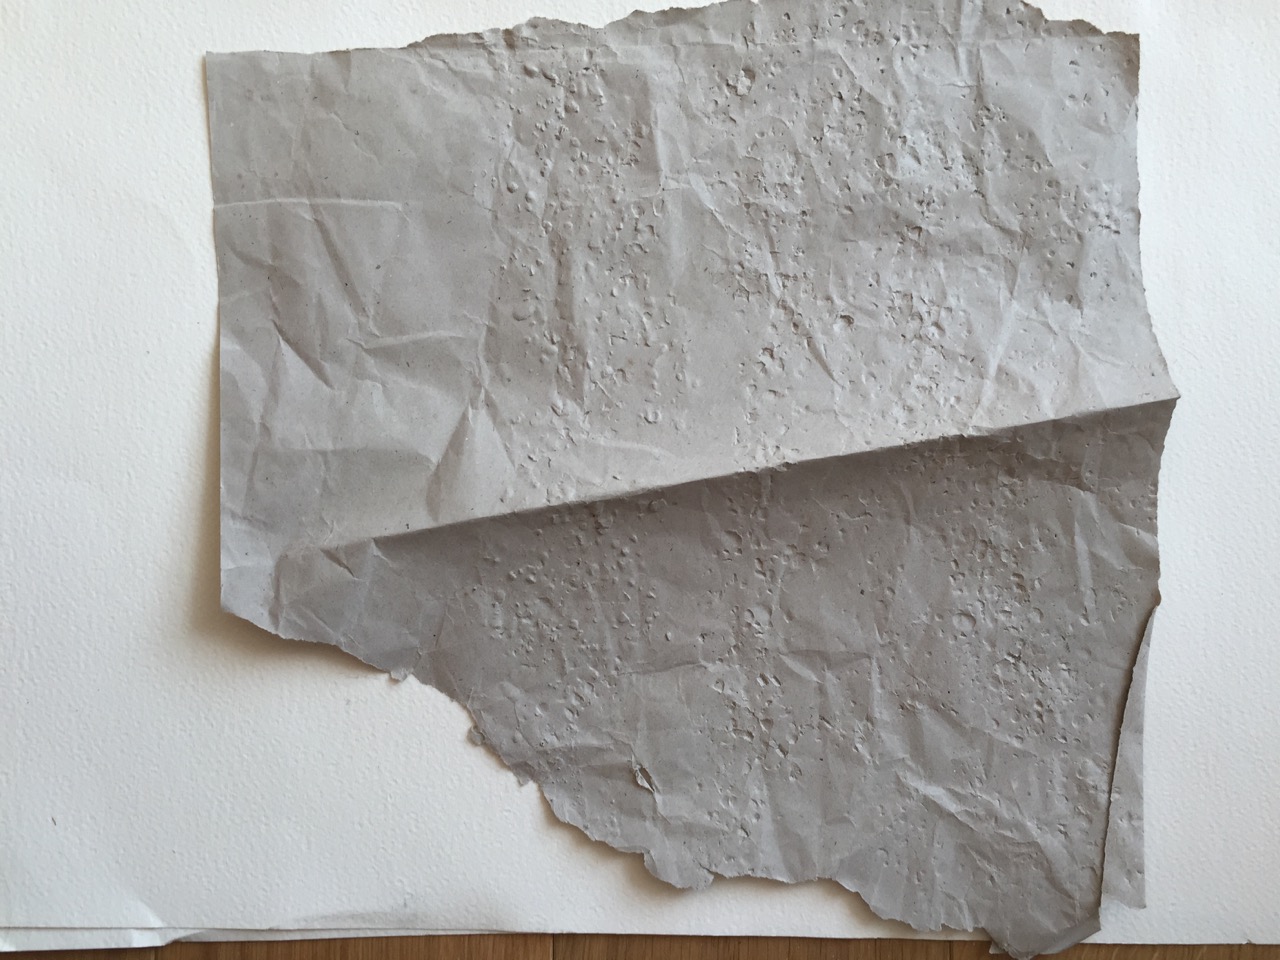
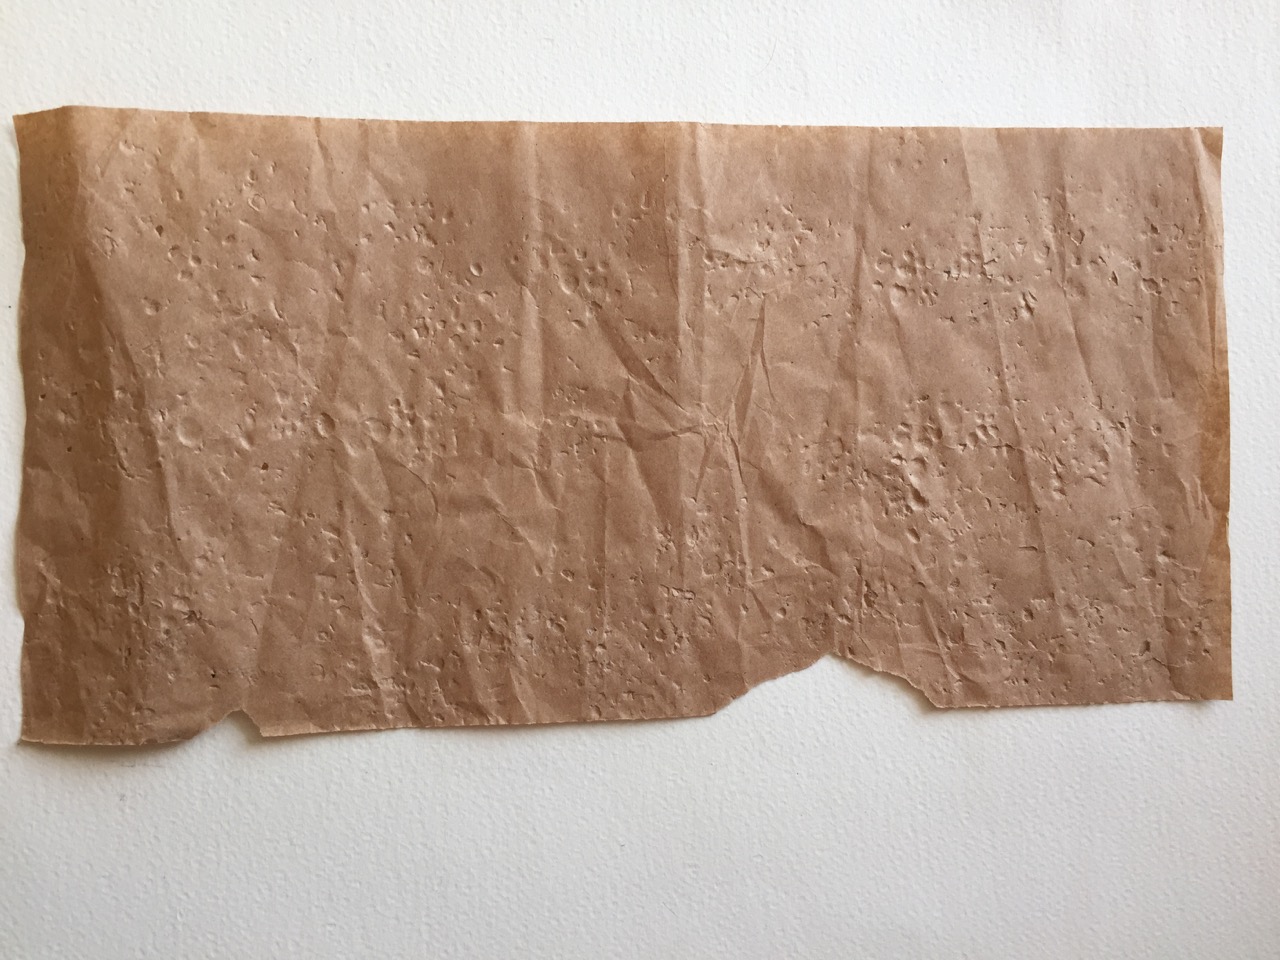

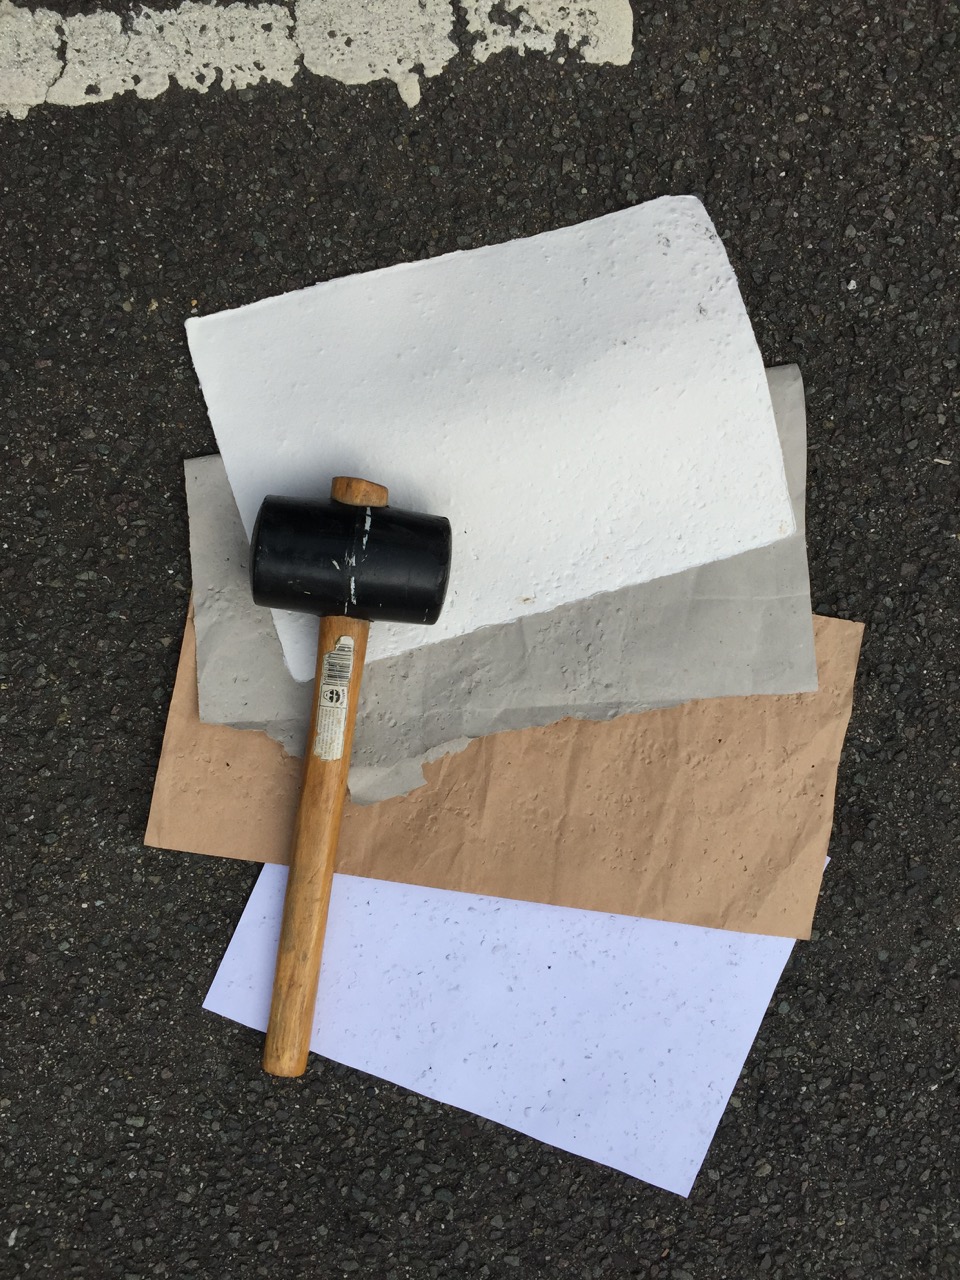
I amused the neighbourhood by taking paper and mallet to the local park where I thought the ground texture might give interesting marks. I tested different thickness’s of paper and observed the back and front. the thin paper after a lot of perseverance became slightly pierced by the gravel. The Kadi paper retained the shapes of the gravel really well, I prefer it on the indented side, the bumpy surface is very like wood chip wallpaper, way less defined.
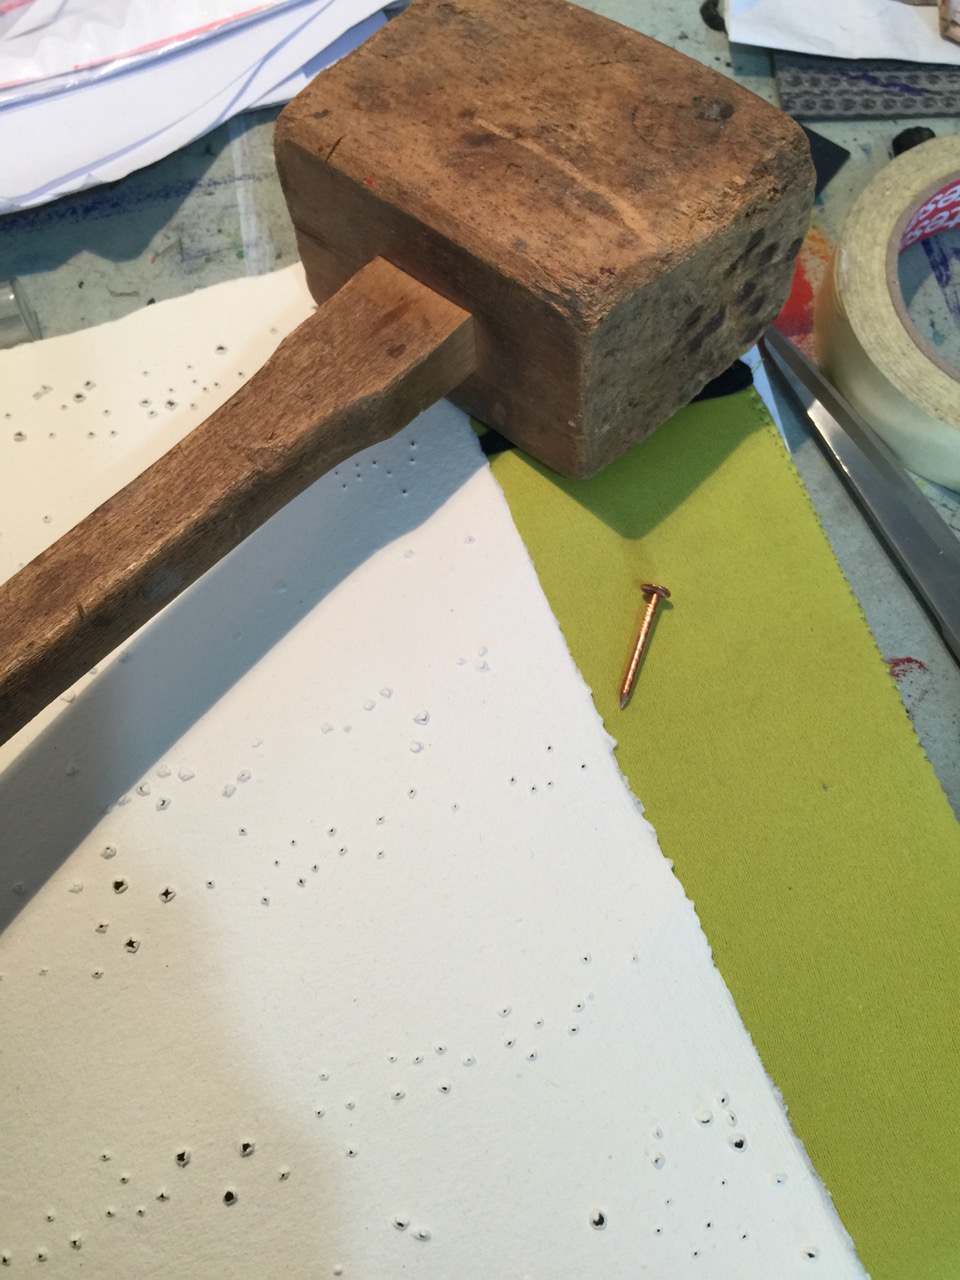
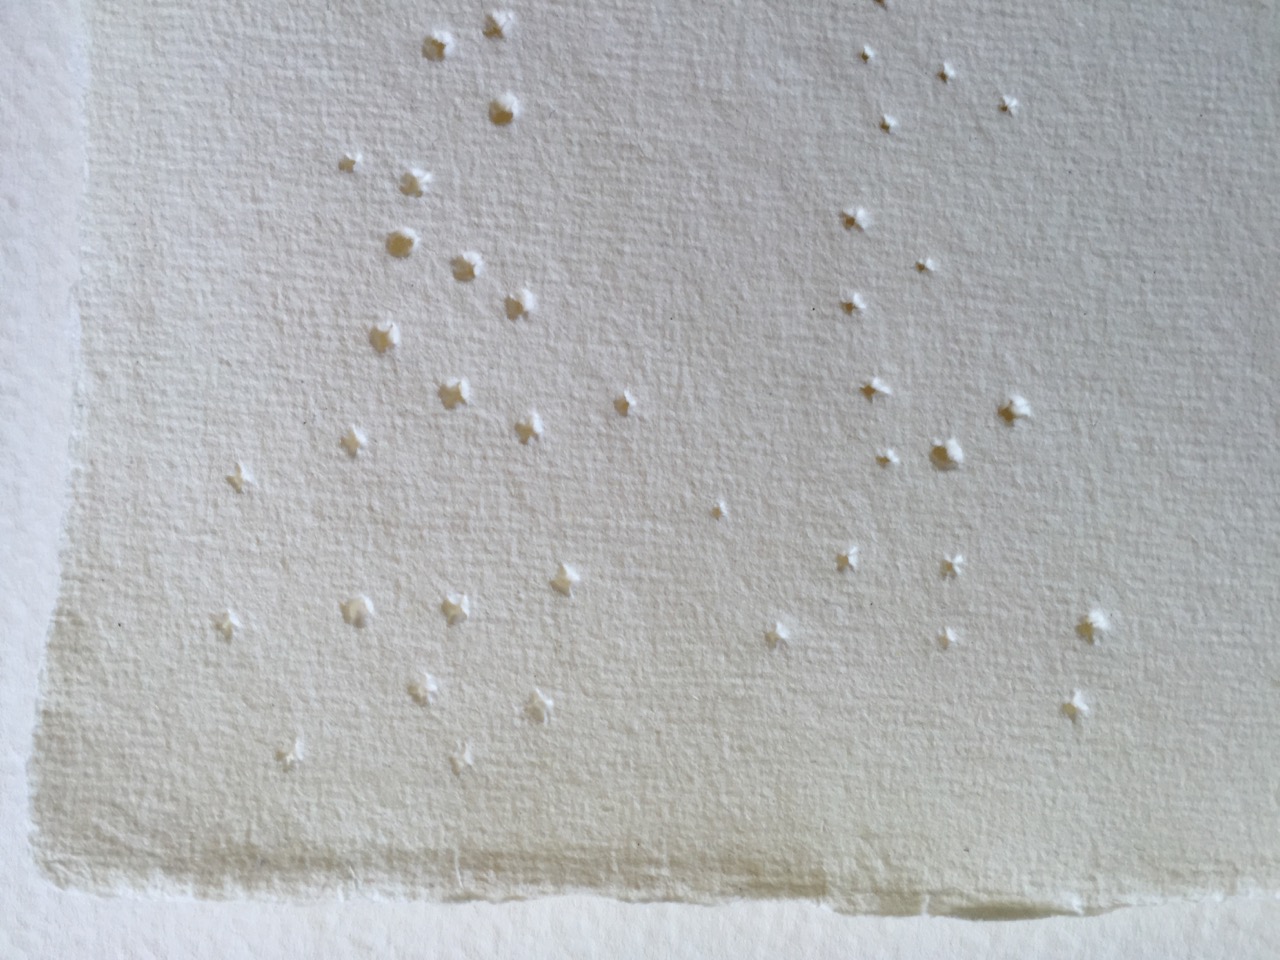

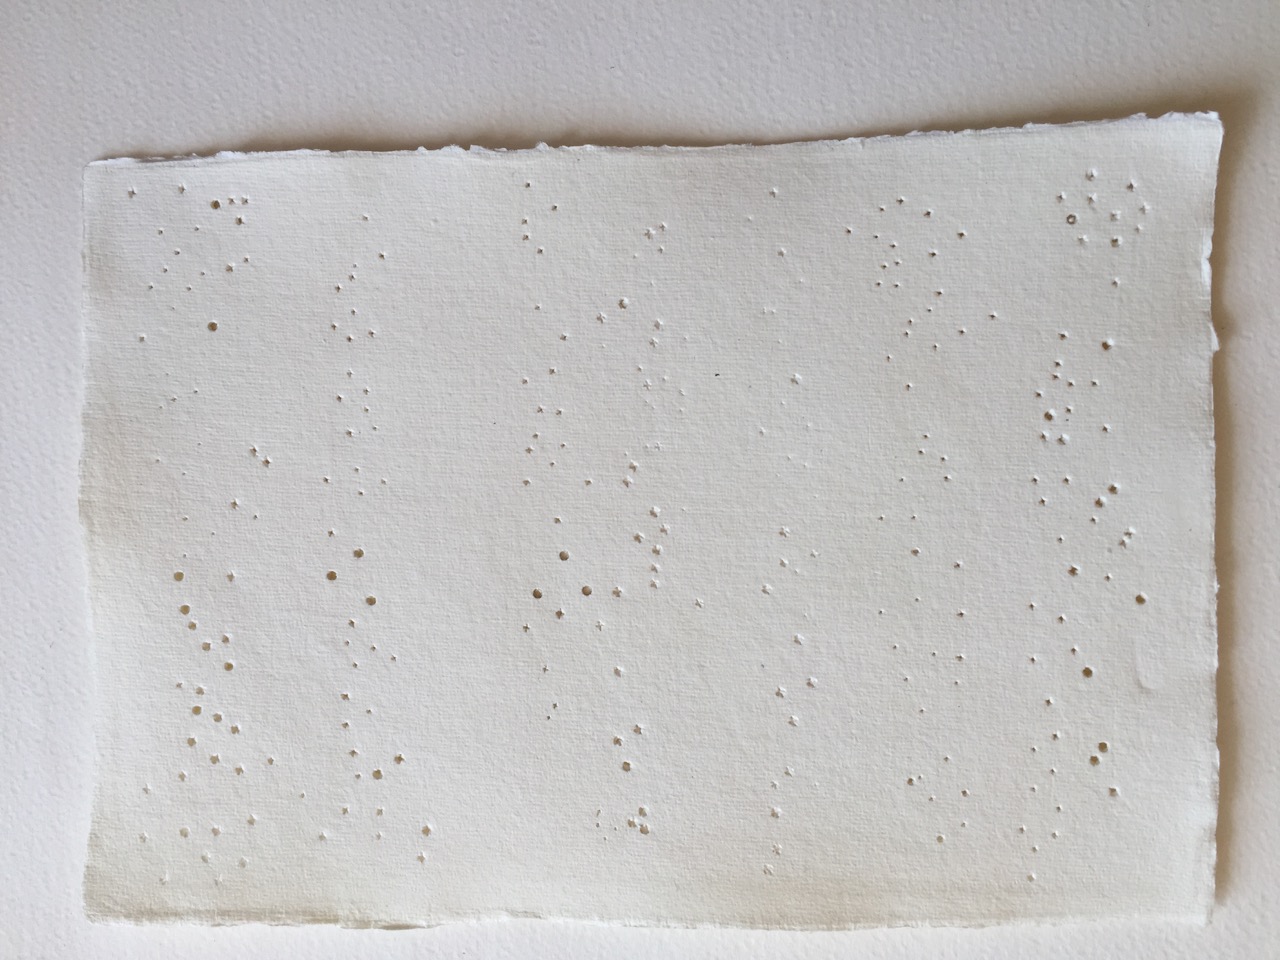
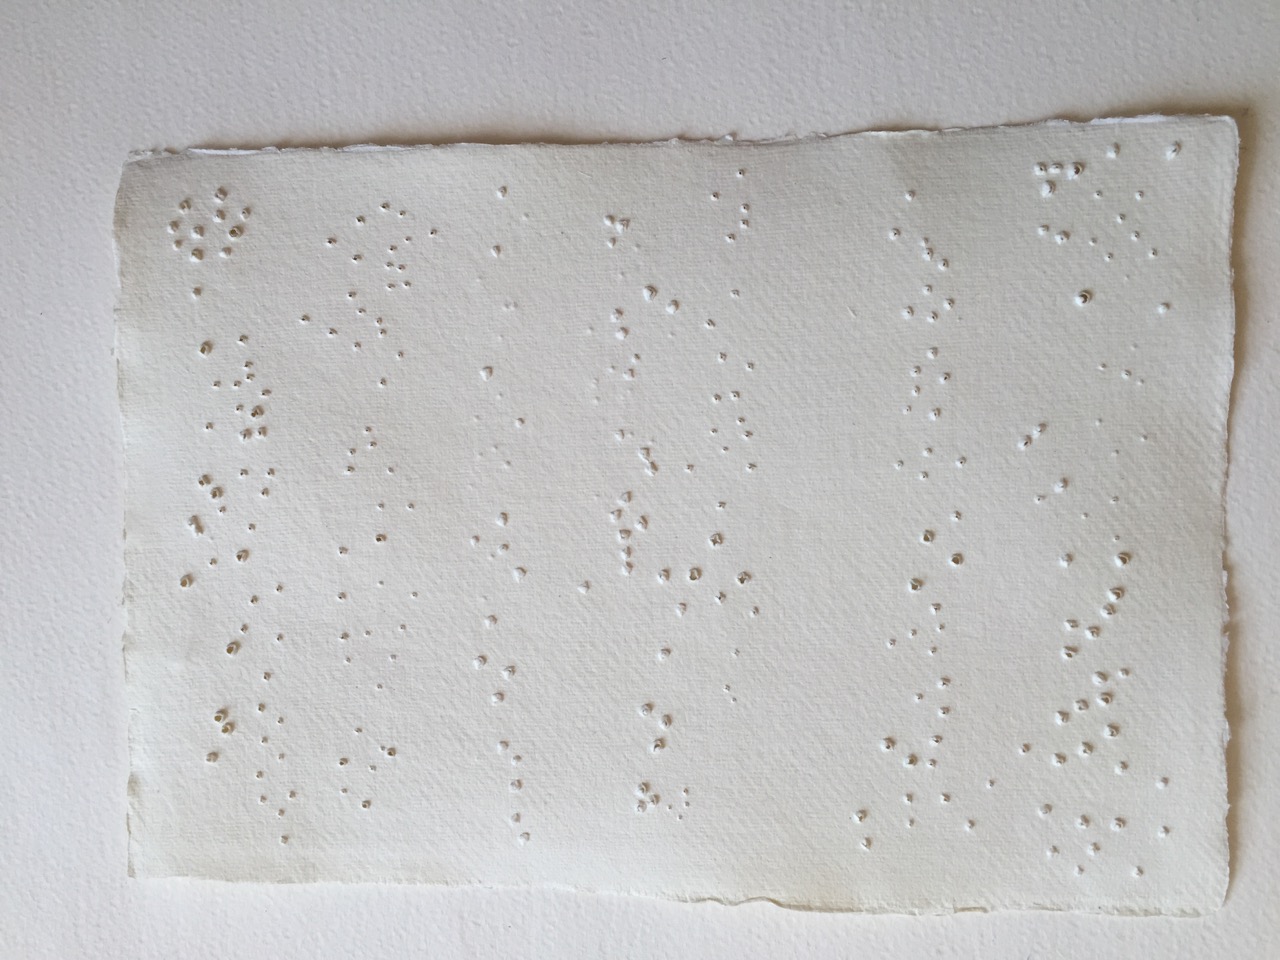
Mallet and nails are a far more controlled way of making holes. Hole size can be controlled by pressure or nail size and patterns easily achieved.
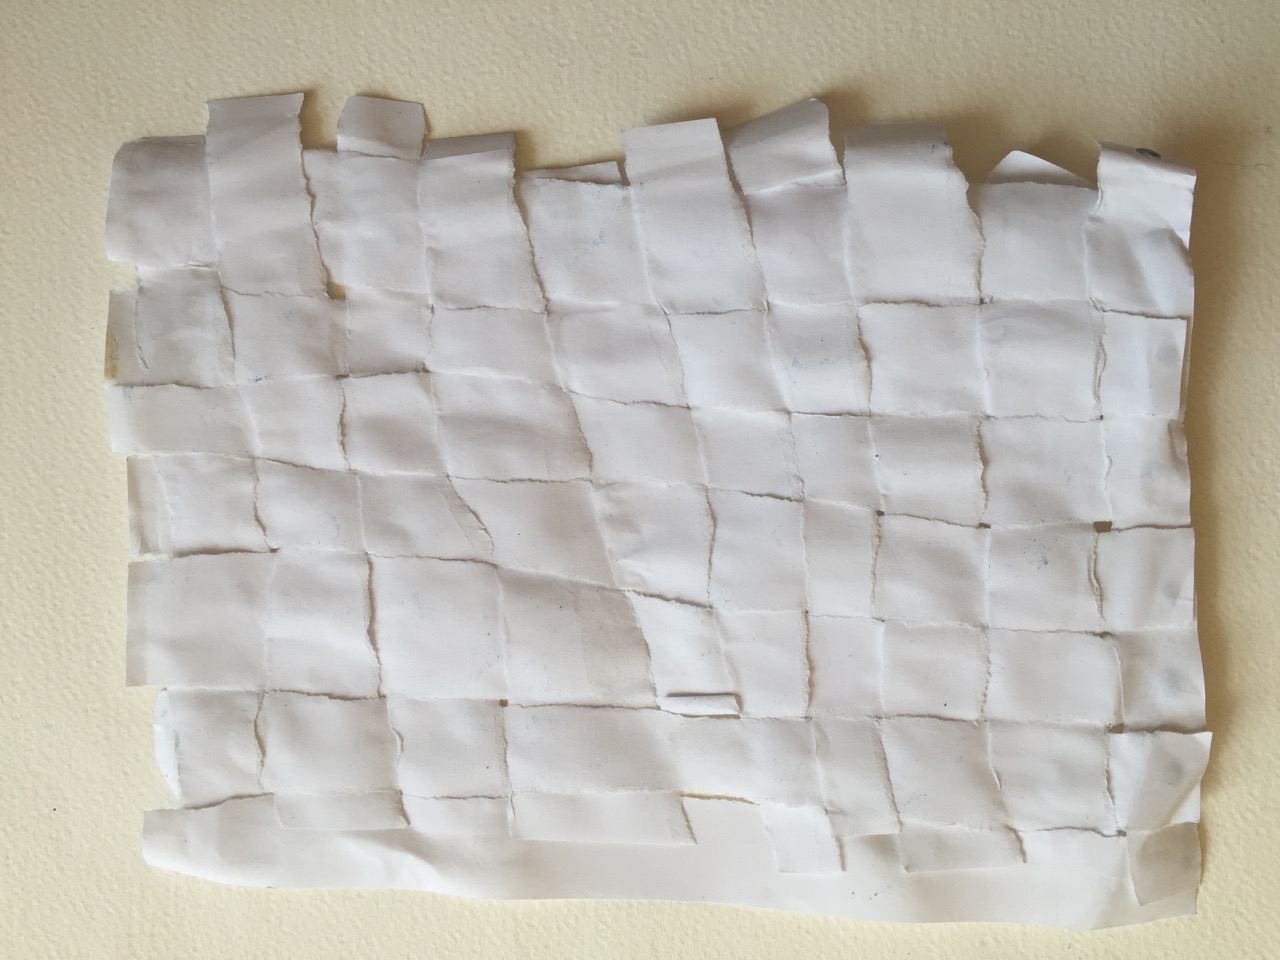
Weaving! I ripped the two sheets of paper and kept the strips in order so that when woven they were uneven but tightly joined, clearly it would be easy to make a more open surface.
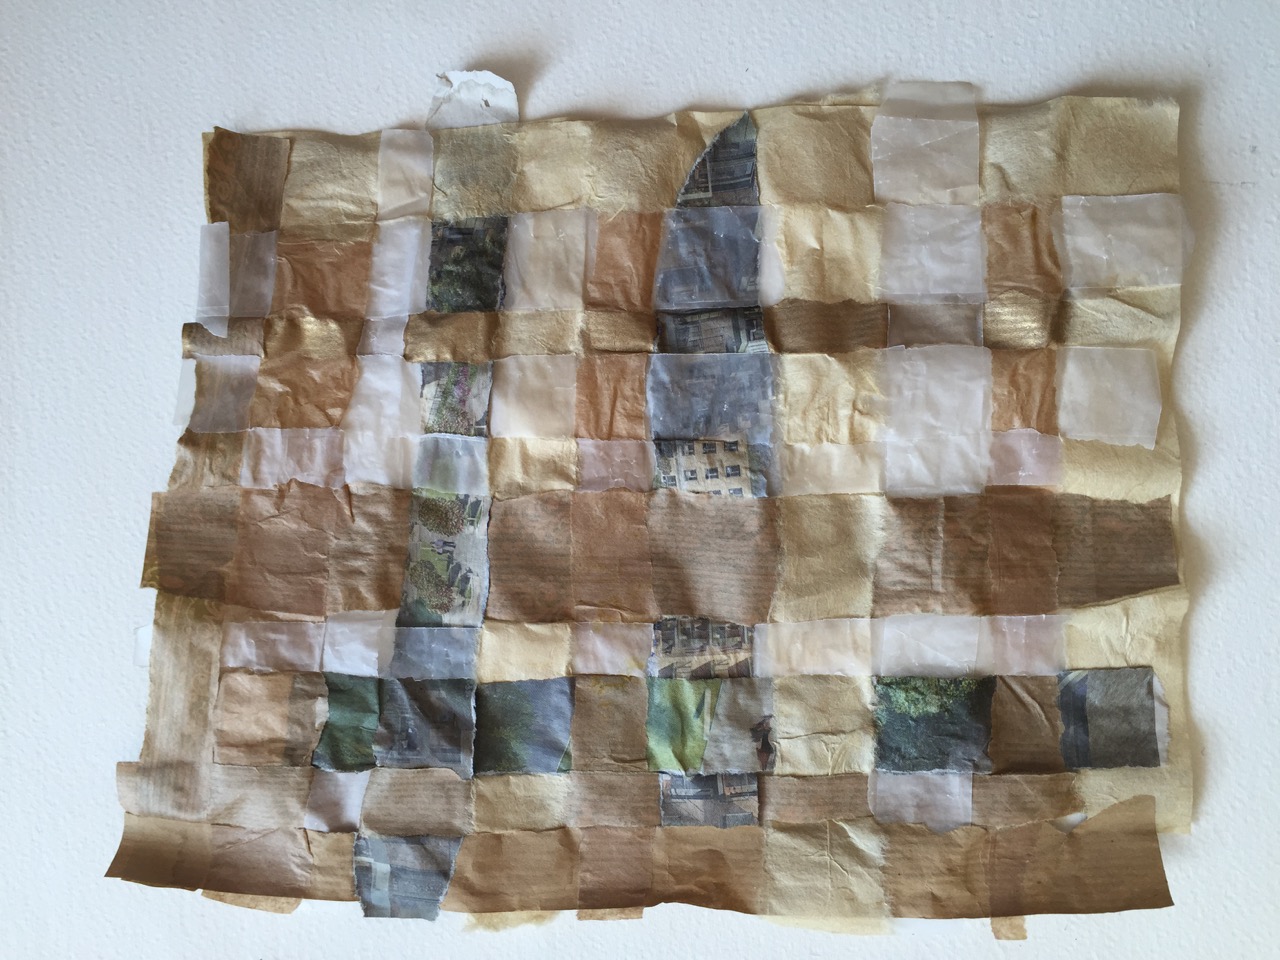
Back and front of a weaving using different tones and textures of paper.
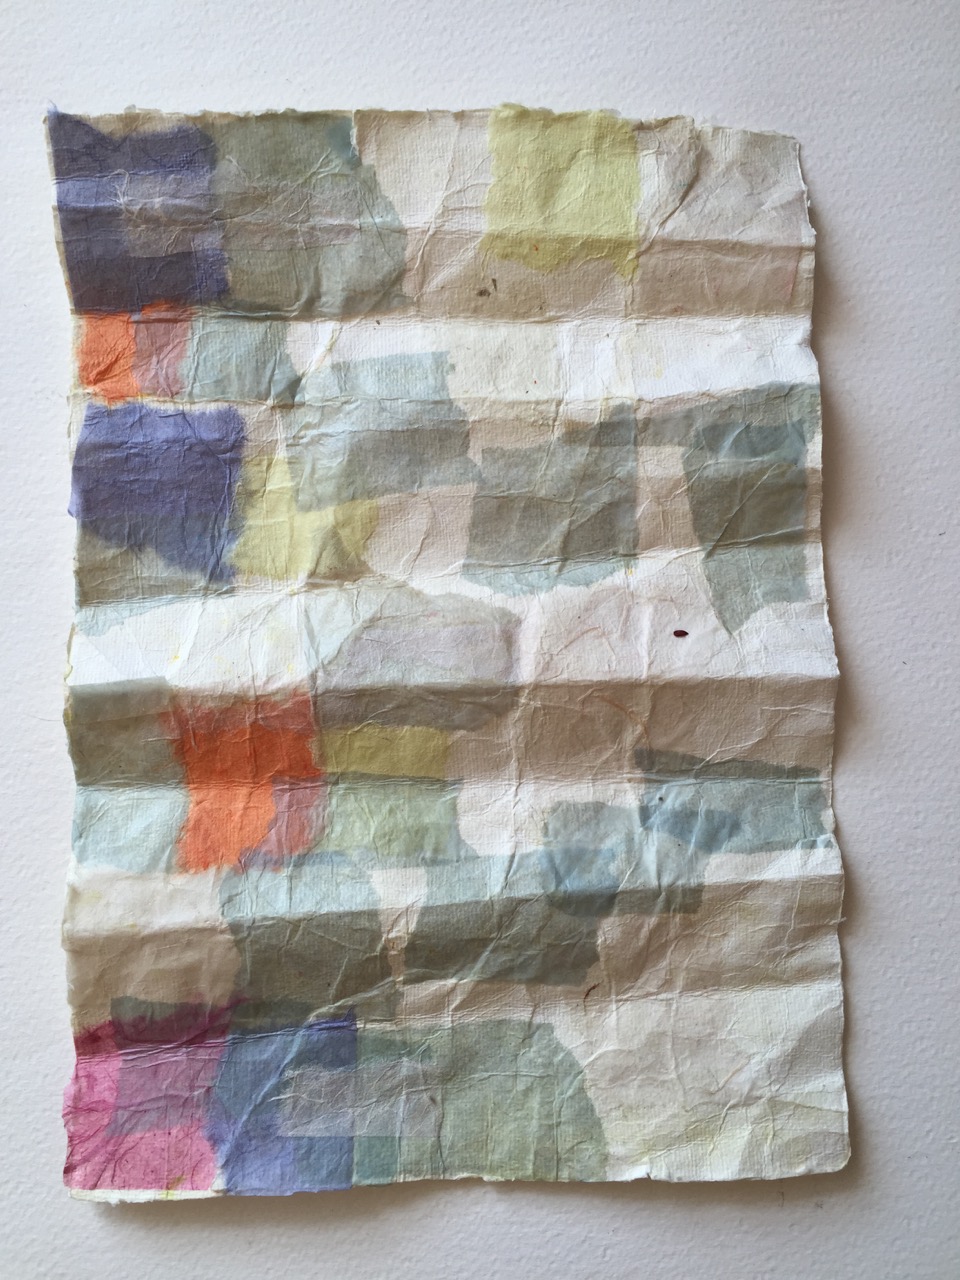
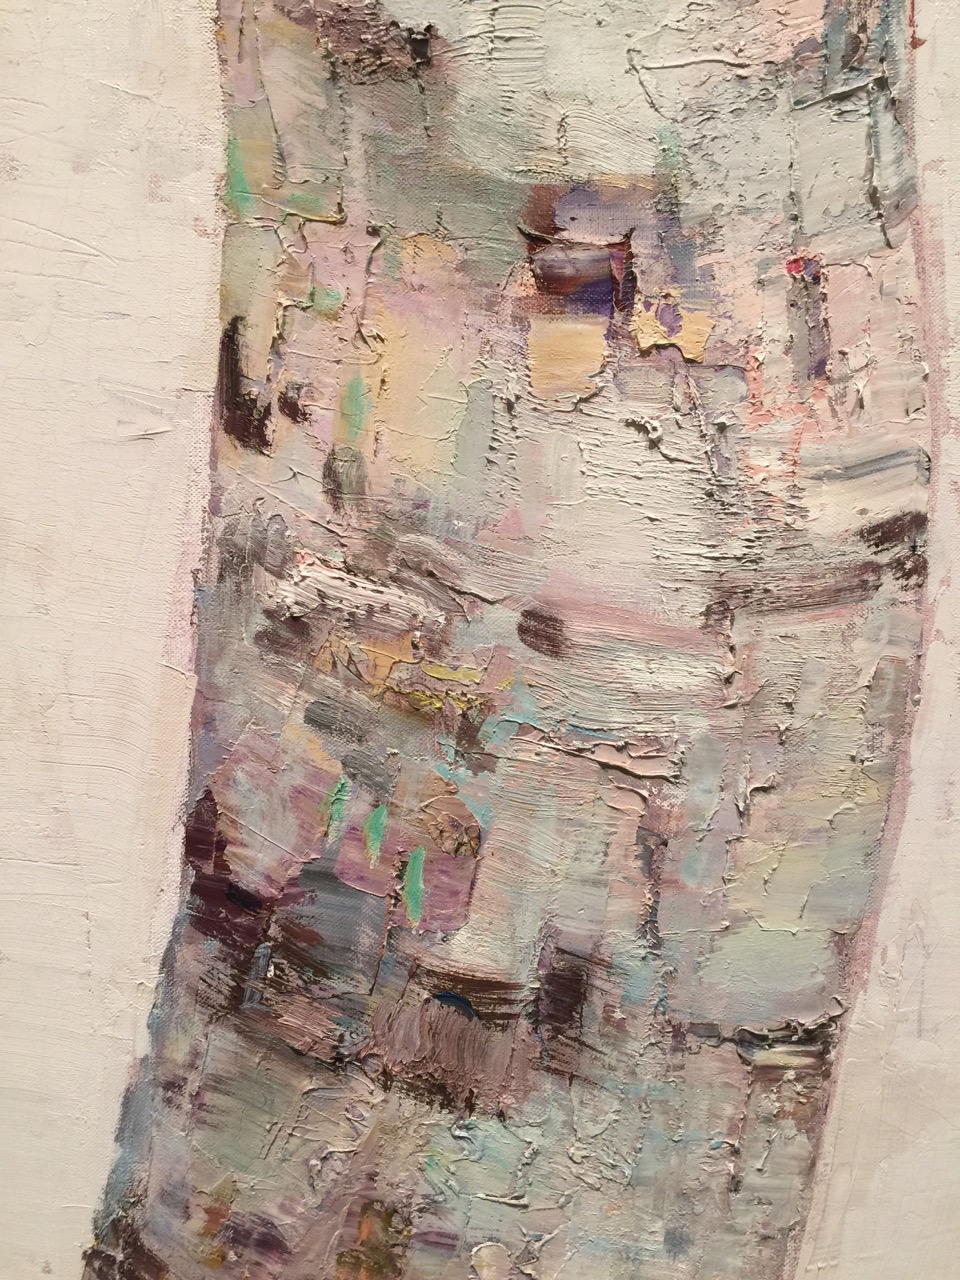
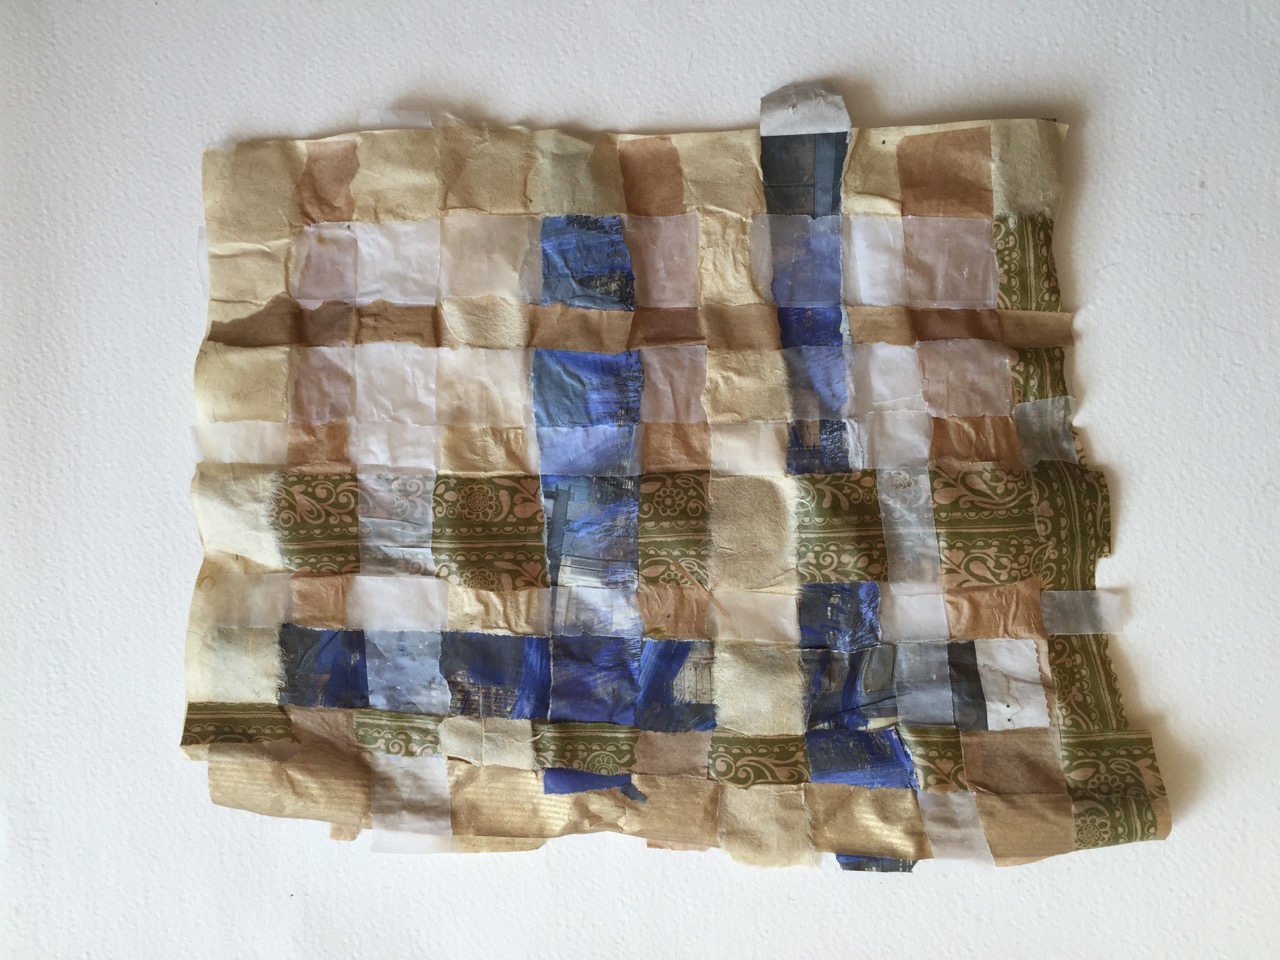
Patchwork of tissue collaged onto folded Kadi paper, inspired by a painting called Double Brown by Michael Kvium that I saw at Aros Museum
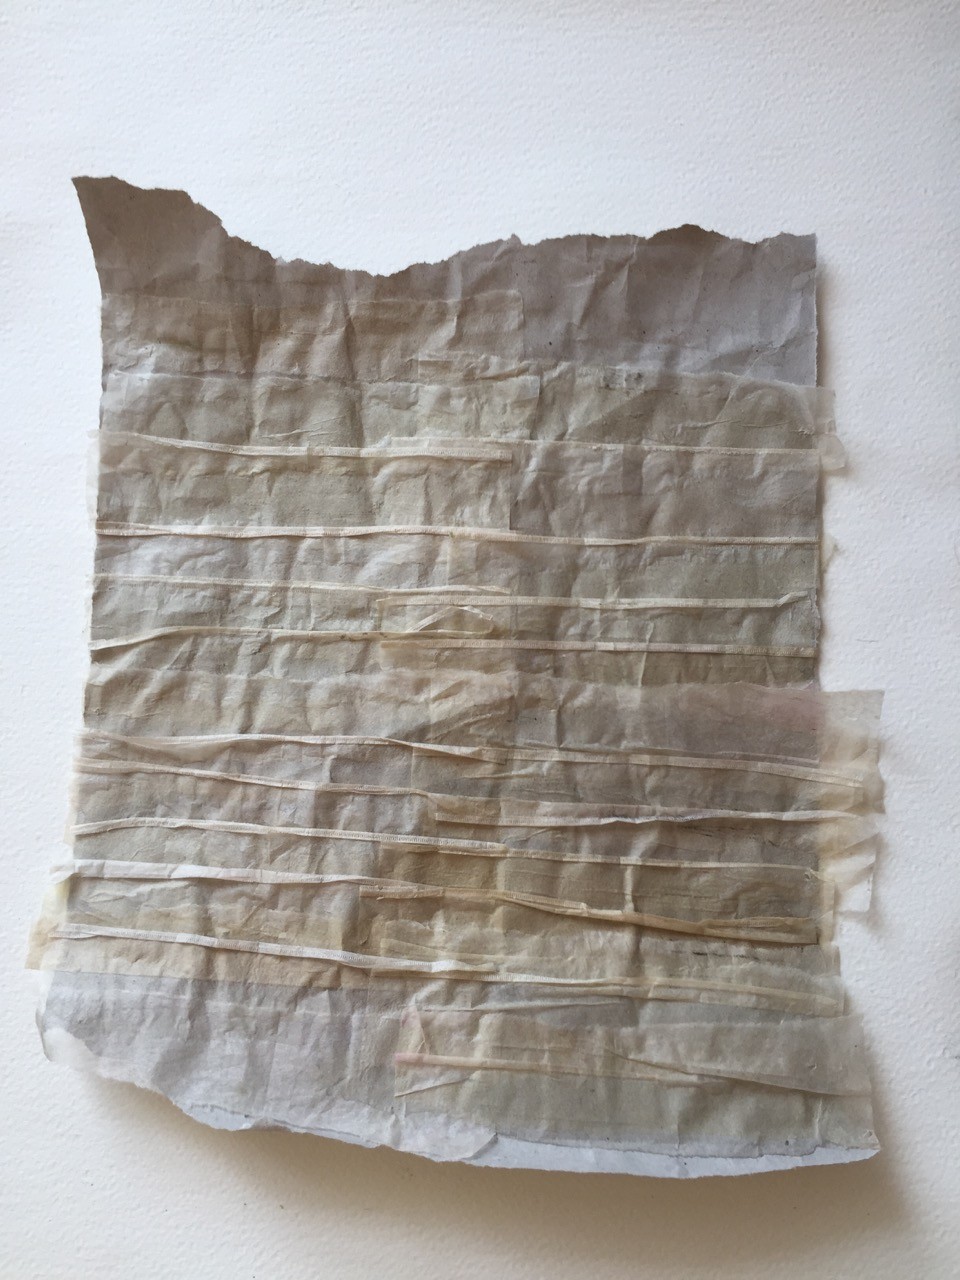
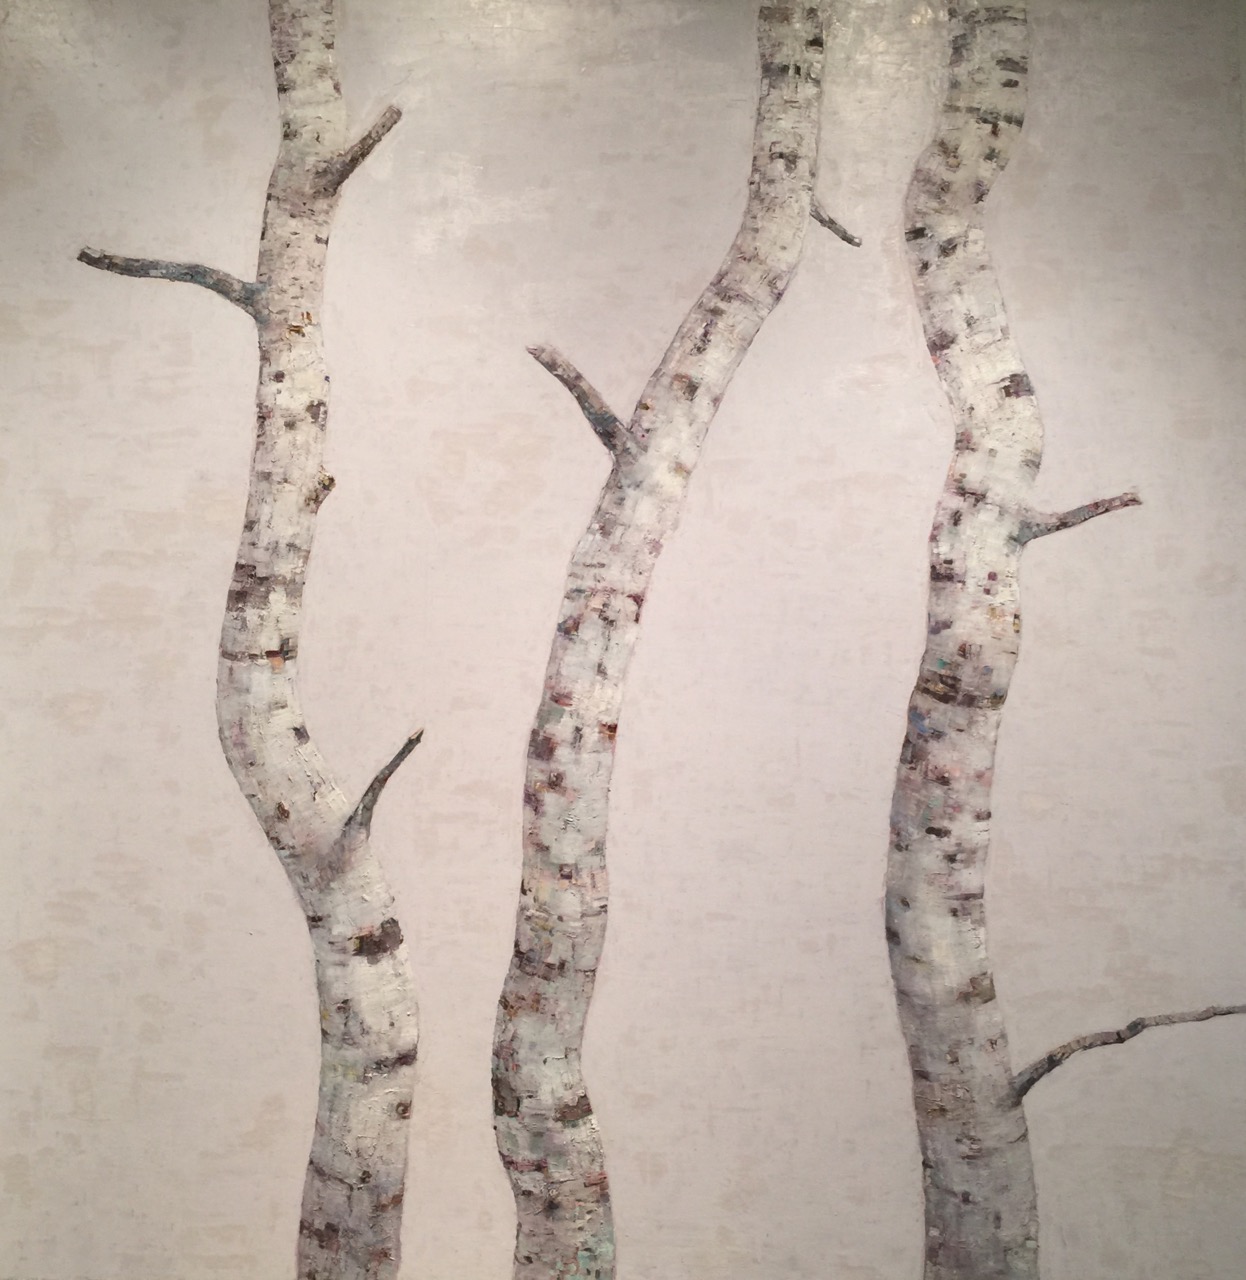
Unfolded teabags, I love that the crinkled edges resemble peeling birch bark.
Enough for now, This is an absorbing process, a collection that can never be complete…