ATV Assessment 2 – 2.3 Drawing with stitch

  
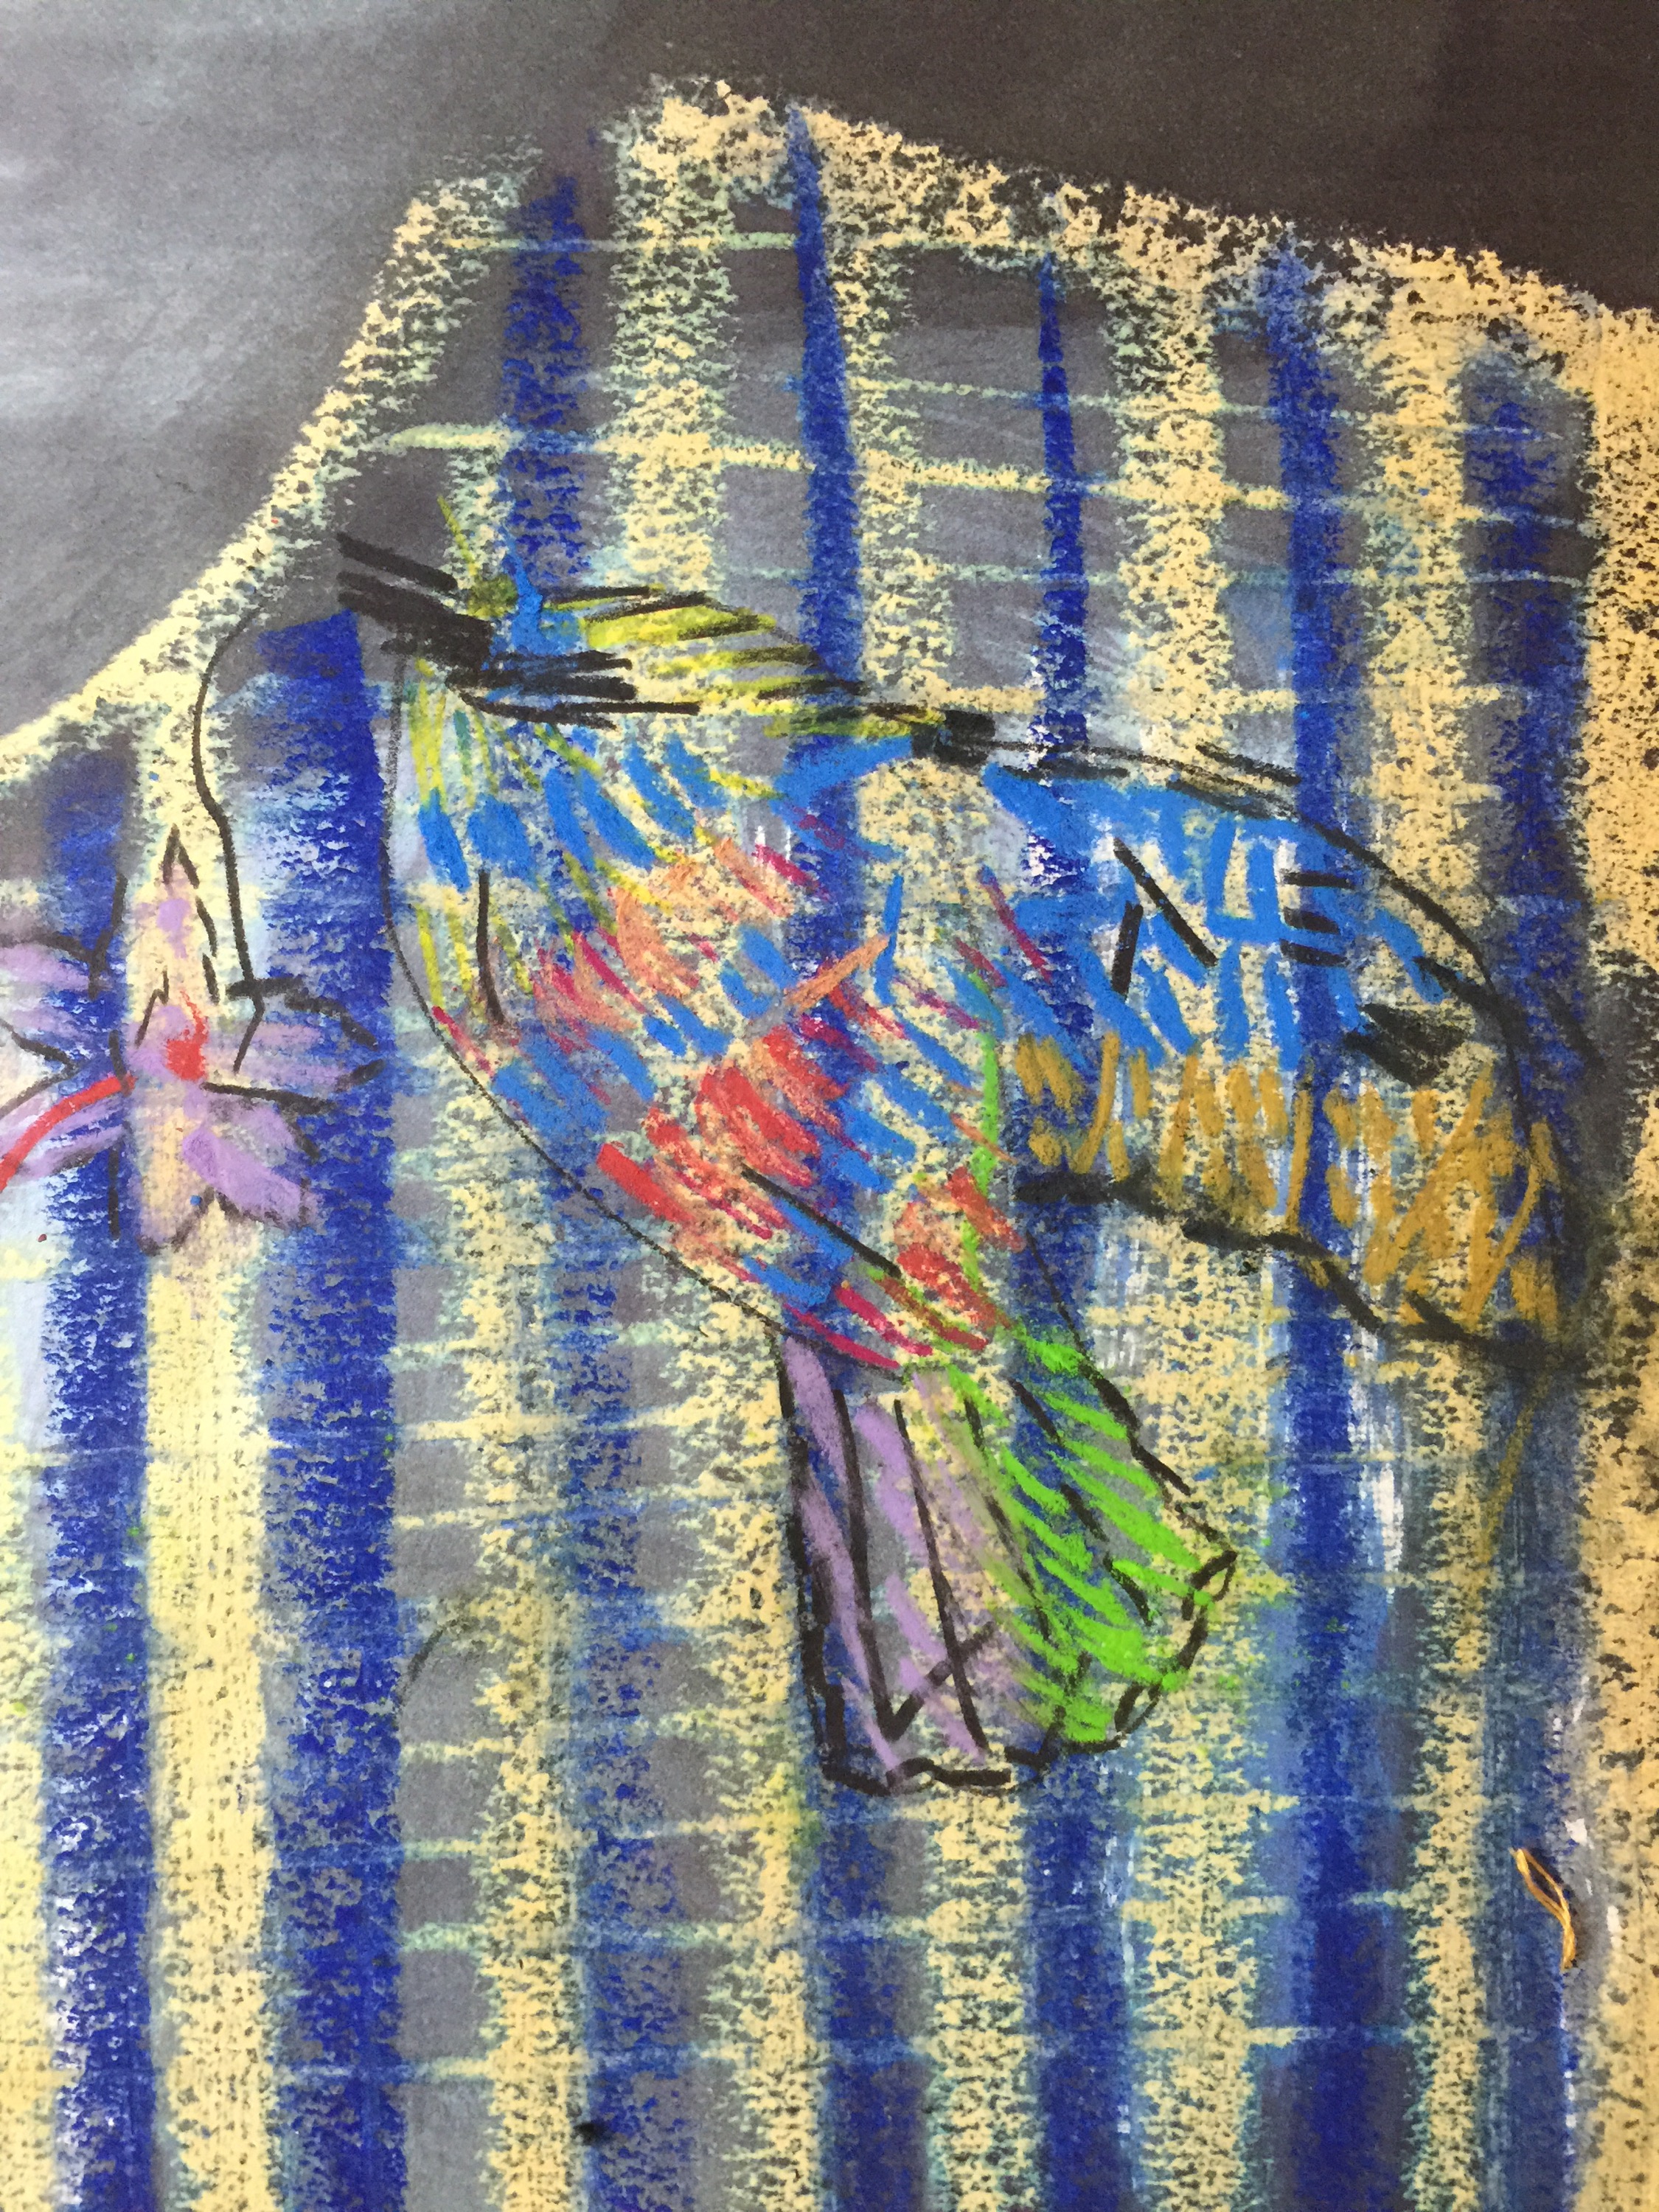
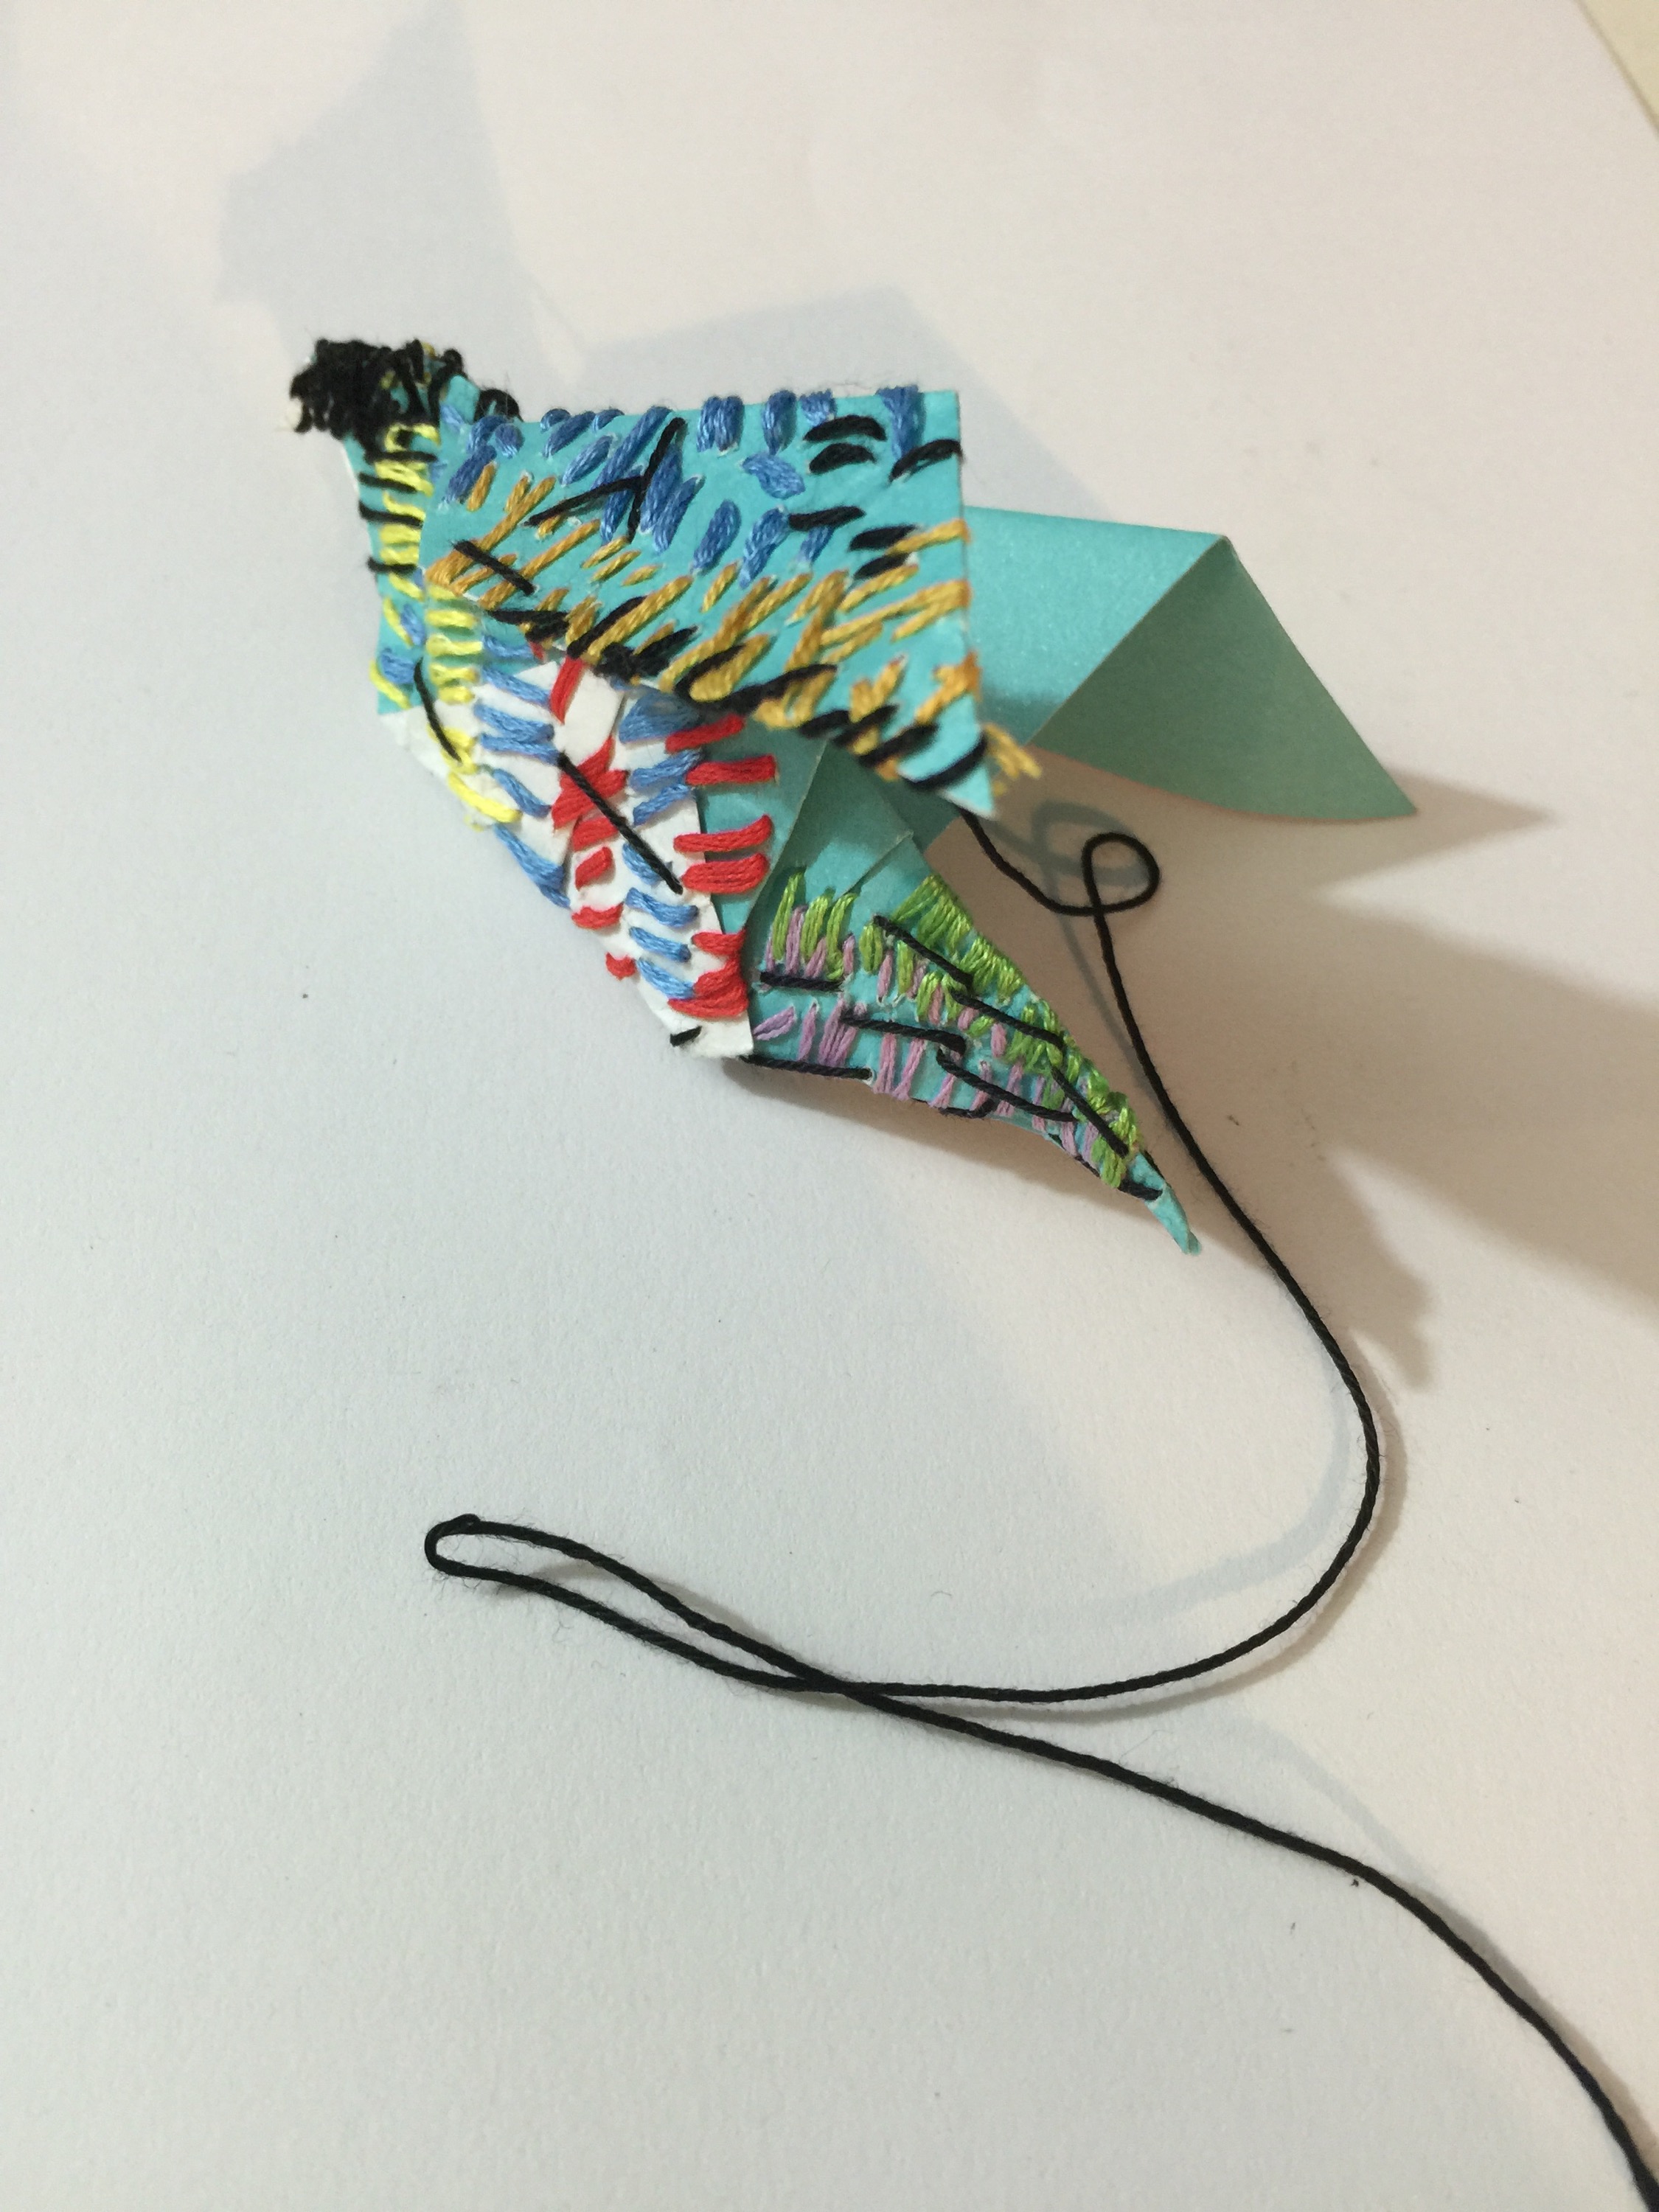
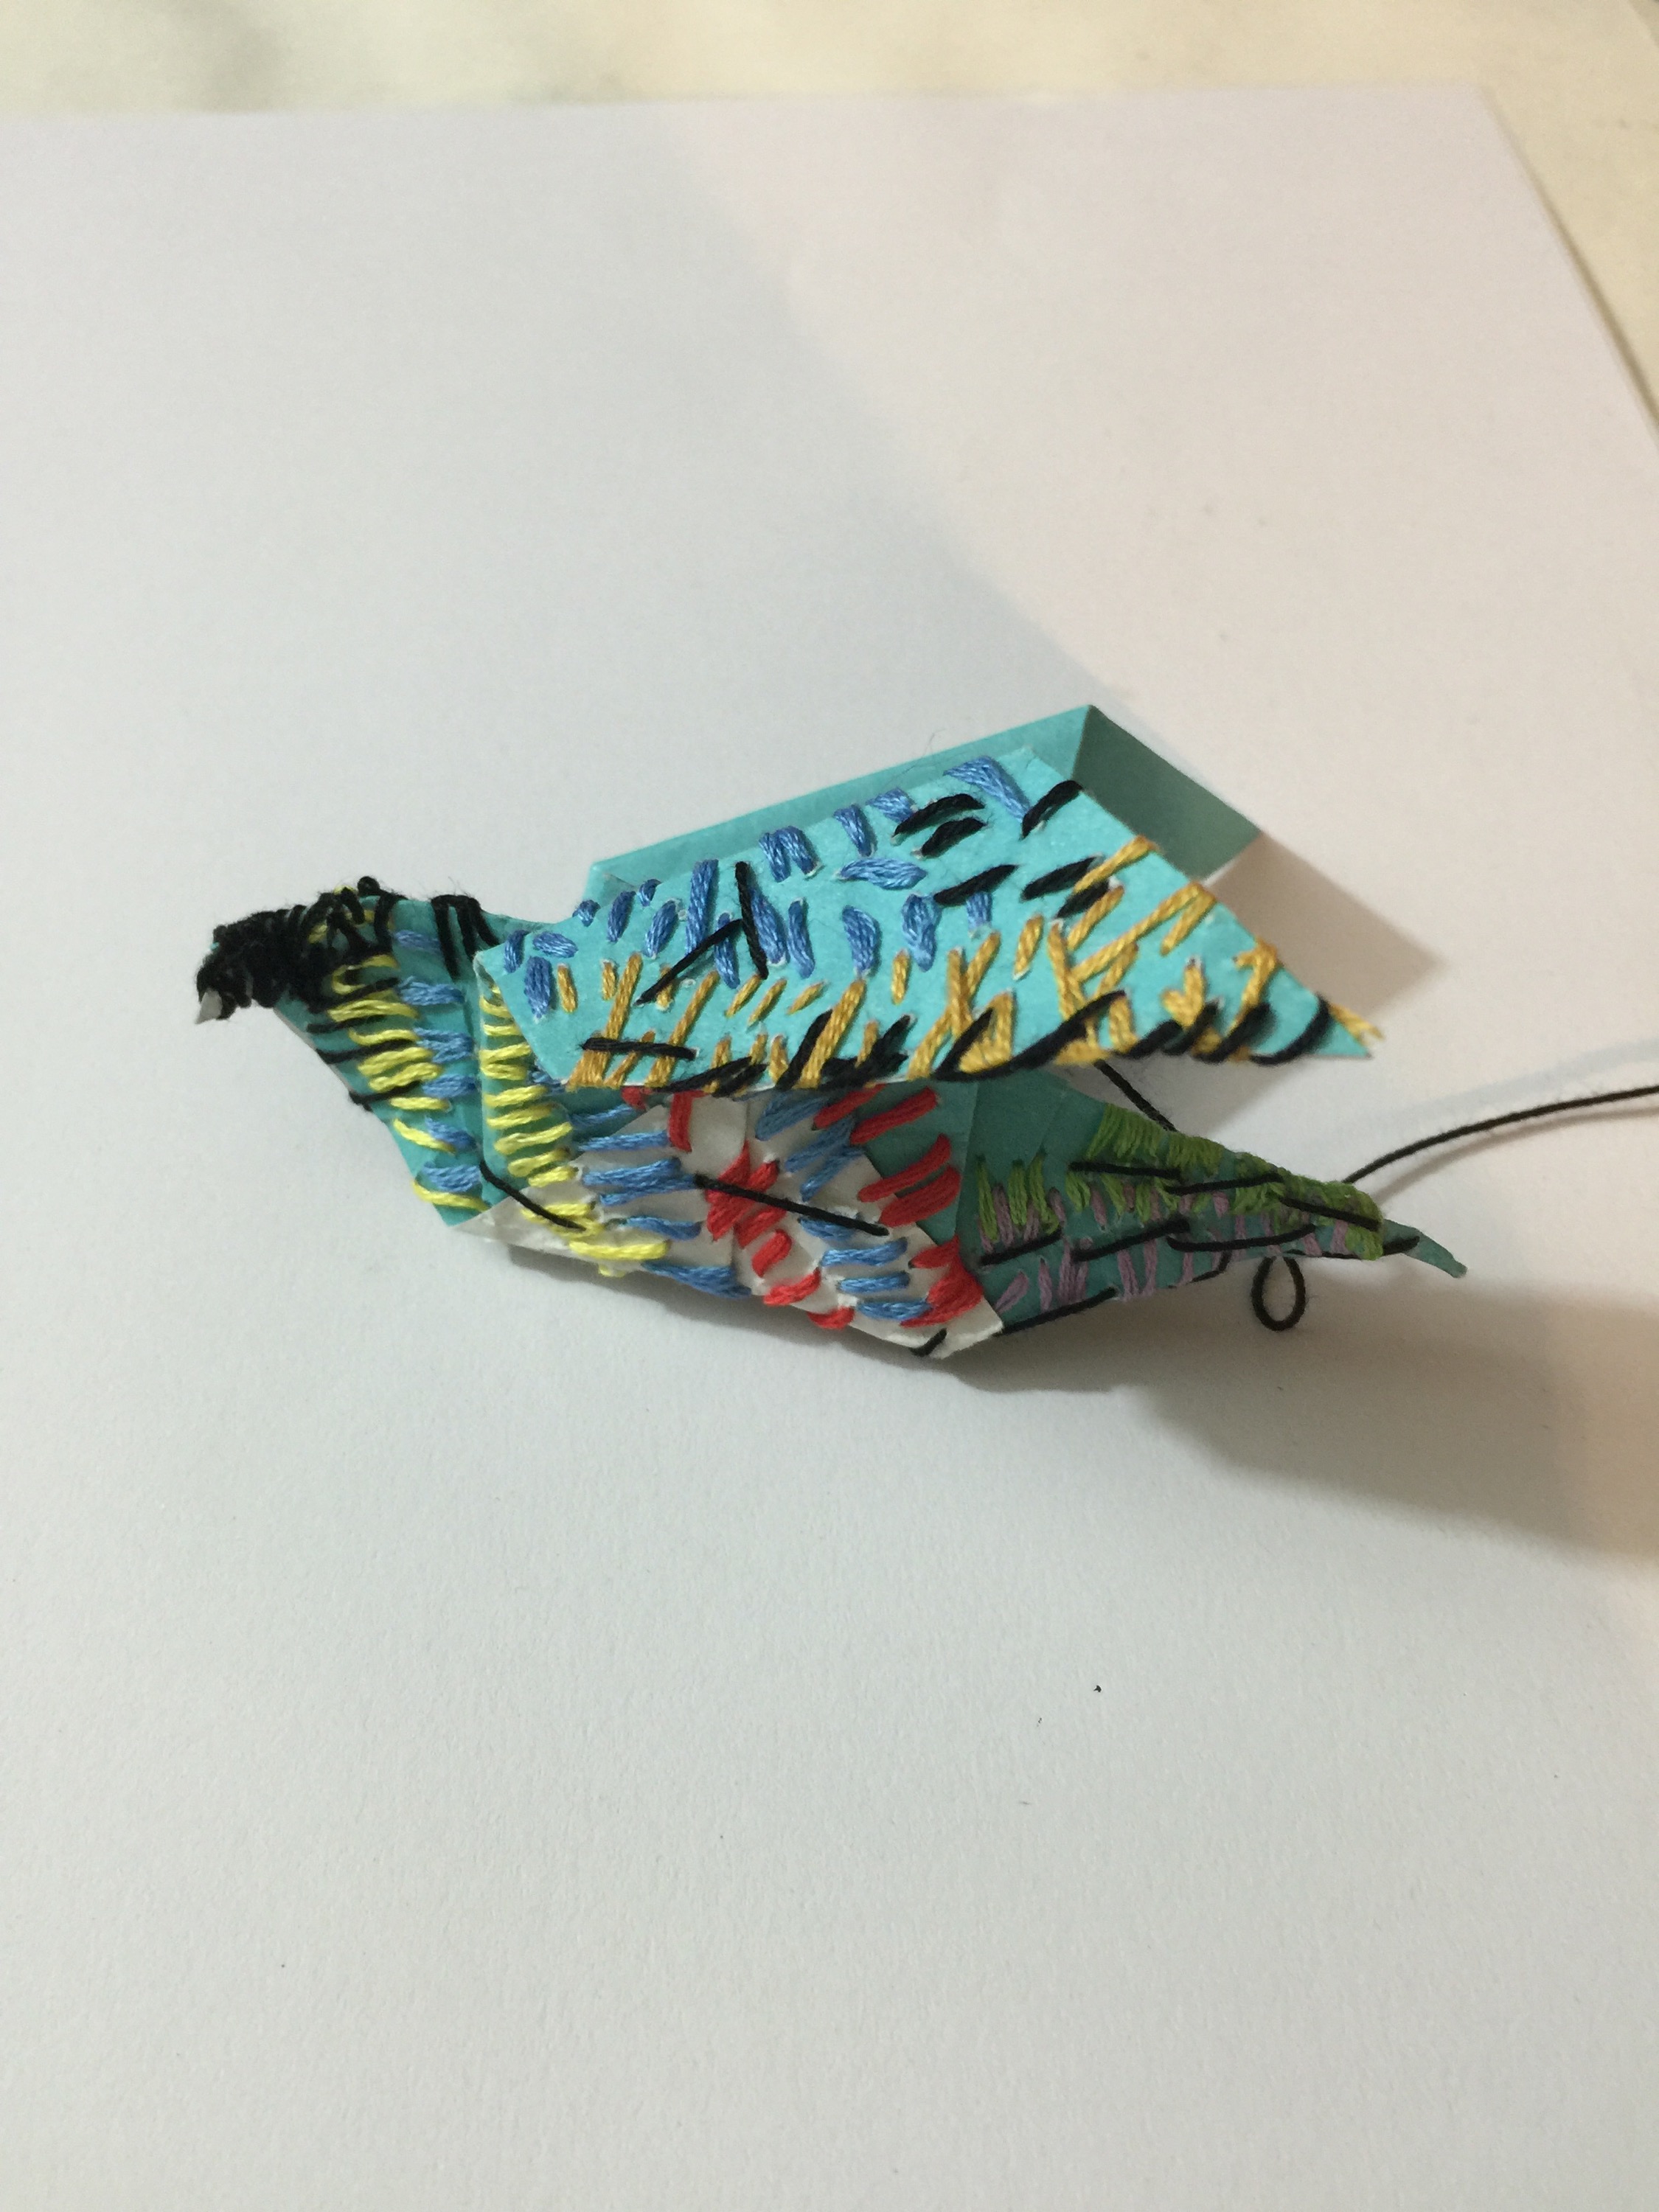
When choosing drawings to work from, I was very unsure where to go with developing stitch marks from my drawings of textiles. For example stitches based on drawings of embroidery  on the huipil, without copying them badly, where can you take them? While reviewing the exercise it occurred to me that stitching on a folded paper substrate, could be this!


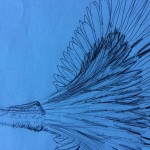
I made an origami bird and embroidered it based on the stitch marks I made!

It was an impulsive idea that I needed to see through. Clumsily executed but quite an important hatching of thought process .

ATV assignment two – Drawing with stitch part 3

Continuing with the last of my paper stitched samples

I am very much enjoying the process of stitching into paper. Common sense is telling me to avoid stitches that are so close together that they act as ‘tear here’ marks. The whole process must be approached with delicacy, thicker threads have to be pulled slowly, thin paper held firmly by the needle to avoid ripping.

Here is the latest batch, and the final for now.

OLYMPUS DIGITAL CAMERA

OLYMPUS DIGITAL CAMERA

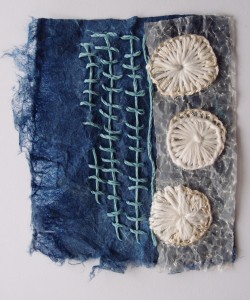
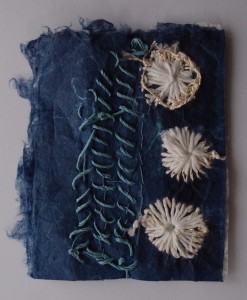
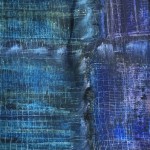
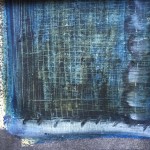
I glued the tracing paper substrate to a scrap of my handmade paper stash             ( bargain 5 rolls for £2  – knew it would come in handy!) The drawing that I used is of fabric that is faded, so that the tops of the weave are light and worn, the dips are darker and shadowed. In another sample I used blue stitches to represent the shadow of the weave, in this sample I used a  blue background, with white stitches to represent the faded raised part of the cloth. I could call this sample buttons three ways but its sounds like a strange TV food programme. I experimented with different stitches to make the circles, I prefer the middle one, the slightly cream thread forming a shadow under the bright white.

Back to the bark – experimenting with thread textures with simple running stitches for the bark marks. From top to bottom the threads are; Raffia, fluffy knitting yarn, an assortment of cream threads, sari silk, jute garden twine. For the purpose of the sample I think they are all suitable and interesting in different ways.

OLYMPUS DIGITAL CAMERA

I couched one of each thread and blanket stitched another column, I really like the way that the blanket stitch forms a small shadow, this adds a sense of depth and added texture.

OLYMPUS DIGITAL CAMERA

OLYMPUS DIGITAL CAMERA

I like that on the reverse the couching stitches form a subtle continuation of the lines.

OLYMPUS DIGITAL CAMERA

Using stitch to join paper, simple but effective representation of the birch bark texture.

OLYMPUS DIGITAL CAMERA

Stretching the seams apart, I like that the stitches just peep through.

OLYMPUS DIGITAL CAMERA

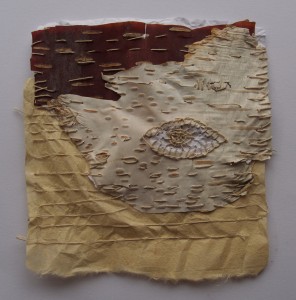
My final sample. I have been observing and interpreting the bark marks, It occurred that as birch bark has so many traditional craft uses, that I could stitch on to it. The white paper bark birch sews beautifully! The red bark was quite brittle and unforgiving. It will be interesting to see what happens as the bark dries out.


ATV assignment two – Drawing with stitch part 2

I appear to have a(nother!) technical hitch and my last post is shorter than when I left it! I’m hoping the content will turn up again so decided to continue in a new post…

IMG_3533

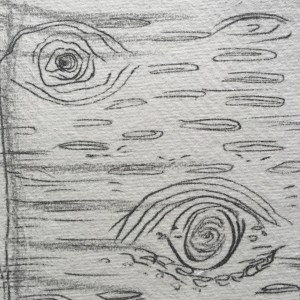
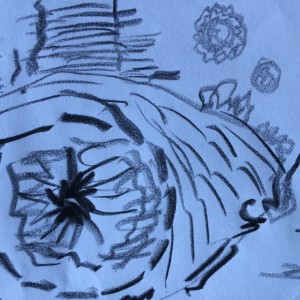
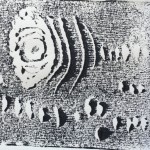
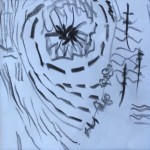
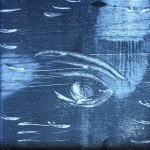
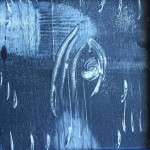
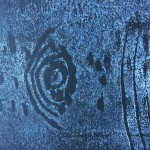
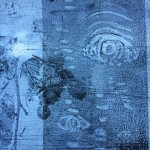
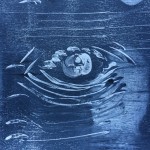
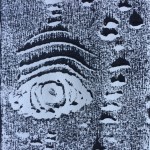
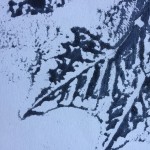
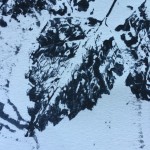
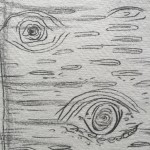
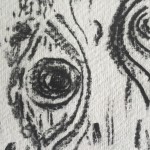
I made this blind drawing in the park, on a rainy day using carbon paper inside a plastic bag! I particularly like the paper clip shaped bark marks  and the underneath texture of the tree ‘eye’

OLYMPUS DIGITAL CAMERA

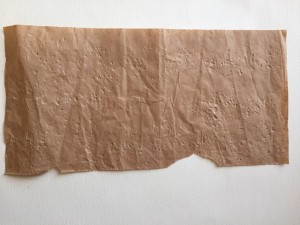
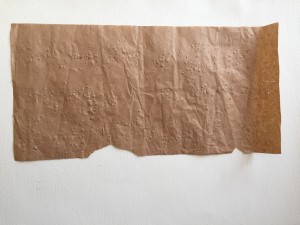
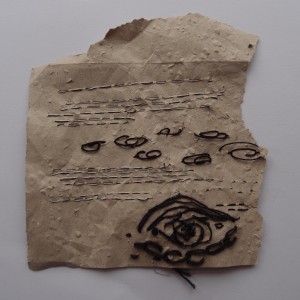
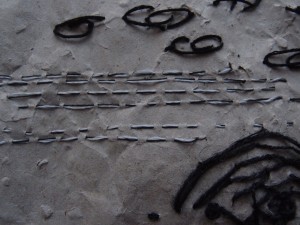
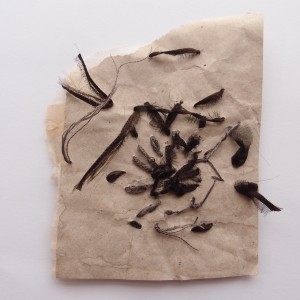
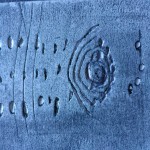
I used the thin packaging paper that I textured in the same park , using a mallet to imprint a gravel texture. The smudge marks were represented by using ordinary sewing thread and a single strand of DMC rayon. I used simple running stitch with a long stitch visible and just a short stitch under the paper. the lines are of an uneven length and parallel but of varying distances apart.

OLYMPUS DIGITAL CAMERA

The larger bark marks reminded me of paper clip shapes. I used a thicker thread which in hindsight looks a bit to dark, I started by doing a sort of chain stitch with a bit of couching, I then found the three tiny running stitches could be woven into in a spiral shape – this was easier and looked more effective.

OLYMPUS DIGITAL CAMERA

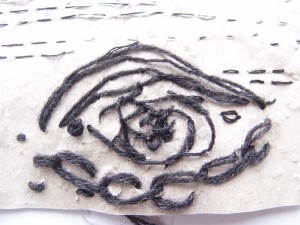
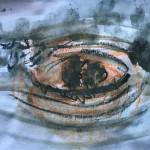
The tree eye I stitched using a grey darning wool, I used an open, uneven chain stitch underneath and couched down a spiral for the center and top. This bit of the paper was quite textured by the mallet and ripped quite easily. I like the texturing and natural flecks in the paper, it could be strengthened with bond-a-web and then the center of the eye could be more detailed.

IMG_3466

OLYMPUS DIGITAL CAMERA

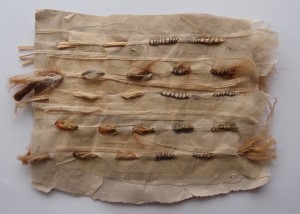
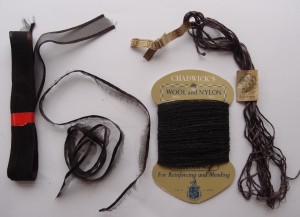
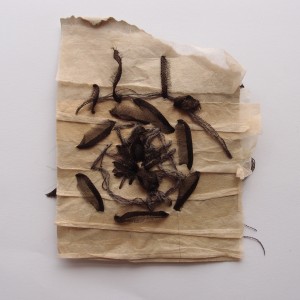
Whilst I was sorting out threads for this exercise, I wondered what would happen if I ripped a piece of gauzy ribbon,  this! I thought that it would be interesting to use as a heavy line with a soft edge, graphite stick in this case was the drawn mark. I also chose a mix of threads in the needle again, fluffy and sharp, but this time thinner.


The marks worked well. The substrate is unfolded tea bags on packing paper. It was not quite strong enough for such heavy thread so I stopped at this point

OLYMPUS DIGITAL CAMERA

OLYMPUS DIGITAL CAMERA


I love my home made thread and will definitely experiment more to create interesting line types.

IMG_3424

OLYMPUS DIGITAL CAMERA

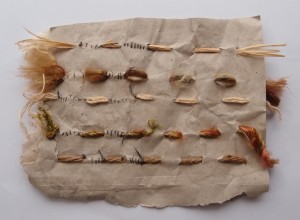
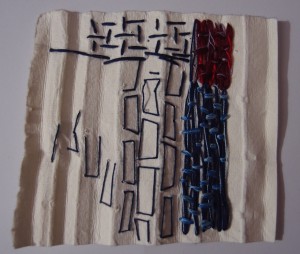
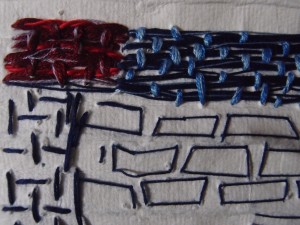
Back to the Akha Jacket. I used the folded paper to give me a guide for the rectangular weave marks and to utilise the light and shadows that the folds give.

OLYMPUS DIGITAL CAMERA

I enjoyed mixing different colours and textures of threads in the needle for the binding. It gives a good sense of wear and the light and shadows I think. The rectangularish shapes could be interesting as a continuous line using a sewing machine – something to try and it will be interesting to compare, side by side.

OLYMPUS DIGITAL CAMERA

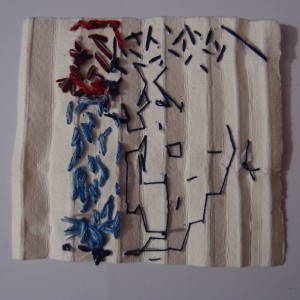
I really like the way the reverse tells the story of the path of the needle, It kind of tracks my thought process as I stitched.

ATV assessment 2 – project 2 – Drawing with stitch

Choice! what a dilemma, I am not yet very good at choosing. Making a decision about which drawings to take forward to stitch samples was a huge stumbling block. I really enjoyed experimenting with drawing in the previous projects but this task was asking me to identify which of my drawings were best suited to stitch, good enough even. I dutifully laid them all out on the floor and found myself lacking, I didn’t enjoy this part. So I put it off, procrastinated and did research and other safe tasks. Eventually I started to progress by using a view finder, then I took close up photos and found that things started to look more interesting.

Cropping, zooming , rotating all make such a difference. I didn’t manage to narrow things down much (aiming for 6 images!!!! ) but I do feel ready to move on. Hurrah.

I’ve been studying Drawn to Stitch by Gwen Hedley, she may just be my saviour!

IMG_3434IMG_3535

OLYMPUS DIGITAL CAMERA

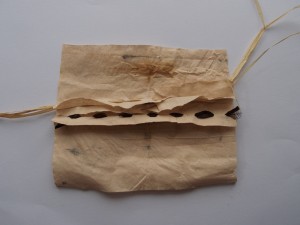
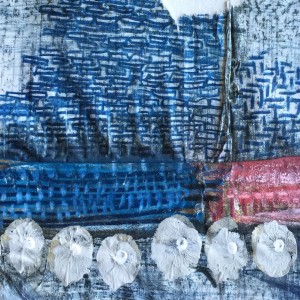
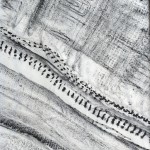
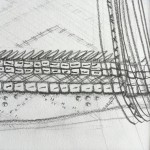
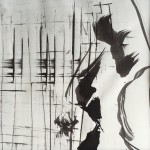
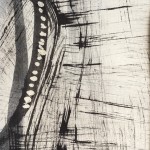
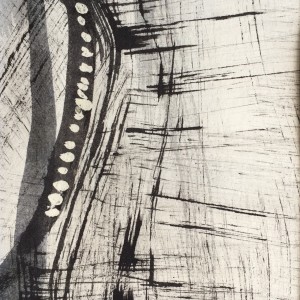
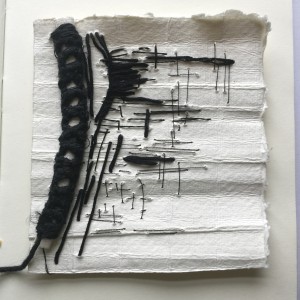
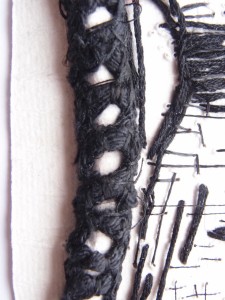
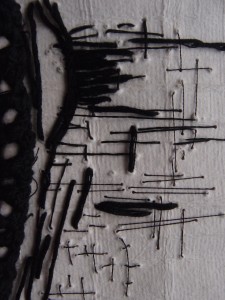
This drawing of the Akha jacket was drawn partly with a toothbrush, which gave different line thicknesses and suggested quite strongly the weave of the fabric. I chose different thicknesses of thread and used a tube of paper to raise the white dots and add an element of depth.

OLYMPUS DIGITAL CAMERA

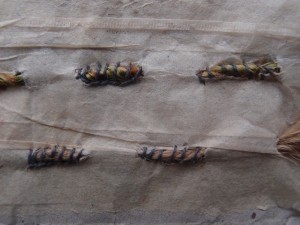
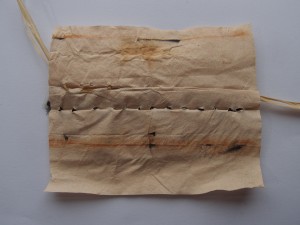
The close ups show the detail of the holes, you can see where the needle came up and where it was pushed down, also how the folded creases of the paper add a feeling of weave.

OLYMPUS DIGITAL CAMERA

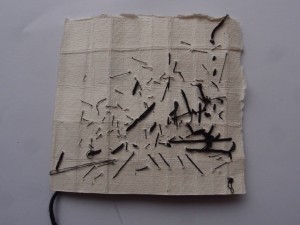
The reverse has a charming sense of disorder.


ATV assignment 2 – Surface and stitch – project 1 – creating surfaces

The aim of this project is to explore and produce a range of substrates to stitch into.I got stuck  deciding which drawings to move on with so I started manipulating paper with no specific ideas for stitching in mind but an awareness that antique fabric, bark and leaves were probable. Creating surfaces is so much fun ! I could play with paper for weeks – but it’s more important that I play catch up!
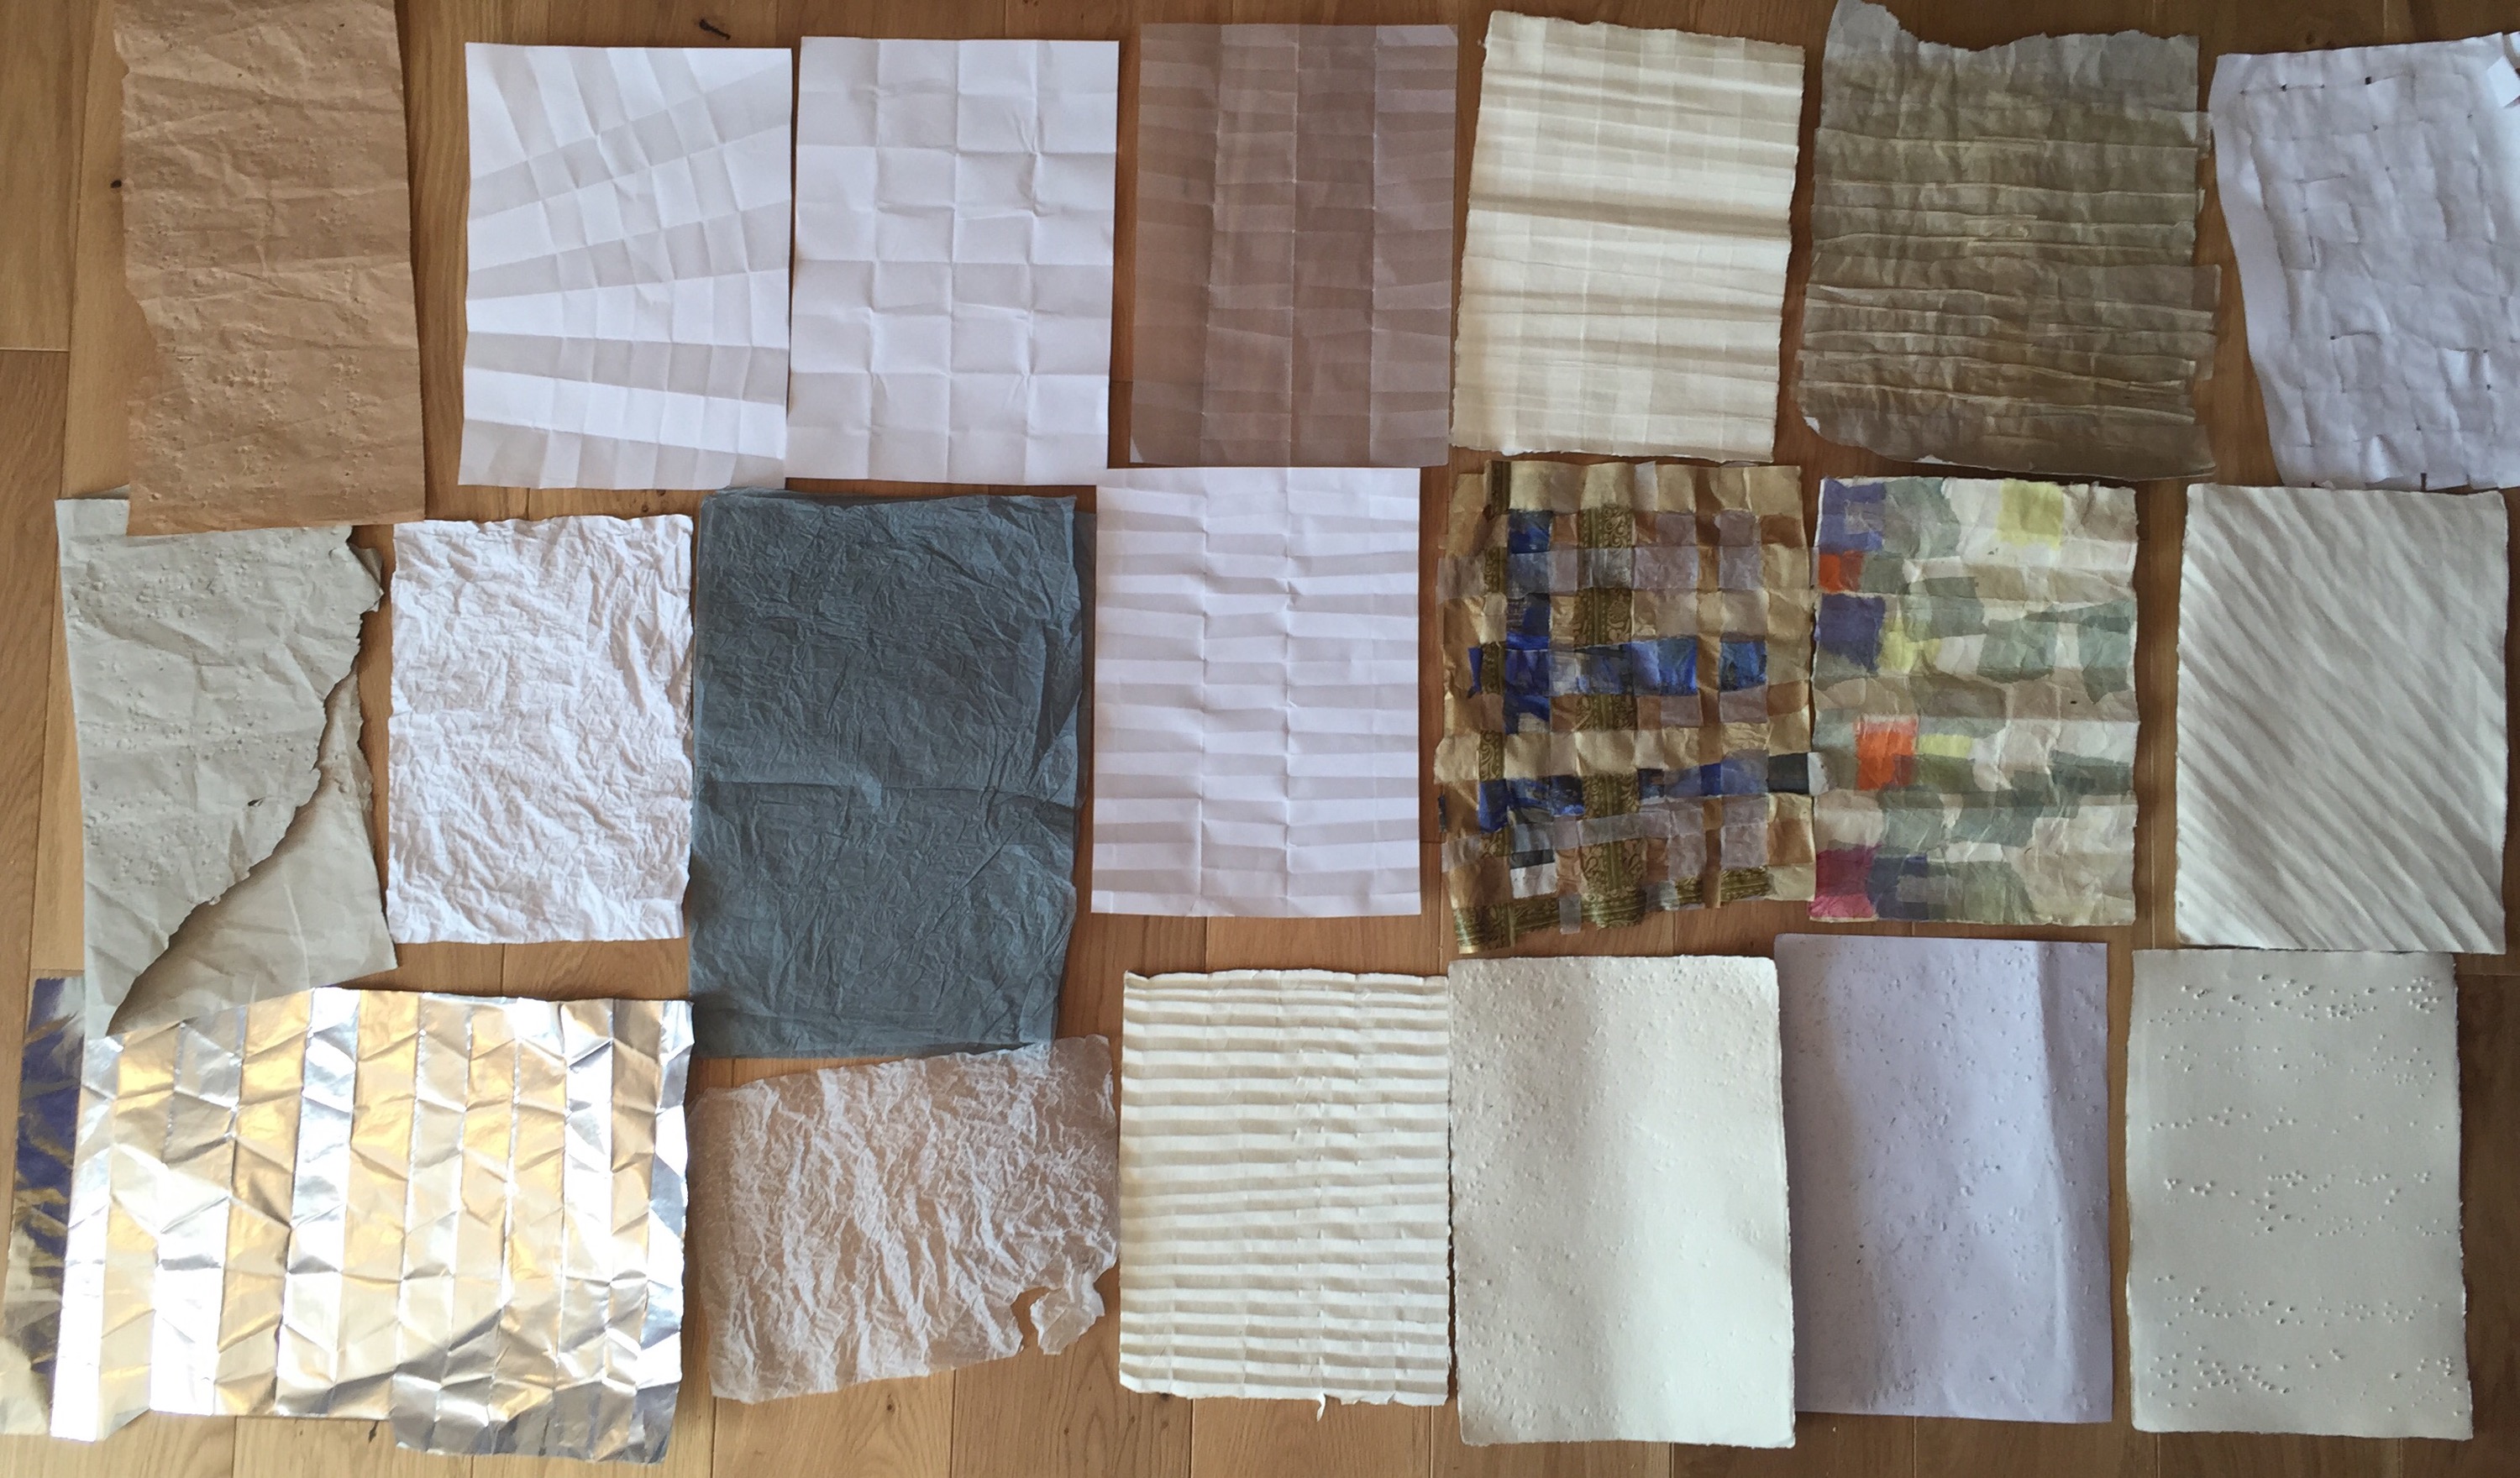
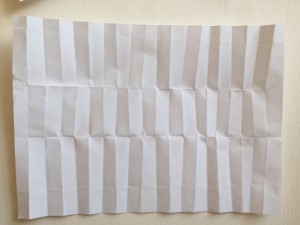
I started by creasing and folding, inspired a little by a visit to Aahus museum in the summer.
IMG_3125

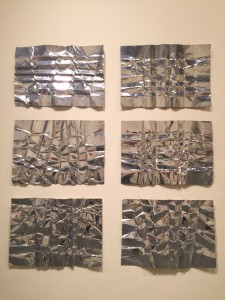
6 reliefs by Paul Gernes in 1962, made in an unidentified metal, I love the creases left by folding and unfolding, they are very representative of woven fabric I think.
IMG_3516 IMG_3515

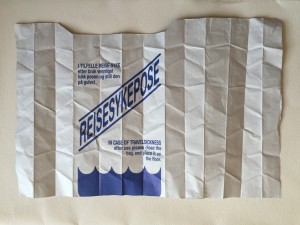
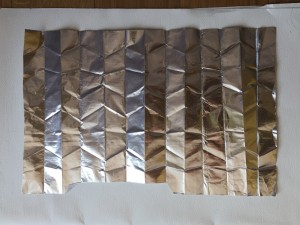
Sick bags from the ferry! paper on one side, foil on the other. The creases held really well, I made quite chunky folds, I think that this would also work with smaller folds. Many snacks come in foil lined bags so probably quite a colour range to choose from.
IMG_3523 IMG_3522 IMG_3521 IMG_3520

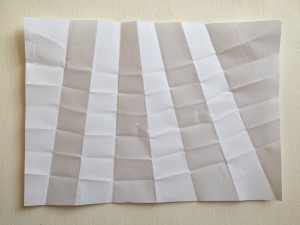
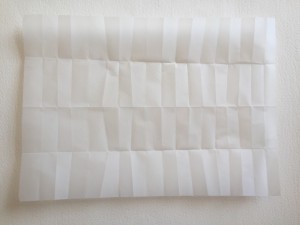
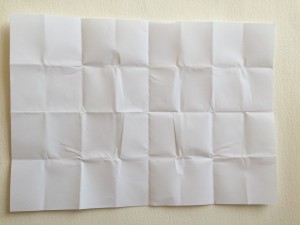
Different shaped folds, I like the way the shadows form, top left is tracing paper, the translucent quality is lovely.
IMG_3407IMG_3408IMG_3524

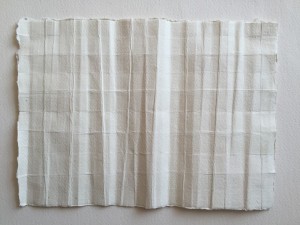
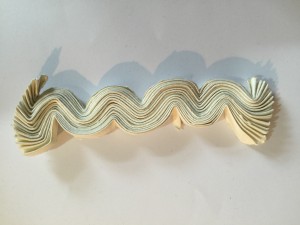
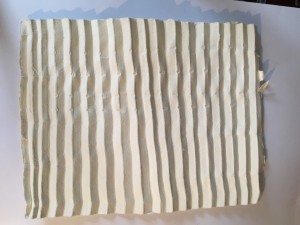
Kadi paper is made from 100% cotton rag, this is 320gsm so quite thick. It looks fabulous while pleated,  bending the paper backwards and forwards while pleated generated a lovely wrinkle when flattened out. I used a hammer while folded to see what the indents would look like. The bottom image is the same paper folded backwards and forwards a bit haphazardly then unfolded turned 90 degrees and repeating the process. I really like this effect and it brings to mind bark and cloth- useful!
IMG_3519 IMG_3518 IMG_3517

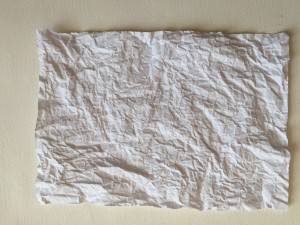
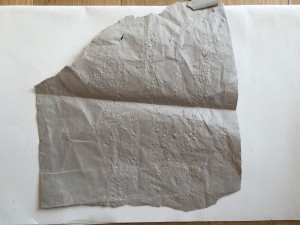
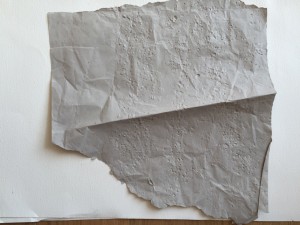
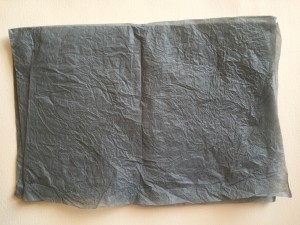
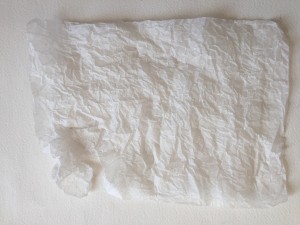
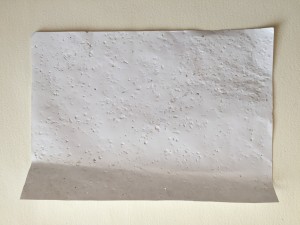
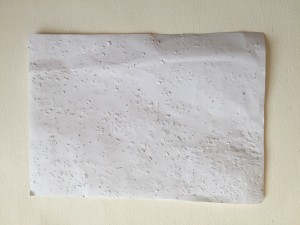
Crumpling – splendid word, crumple crumple crumple.People crumple when discarding things which is sad, but also associated with present opening – way more joyful! A quick and effective way of testing the properties of a paper, grey tissue paper, very soft and fragile.Tracing paper, not observable in the photo but there are delightful white dots at the apex of creases, its very brittle though – it needs laminating with something else.
IMG_3514 IMG_3513 IMG_3512 IMG_3511 IMG_3510 IMG_3509 IMG_3508 IMG_3507IMG_3401

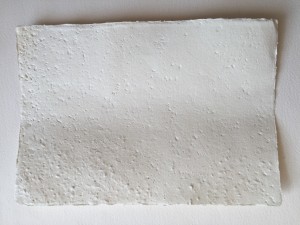
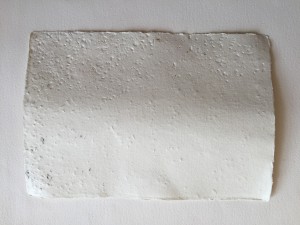
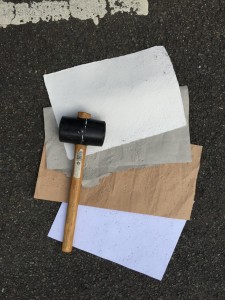
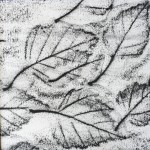
I amused the neighbourhood by taking paper and mallet to the local park where I thought the ground texture might give interesting marks. I tested different thickness’s of paper and observed the back and front. the thin paper after a lot of perseverance became slightly pierced by the gravel. The Kadi paper retained the shapes of the gravel really well, I prefer it on the indented side, the bumpy surface is very like wood chip wallpaper, way less defined.
IMG_3405IMG_3504 IMG_3503 IMG_3502 IMG_3501

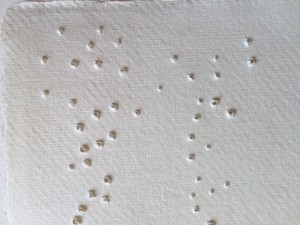
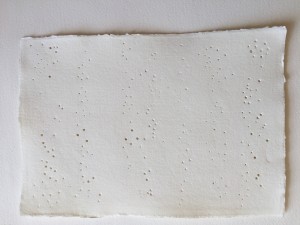
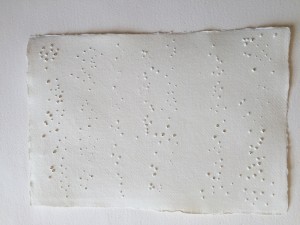
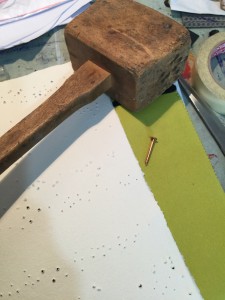
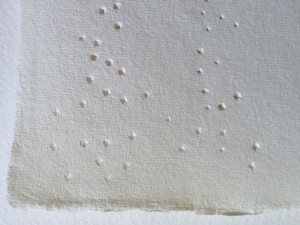
Mallet and nails are a far more controlled way of making holes. Hole size can be controlled by pressure or nail size and  patterns easily achieved.
IMG_3499

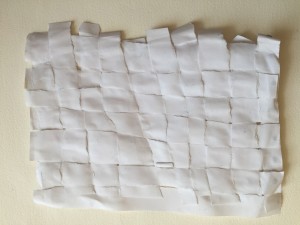
Weaving! I ripped the two sheets of paper and kept the strips in order so that when woven they were uneven but tightly joined, clearly it would be easy to make a more open surface.
IMG_3498 IMG_3497

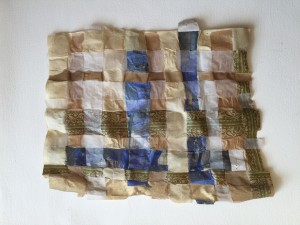
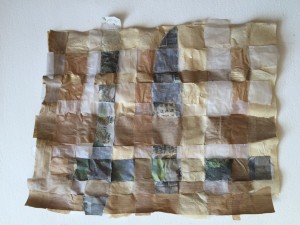
Back and front of a weaving using different tones and textures of paper.
IMG_3496IMG_3229 IMG_3228

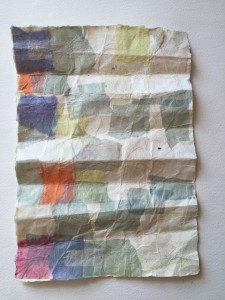
Patchwork of tissue collaged onto folded Kadi paper, inspired by a painting called Double Brown by Michael Kvium that I saw at Aros Museum
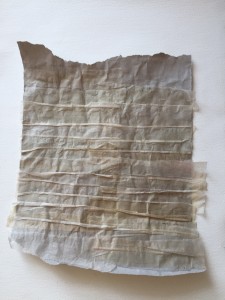
Unfolded teabags, I love that the crinkled  edges resemble peeling birch bark.

Enough for now, This is an absorbing process, a collection that can never be complete…