I’ve heard mention in the music world of the difficult third album. In stitching terms this is it! I really like my two previous outcomes, they were my strong ideas. I have several more but which to choose??
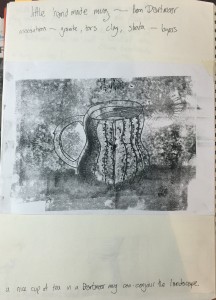
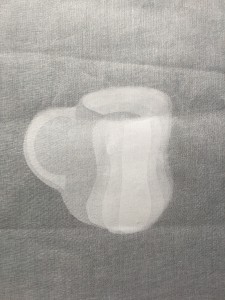
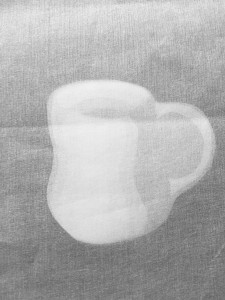
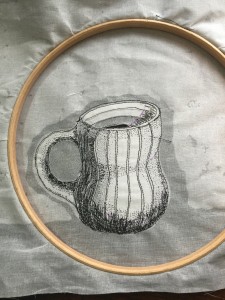
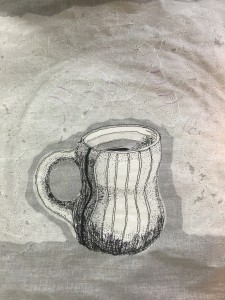
I worked through a few ideas in my sketchbook, then had a flick through my assessment one drawings and found my little Dartmoor mug scraffito/back drawing. I like the way that I developed form through shading and wondered if I could achieve this with layers of fabric.
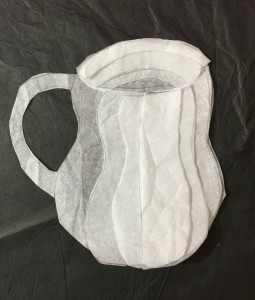
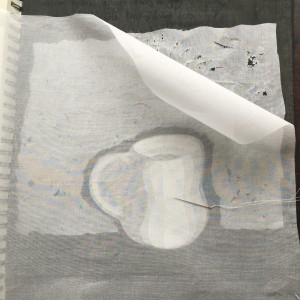
My tissue paper mock up is really effective – so a plan was formed…
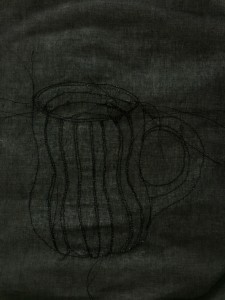
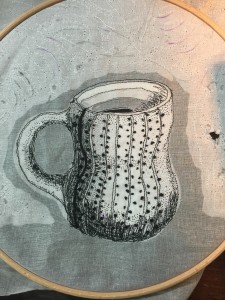
I did a two day machine embroidery course with Rosie James and thought that machine stitch would work really well to define the outline of the mug . The course was a while back so I dug out Rosie’s book Drawn to Stitch to recap the basics , and had a practice on some scrap fabric to get my sewing machine settings right.
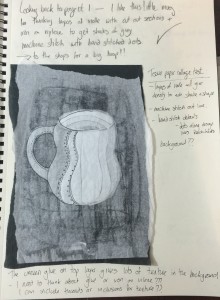
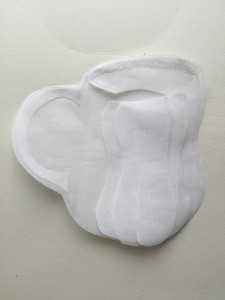
Playing around with background fabric colour, the layers stand out much more clearly on black than white, and interestingly more definition with the smallest layer on the top than the bottom.
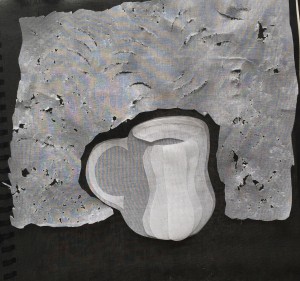
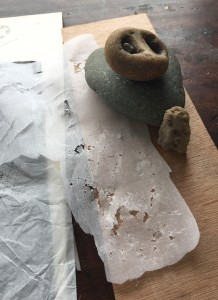
To make the ground darker (to stand the mug on rather than have it floating in air), I decided to make the air lighter by adding an extra layer. The plain fabric was to clean so I distressed it in a similar way to some of my paper samples by bashing it between two stones (handily gathered somewhere along the way!).
This was really effective , I also used a scraping technique to make the curved lines that I observed in my print.
I used some tiny bits of glue peeled from that iron on paper for applique, this was to hold the layers in place while stitching, without making a solid lump of glued layers.
Air erasable pen was used to define a couple of the less obvious edges. I do hope it disappears! The first round of stitching seems to have gone quite well! Yay!
Coming back to the piece after a good sleep I decided a bit more trimming would show graduations more clearly, I also observed the black stitching on the black base layer looks rather lovely.
I did some experimenting on some spare fabric and discovered four tones;
white bobbin and white thread is lightest
black bobbin and white thread gives tiny dots of black
white bobbin and black thread gives broken black lines
black bobbin and black thread is darkest.
Also direction of stitching reflects light in different ways.
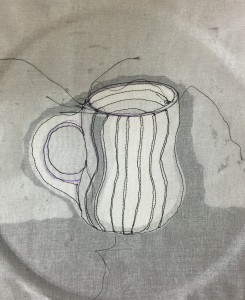
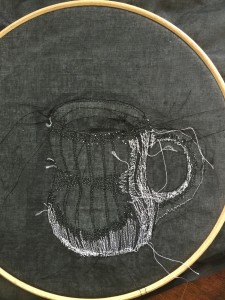
I used this to start to give form to the mug, I especially like the subtle marks of white thread with black bobbin, this gave lovely subtle shading around the waist of the mug. ( still loving the reverse)
I machine stitched a thick thread on the shadow side , where the decorative line had disappeared and started to try to develop some texture in the back ground – the thick thread was successful, the background I’m not so sure about…
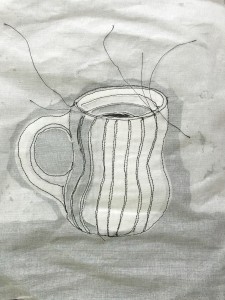
French knots were perfect to complete the mug, I’m really pleased with the form and texture.
I started cutting through the background to add some texture as the stone hammered marks were a bit lost under the foreground fabric. I’m really not sure where that was going so I stopped. The course notes do state that we are not making completed works for this excercise.
Hurrah!!! third piece ready to go.
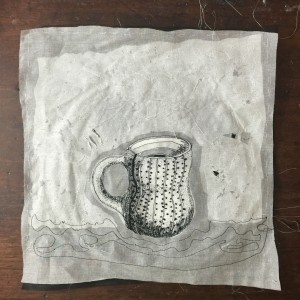
Thank you for sharing the process – this stitched mug is a really effective transformation.
Thank you Lottie!
This was my being brave , I have no idea what to do for my third piece, jump right in sample. I looked back at everything and remembered that describing the process was on my list of things to improve! Recording the different stages made the process of making it much more reflective I think.