Project two – Recording and capturing
Exercise 1.3 Making marks
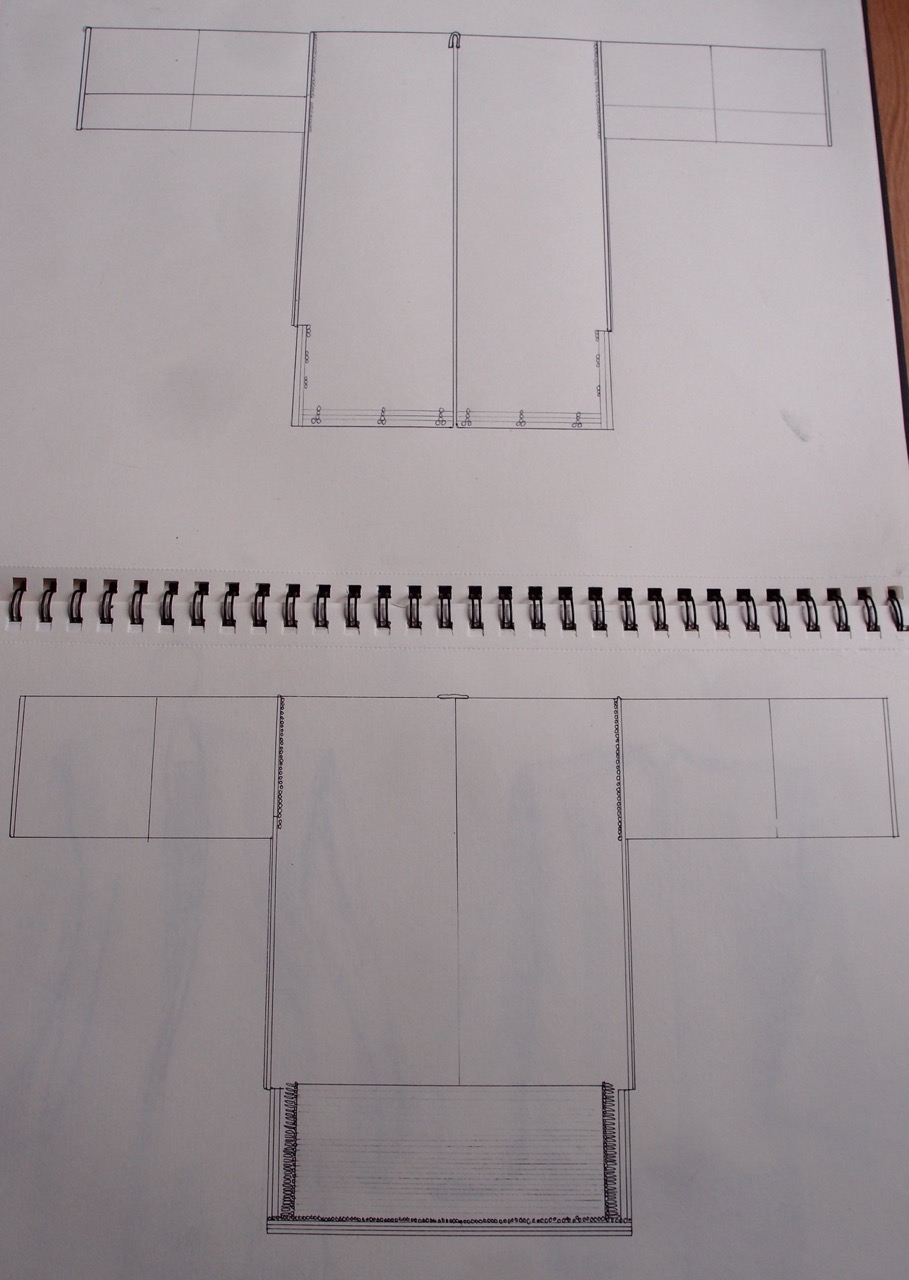
I did a technical line drawing to show the exact construction of the jacket, it is very unemotional but informative.
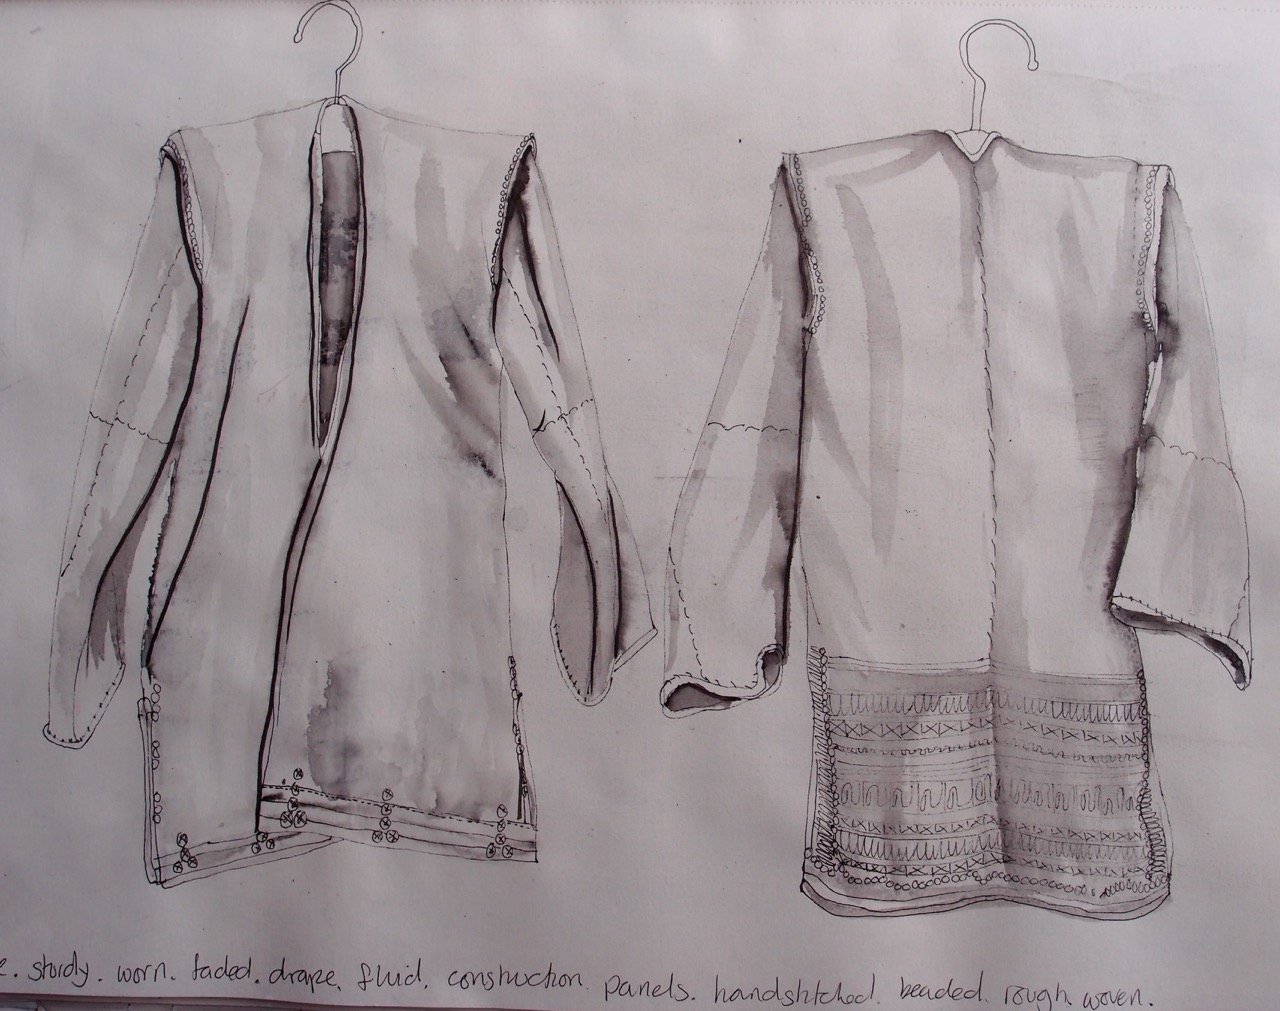
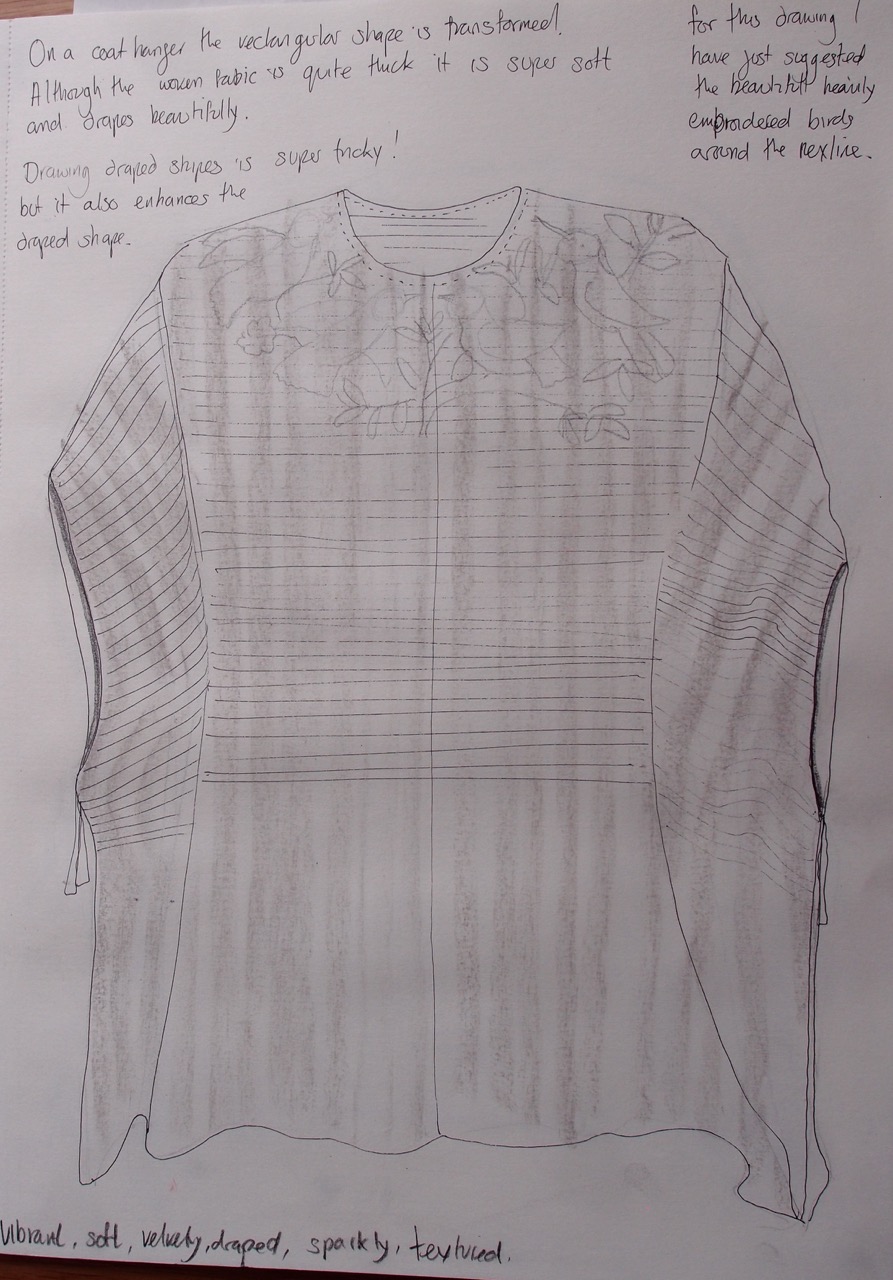
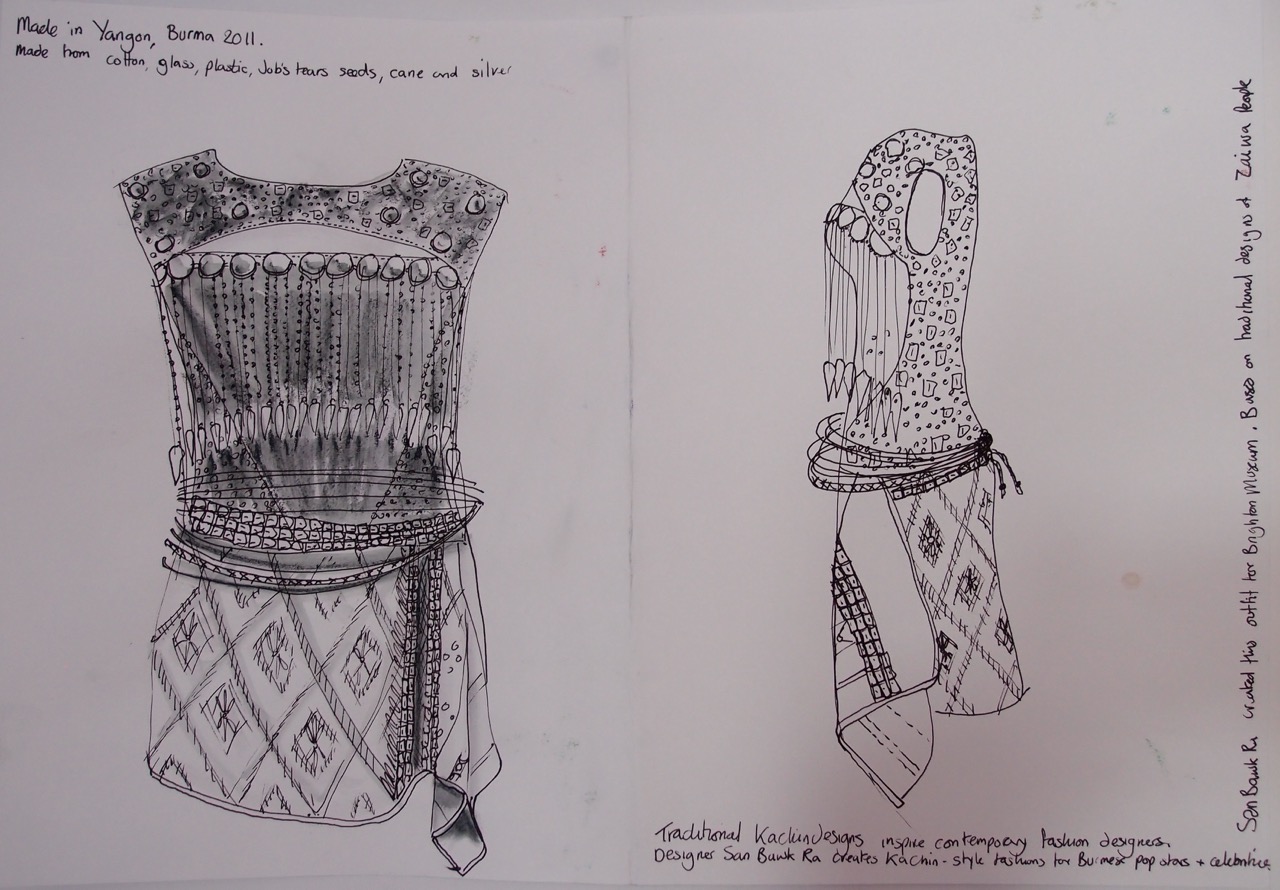
Then I used a fine line pen to draw a front and back view, I added some ink wash to show shadows. hanging it on a coat hanger gave the jacket an appropriate shape. I like the sense of age and drape in this drawing. It is still very analytical though.
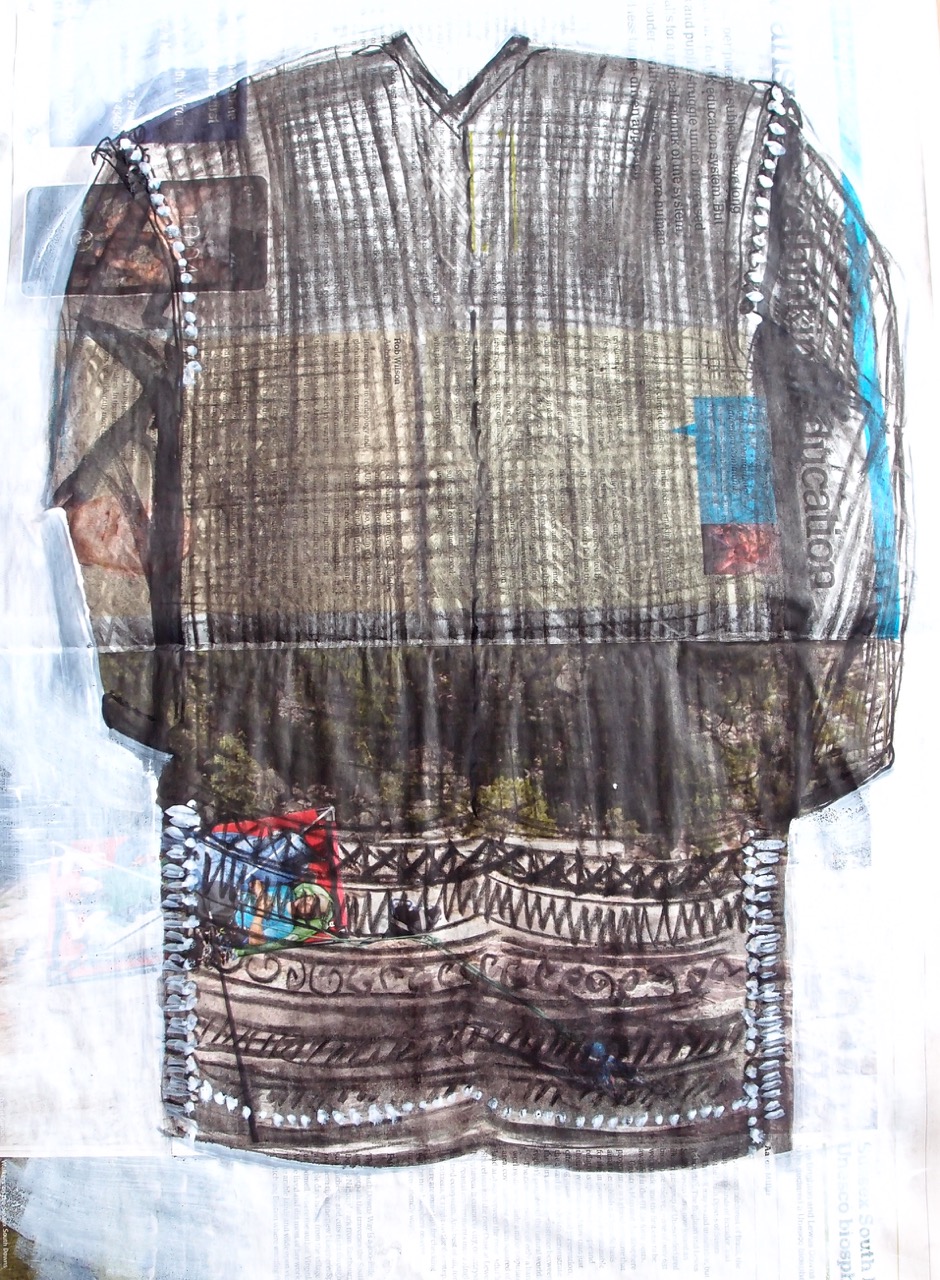
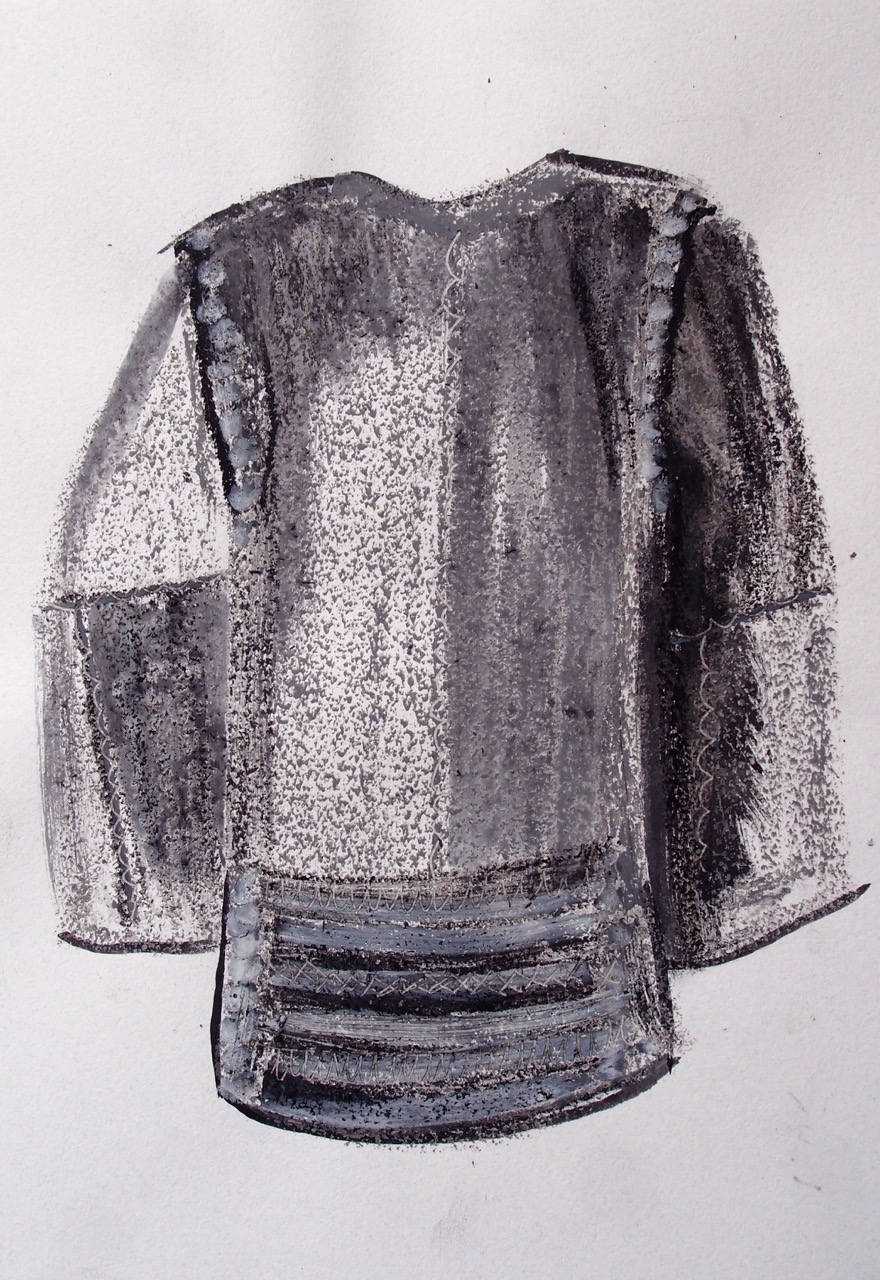
I used painted newspaper and drew in charcoal and used a paper blending stump and silicon tipped burnisher to create the rough fabric texture. this gives the impression of a strong hard worn and hard-wearing garment . I now see my first drawing as quite ethereal, it looks like its made of a very lightweight silky fabric.
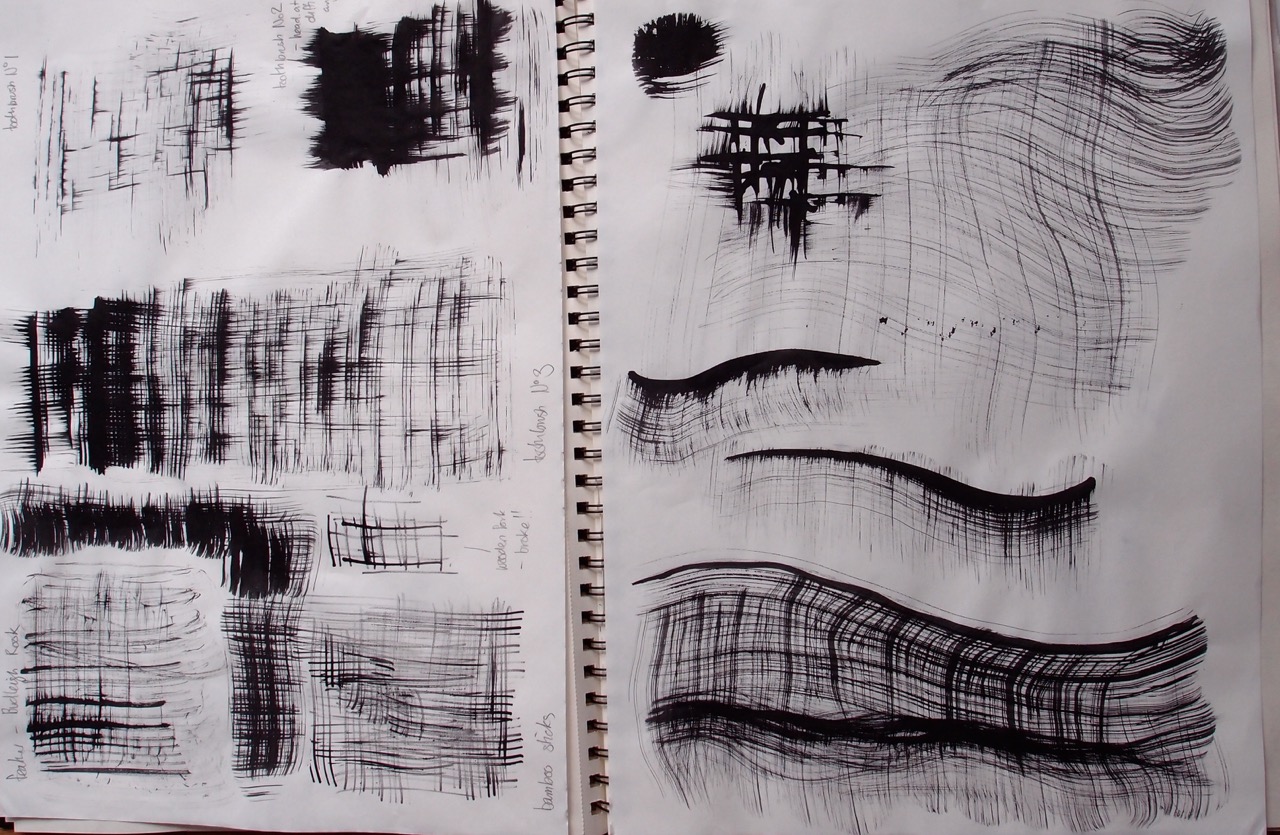
I experimented with different marks to try to represent the coarse texture of the weave and found that toothbrushes make good marks.
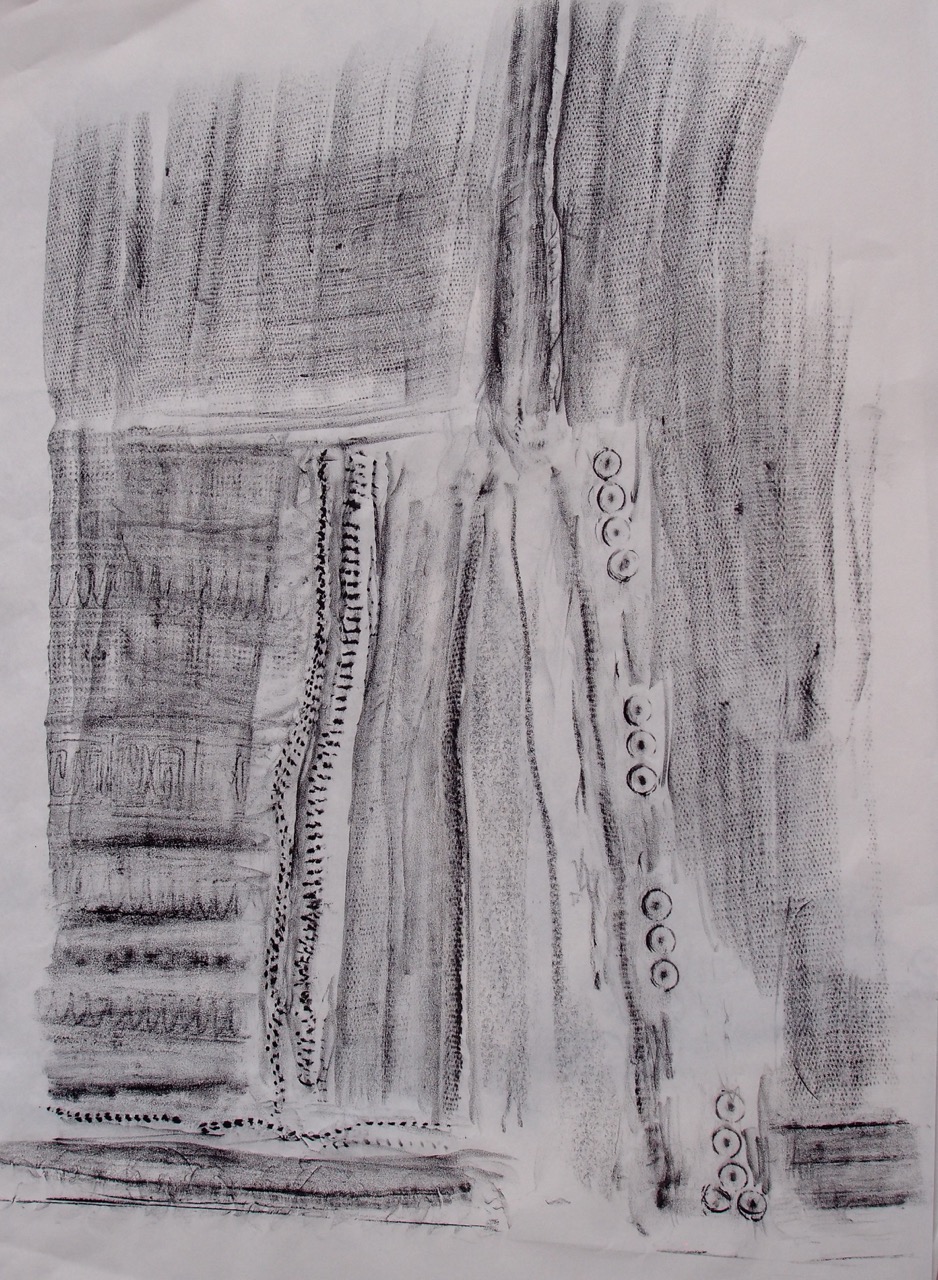
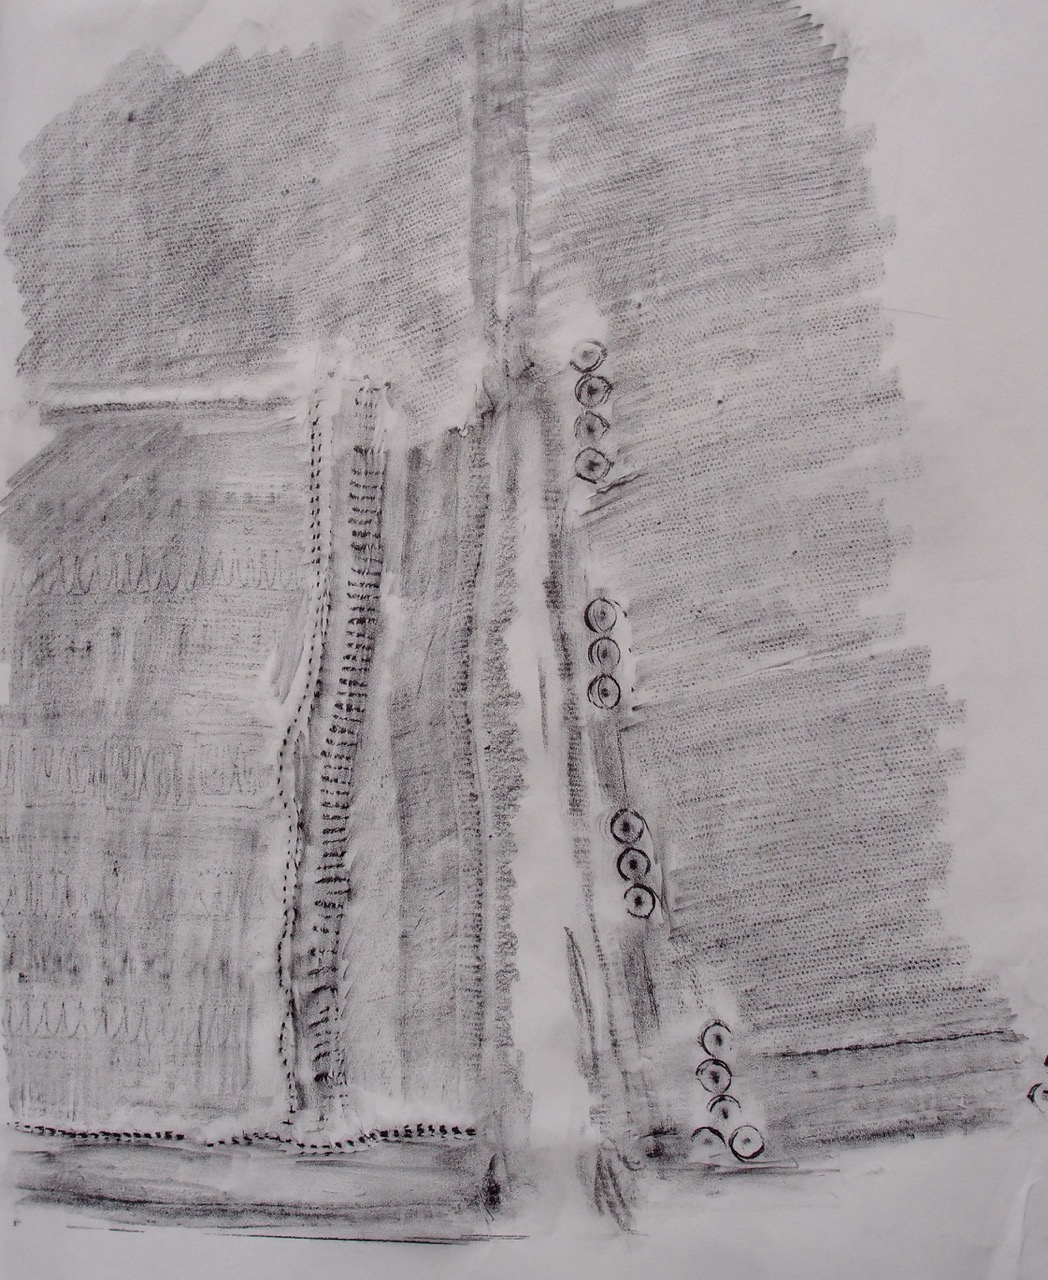
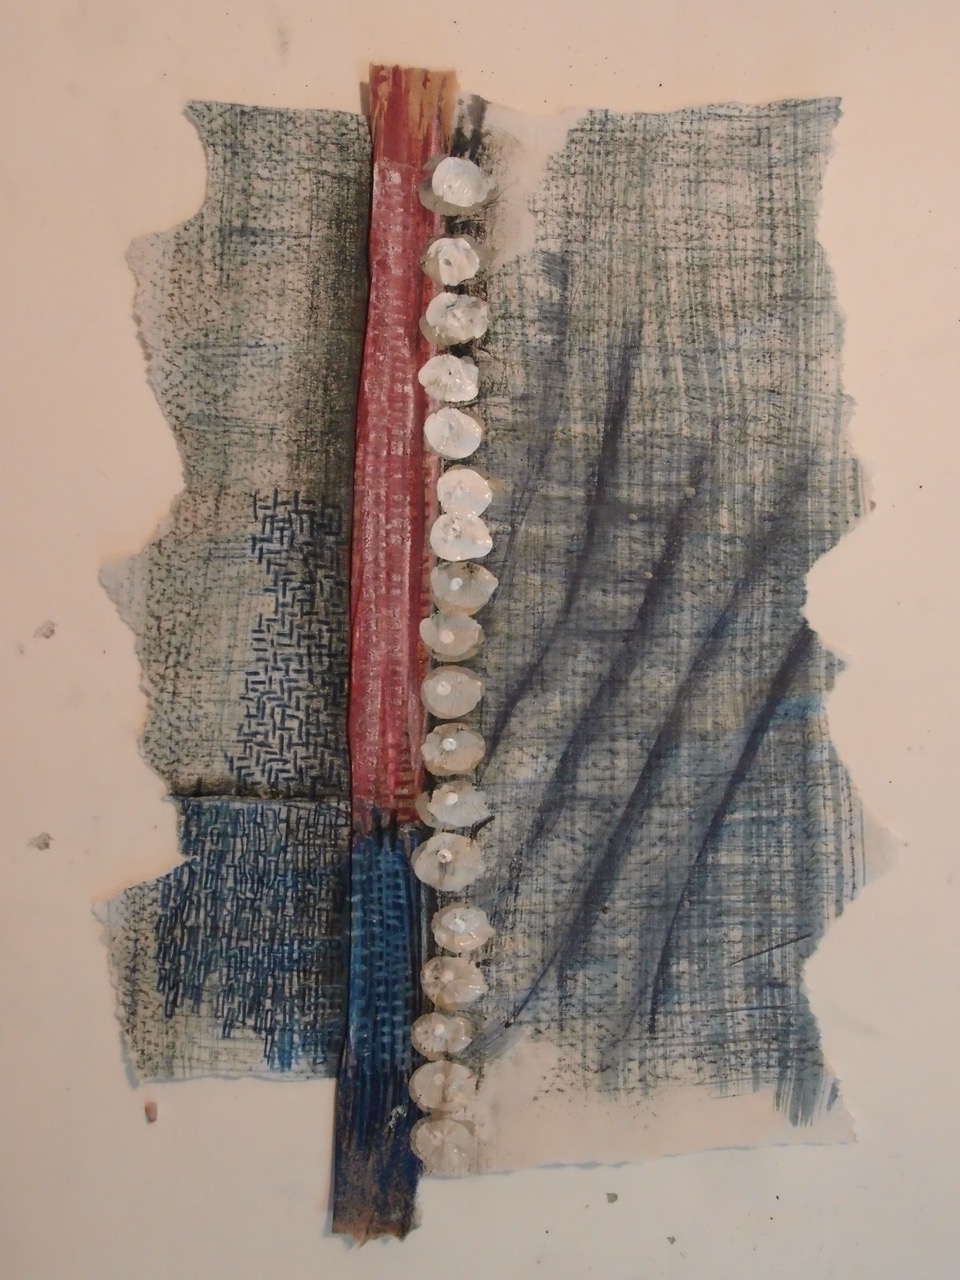
When I applied the same marks to my sketch book page I was really disappointed with how absorbent the paper was and the marks were completely different. I ended up with areas of black that weren’t intended to be so dark so I used a white fine line pen to tone them down, this actually quite successfully added an extra layer of texture- I must remember to try a whole drawing using white on black paper. I used a rook feather – quill and wing tip – to add texture and interest to the embroidery, masking fluid to keep the beads and jobs tears white. I’m really pleased with this drawing. it’s A2 so bigger than I have been drawing, I found the extra space good for being expressive.

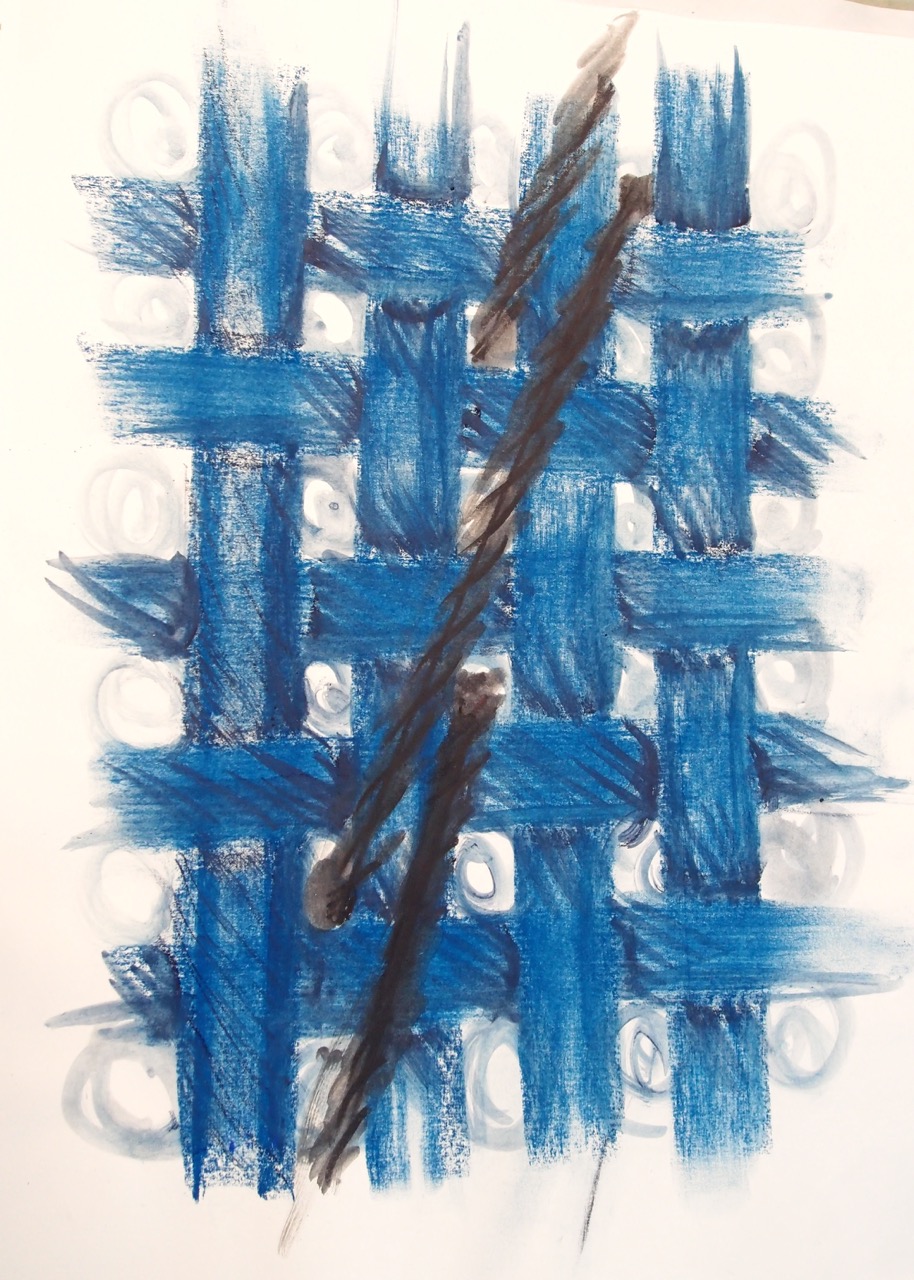
A3 drawing on layout paper using inktense with a fan shaped brush and water to achieve the flowing weave of the fabric and a fine line pen to add detail. smaller marks but some really interesting areas of texture.
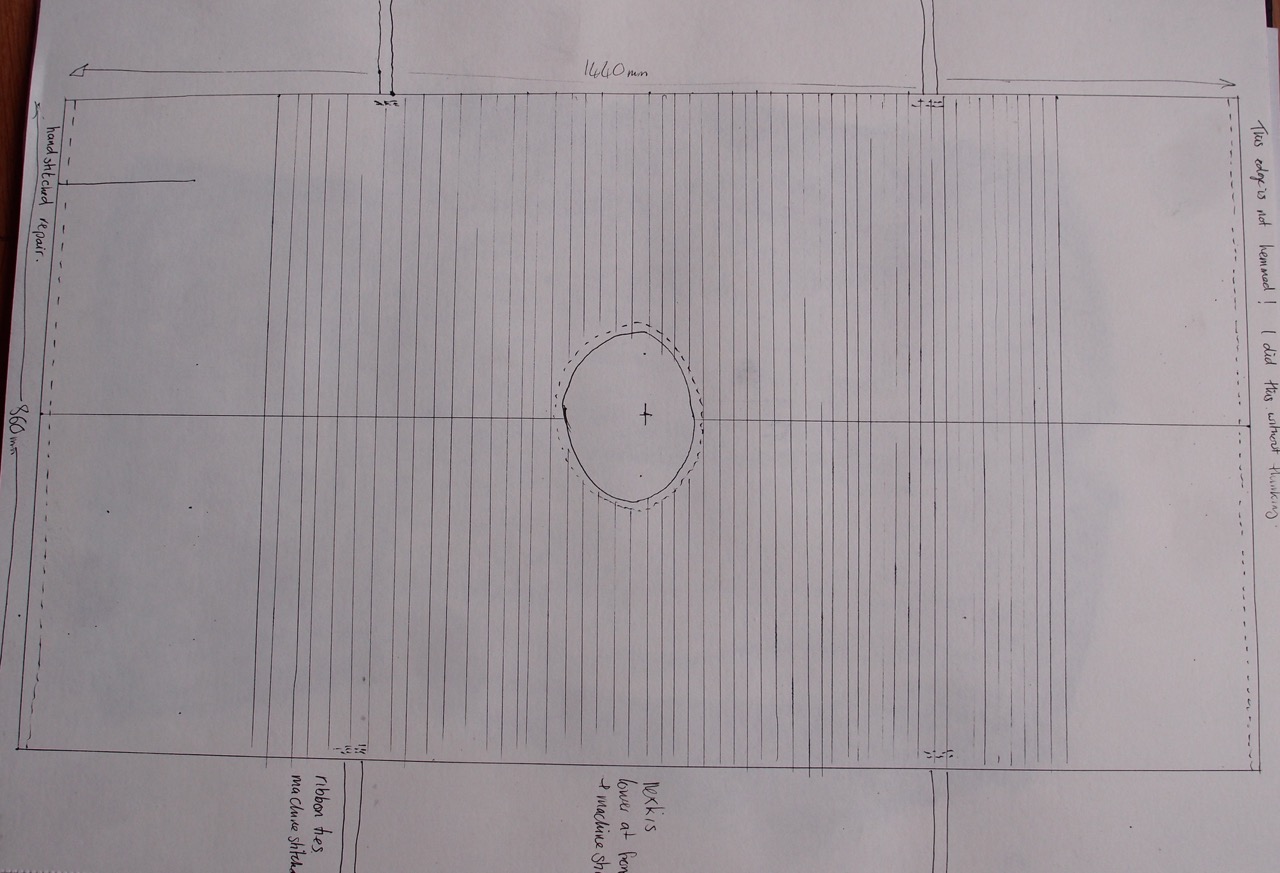
A technical drawing and a simple fine line drawing showing shape and drape of the Huipuil.
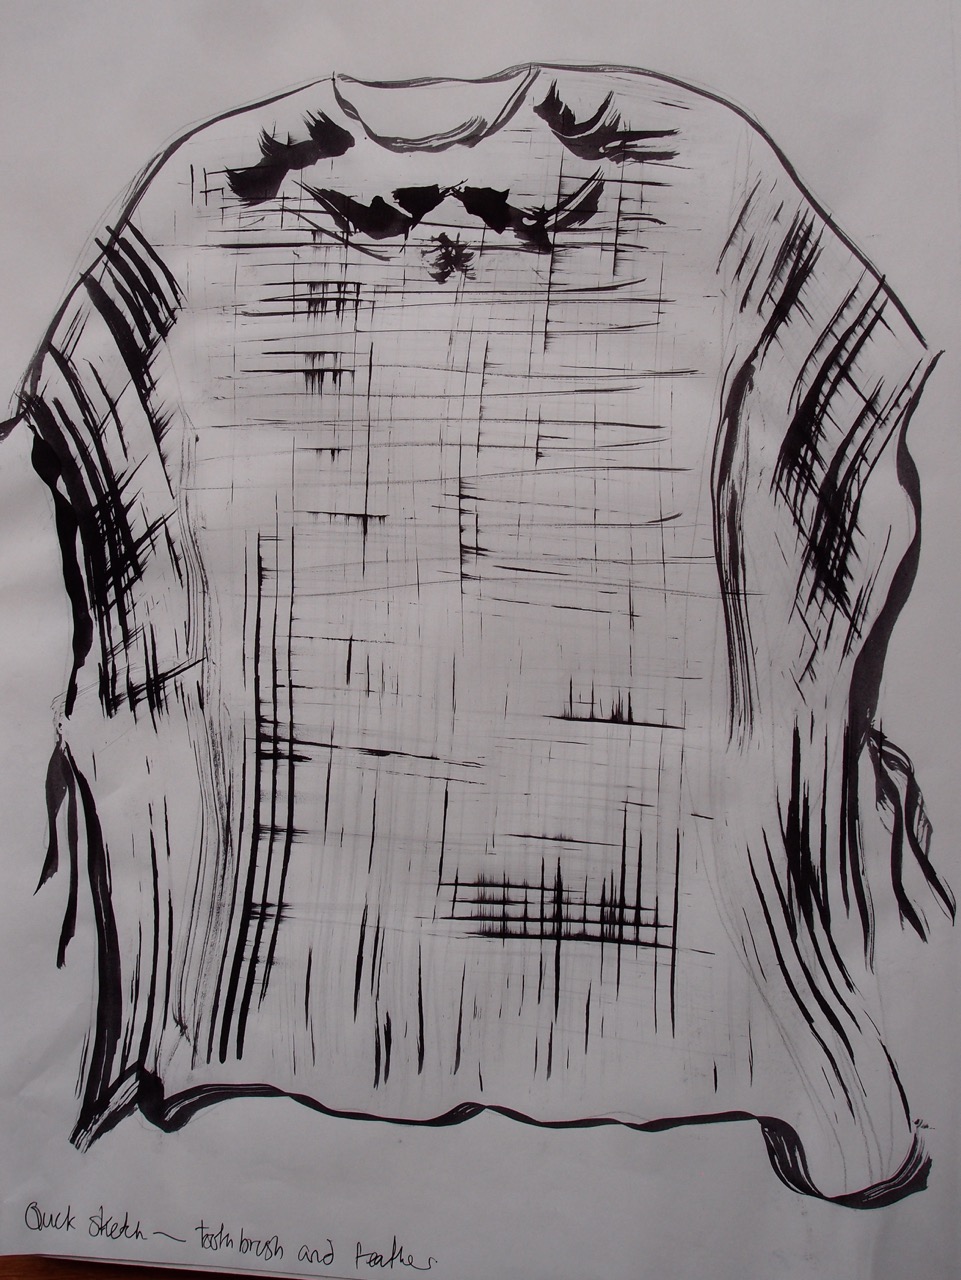
Quick sketch with toothbrush and feather on layout paper. Feathers are the best drawing tools, I should and will experiment with more tools for mark making. I like the varying thickness of lines that using the feather tip gives, and the splash marks from the scratchy quill end.

Soft pastels and erasure. I really like the embroidery detail on this drawing.
Two quick A4 sketches in oil pastel on recycled paper
A rubbing in pencil and wax crayon, the wax crayon picked up more detail.
They are quite ghostly archaeological sort of drawings.
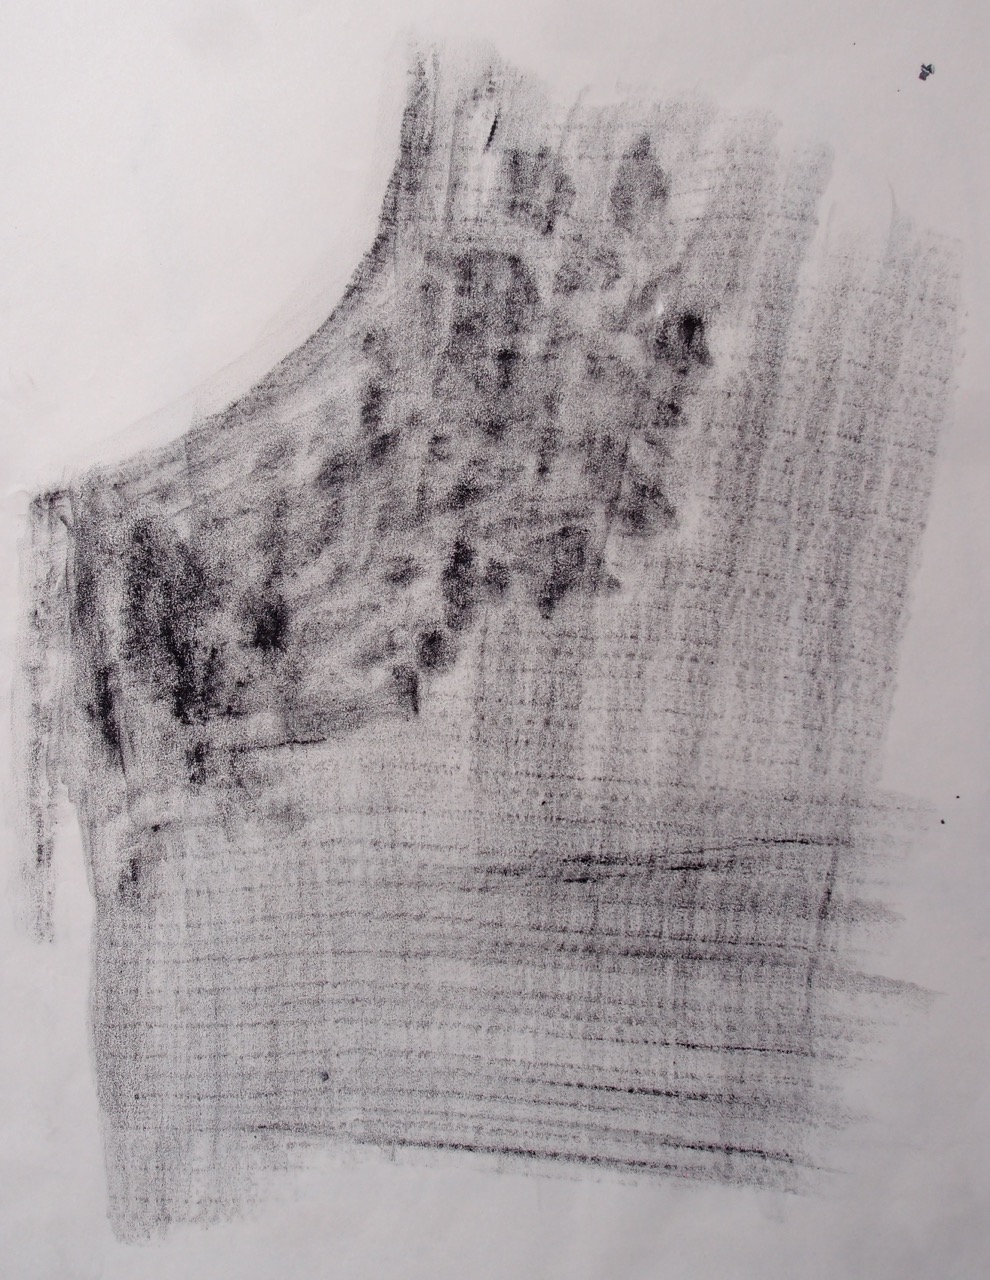
A rubbing of the Huipuil shows just how much softer the fabric is compared with the jacket. I couldn’t do this with the museum exhibit. I like the marks from both garments.
Drawing at the museum was a little intimidating but not as bad as I expected. I did not know where to put my bag and had only my sketch book to lean on. I added the black ink wash when I got home, I think that the drawing was better without it. Not bad drawings, though back to the very analytical detail.

This is more interesting in terms of mark making I think. I’m a little off drawing in pencil though.
I have some photos of the pieces so will do some detail drawing from those. I think that it would be difficult to use more adventurous media in the museum.
Exercise 1.4 Lines and Edges
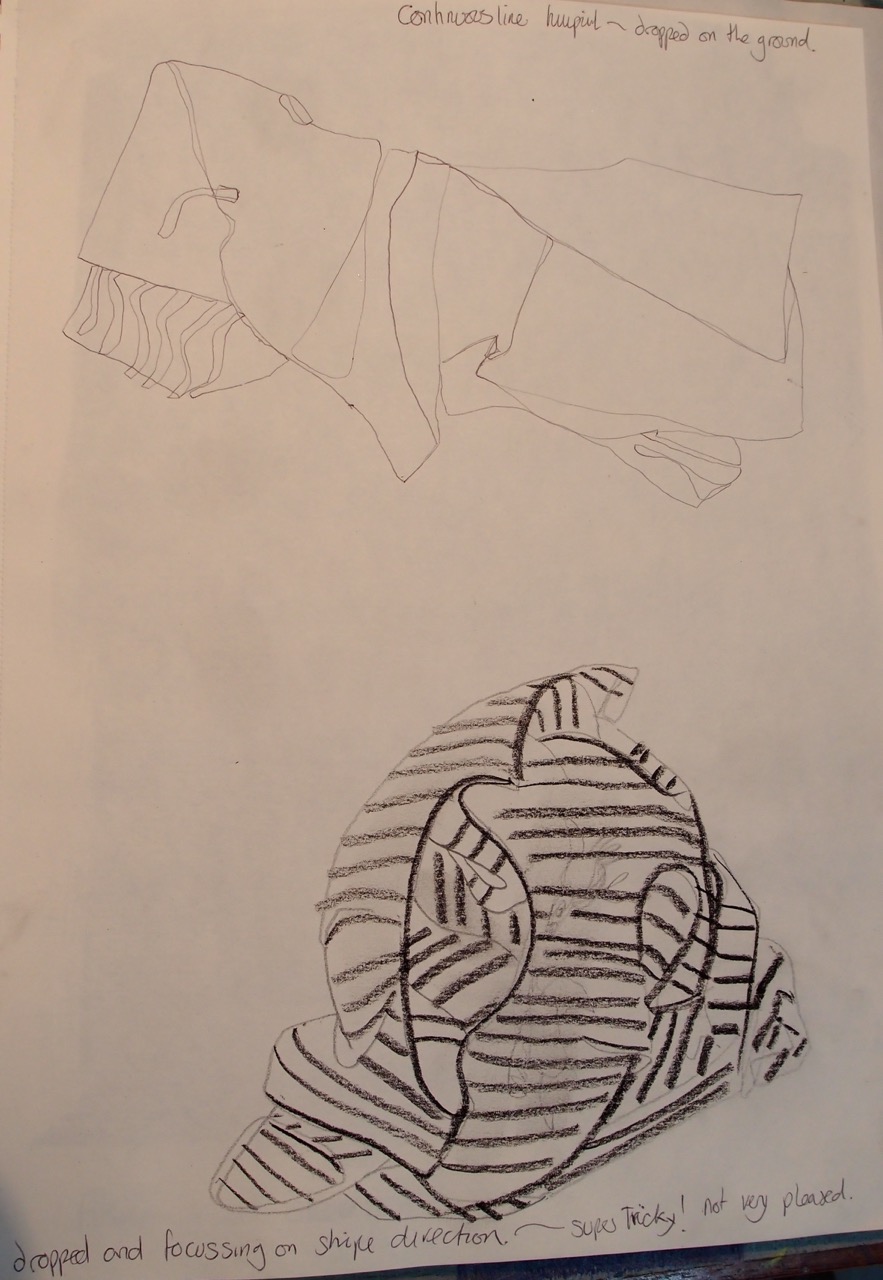
Dropping the huipuil and drawing the shapes I found really difficult – some interesting lines though.
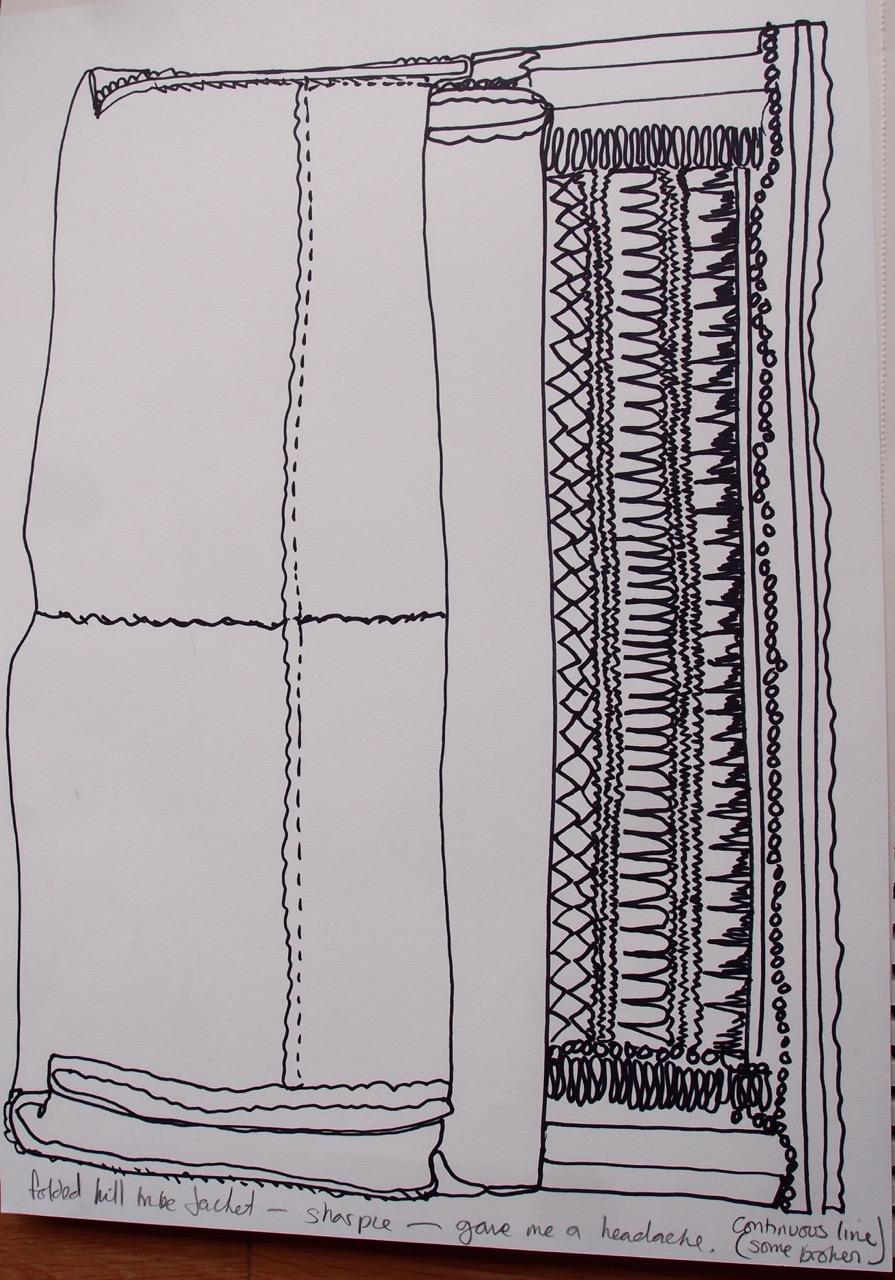
Continuous line in a sharpie pen- note to self keep windows open next time- I folded the jacket this time, I’ve made a very graphic image, bold but lacking warmth, I don’t know what this tells me about the garment.
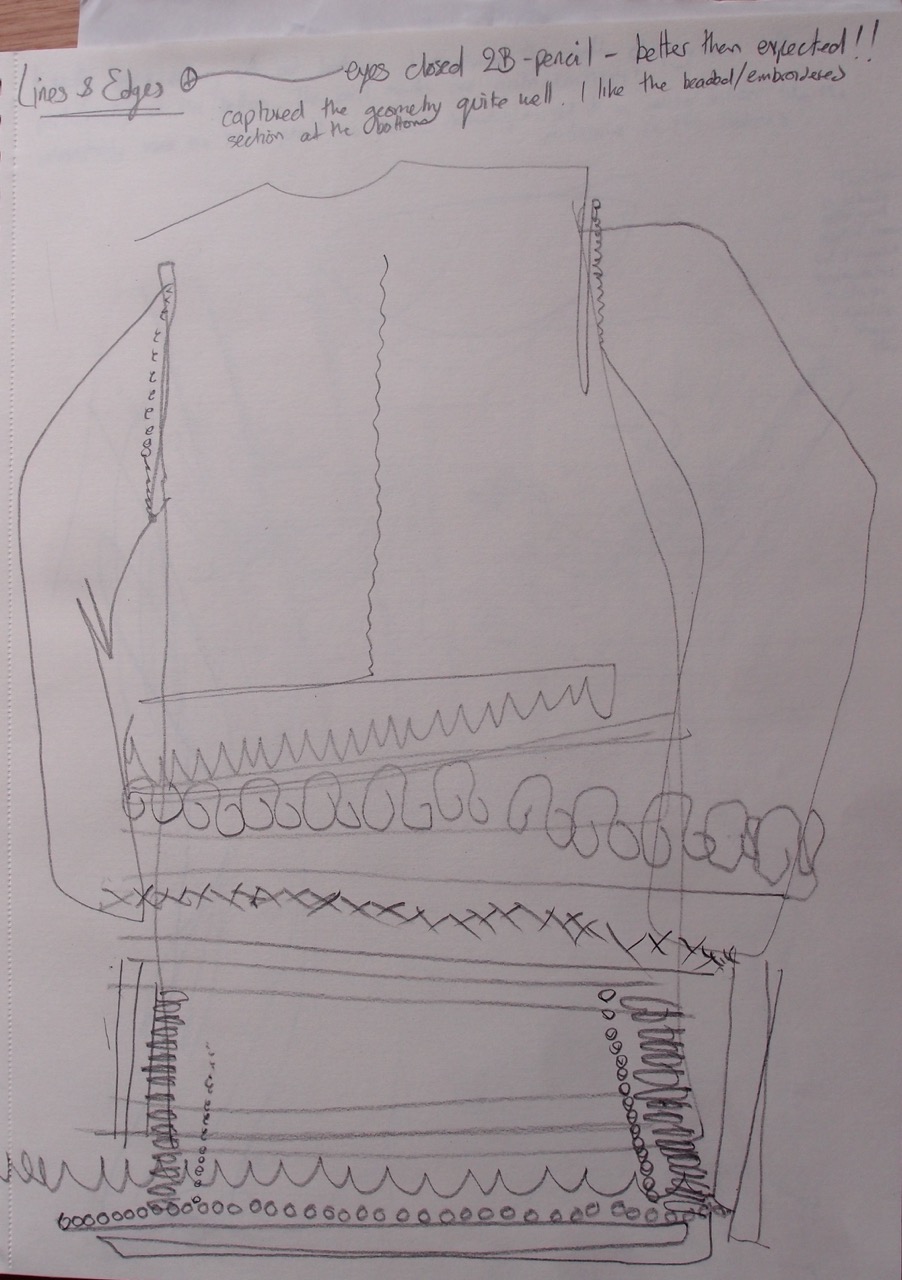
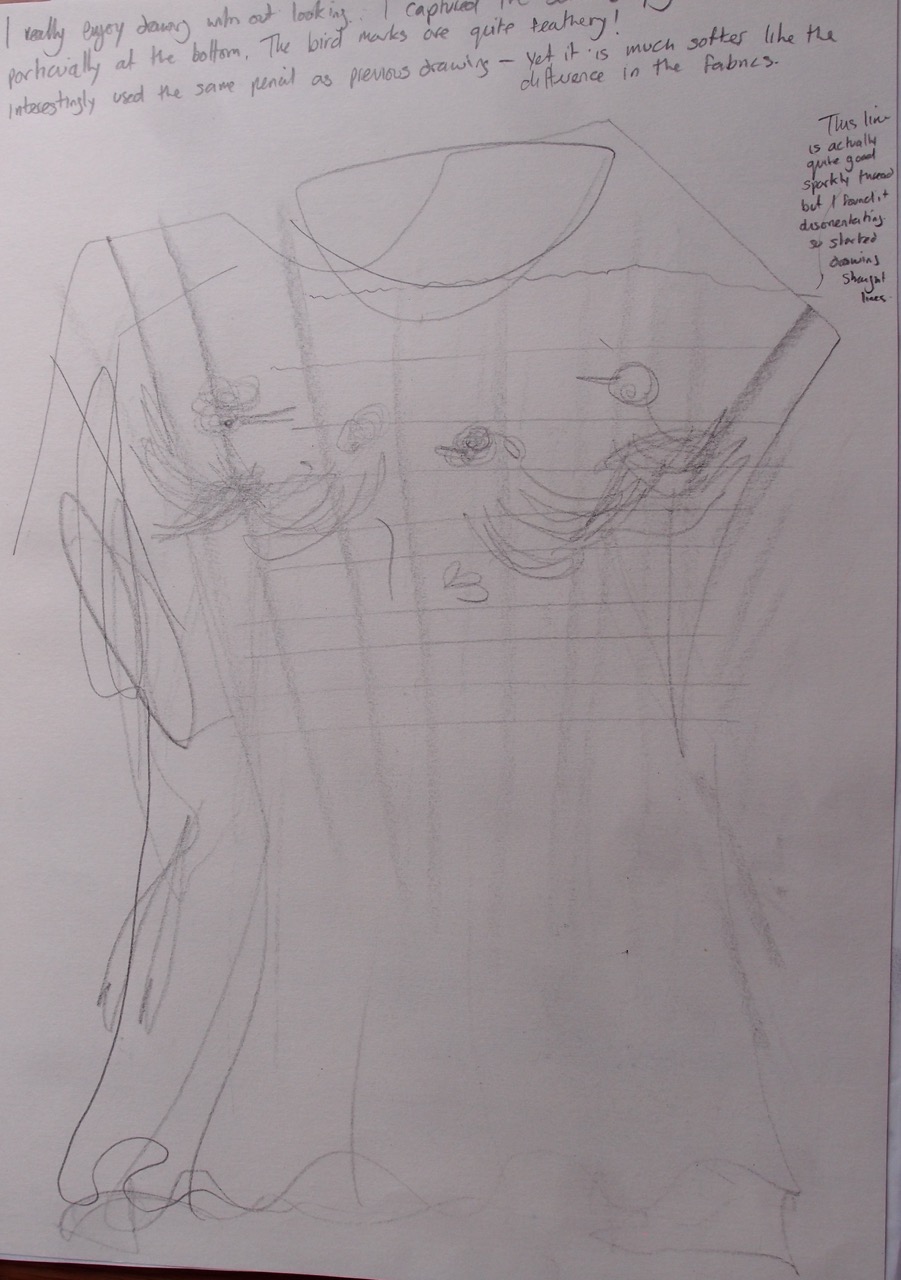
Drawing without looking. What fun! some interesting marks but what really stands out for me is that the Huipuil fabric looks so much softer than the Akah jacket – which it is! I will use this technique again, its a really interesting process.

Drawing with the left hand and right hand at the same time, I naturally reversed the image, the left hand drawing is actually the right way around, it also has the most interesting marks I think, the right hand drawing is neater, and narrower.
Exercise 1.5 Collage and creases
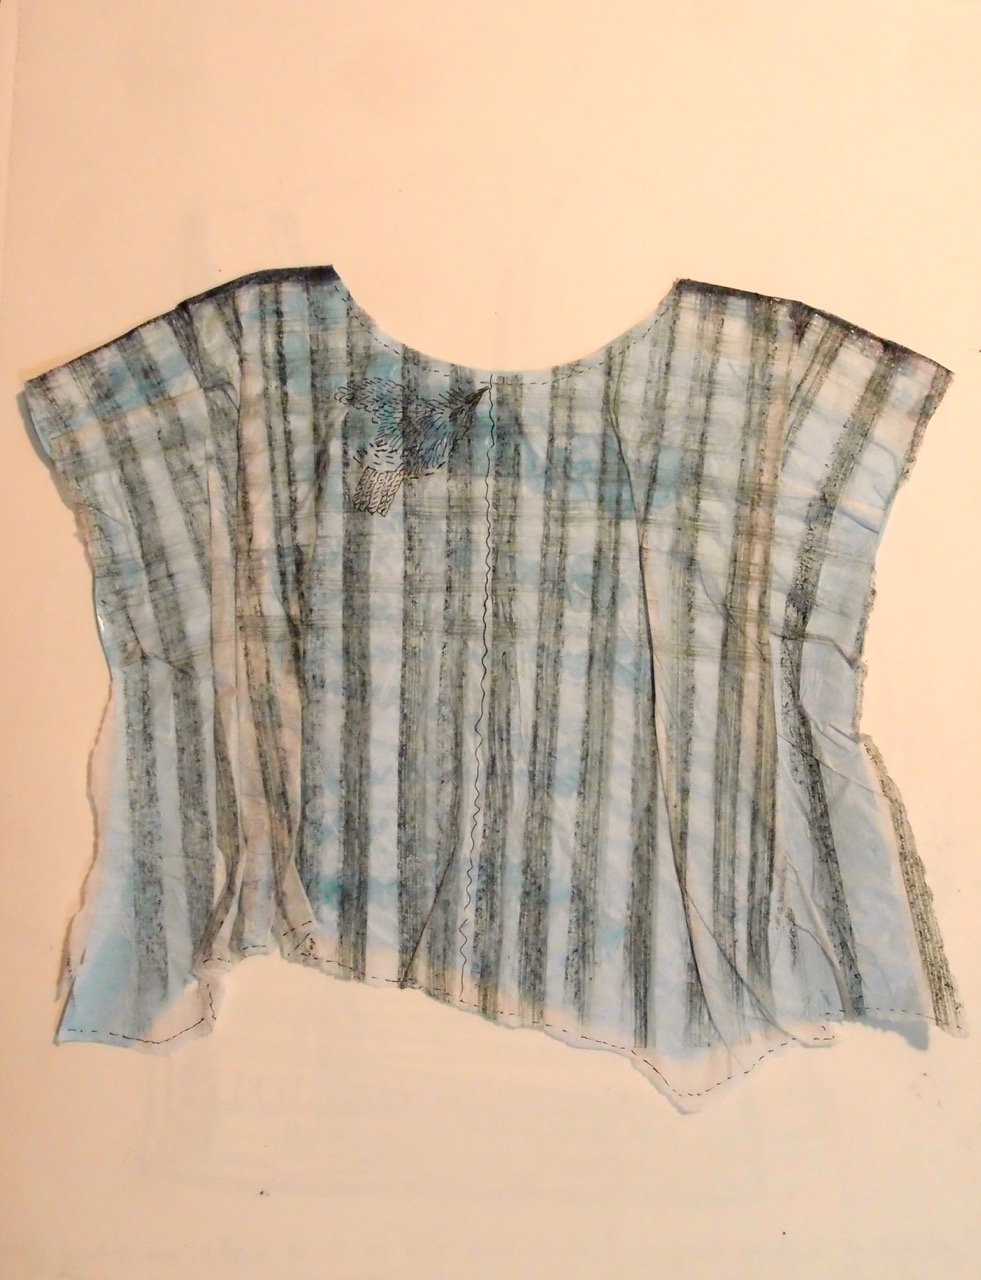
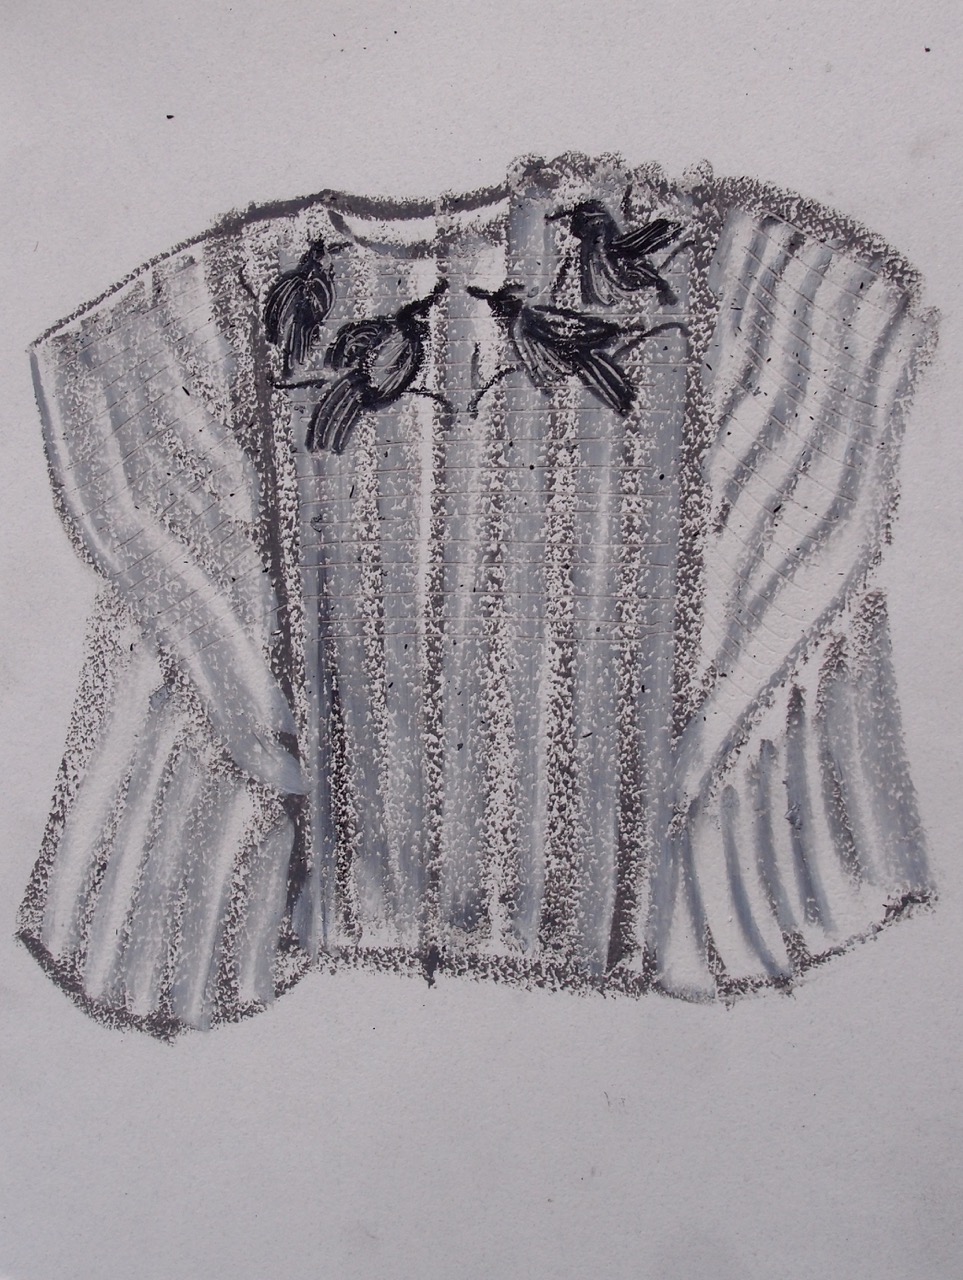
Sort of collage; I started with square of tissue paper and blue card cut to the shape of the draped huipil, I added stripes with inktense and water with a fan shaped brush , the tissue was then glued the tissue yo the card creating appropriate creases. Detail added with fine line pen. With drawing it is really difficult to draw the stripes in areas that are draped, I think this may be cheating but it’s really effective.
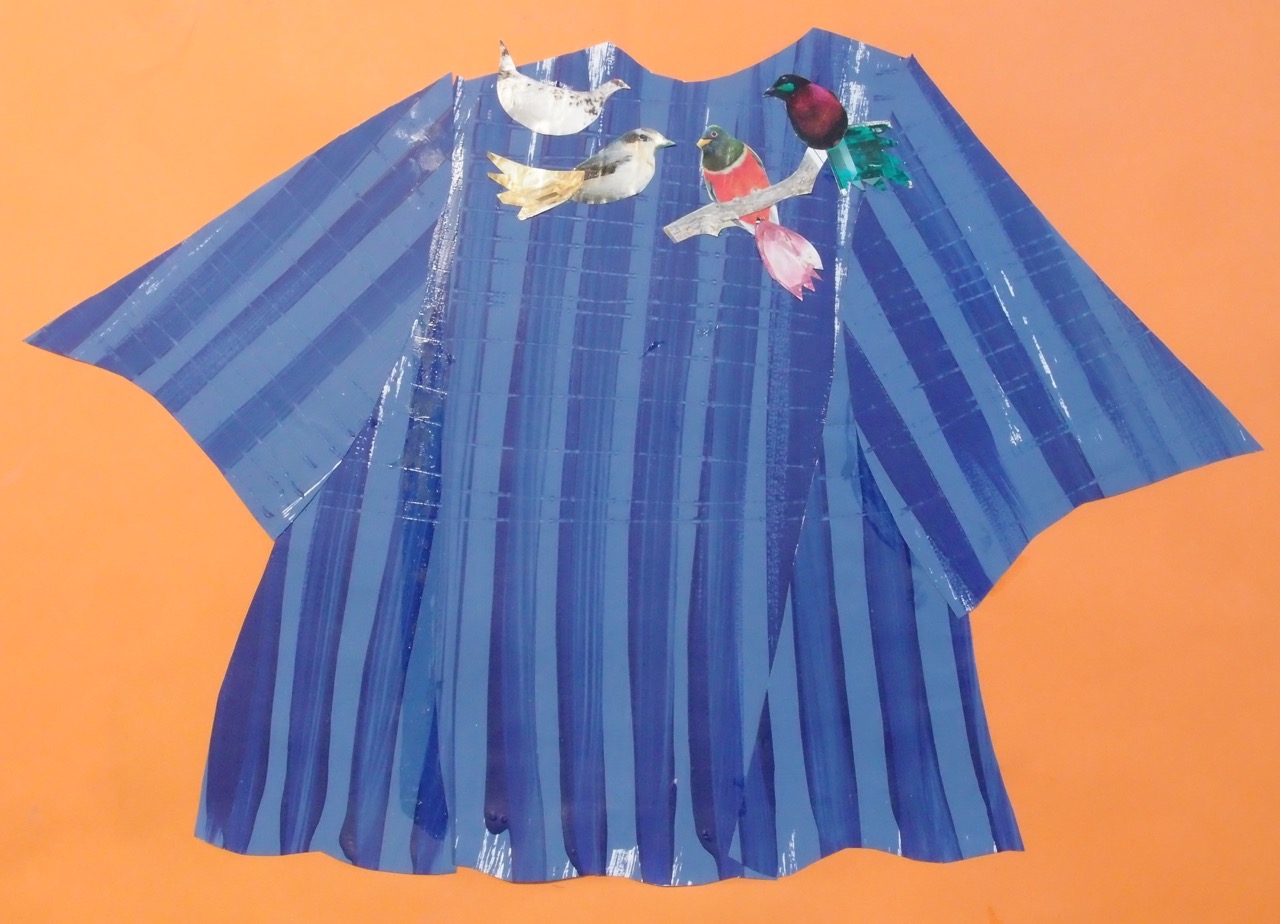
Painted stripes cut into sections with birds from magazines and jewels for tails. I used an orange background as a contrast to the blue and to represent the Guatemalan sunshine – needs more detail of embroidery I think.
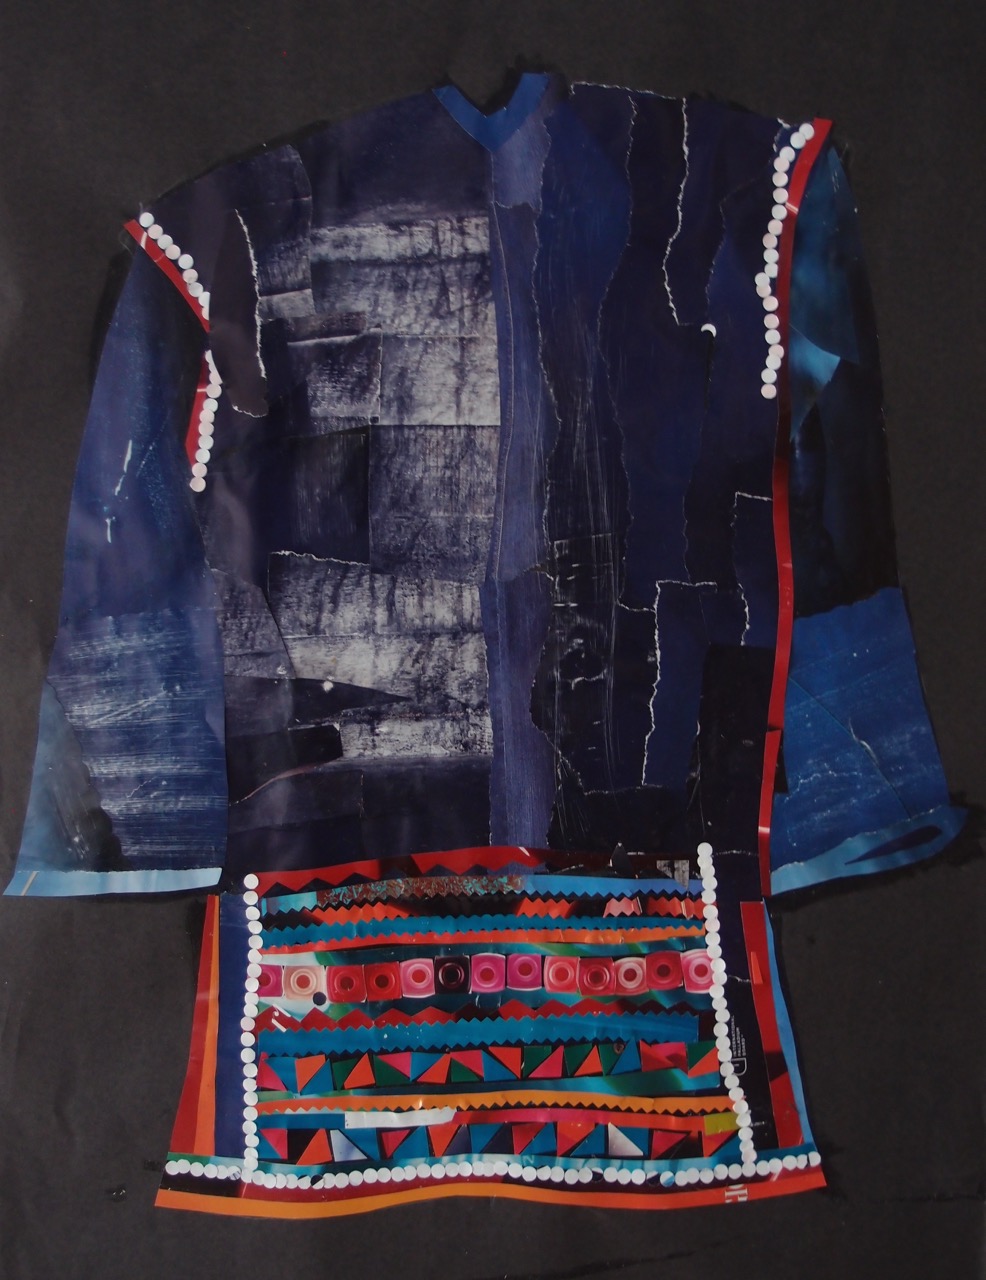
This is A2 and took ages to complete, the blue is magazine cuttings including floor boards, bricks, denim. The embroidered panel includes nail varnish bottles amongst other things and hole punched beads.
I enjoyed collaging but found it time consuming, I’ve started to put different block colours from magazines to make it easier next time.
I used the wrong glue and this collage has remained sticky to touch. Oops – note to self – check your tools !
Exercise 1.6 Detail and definition

Using wax as a resist wasn’t as effective as I expected but there are some amazing marks on the reverse side.
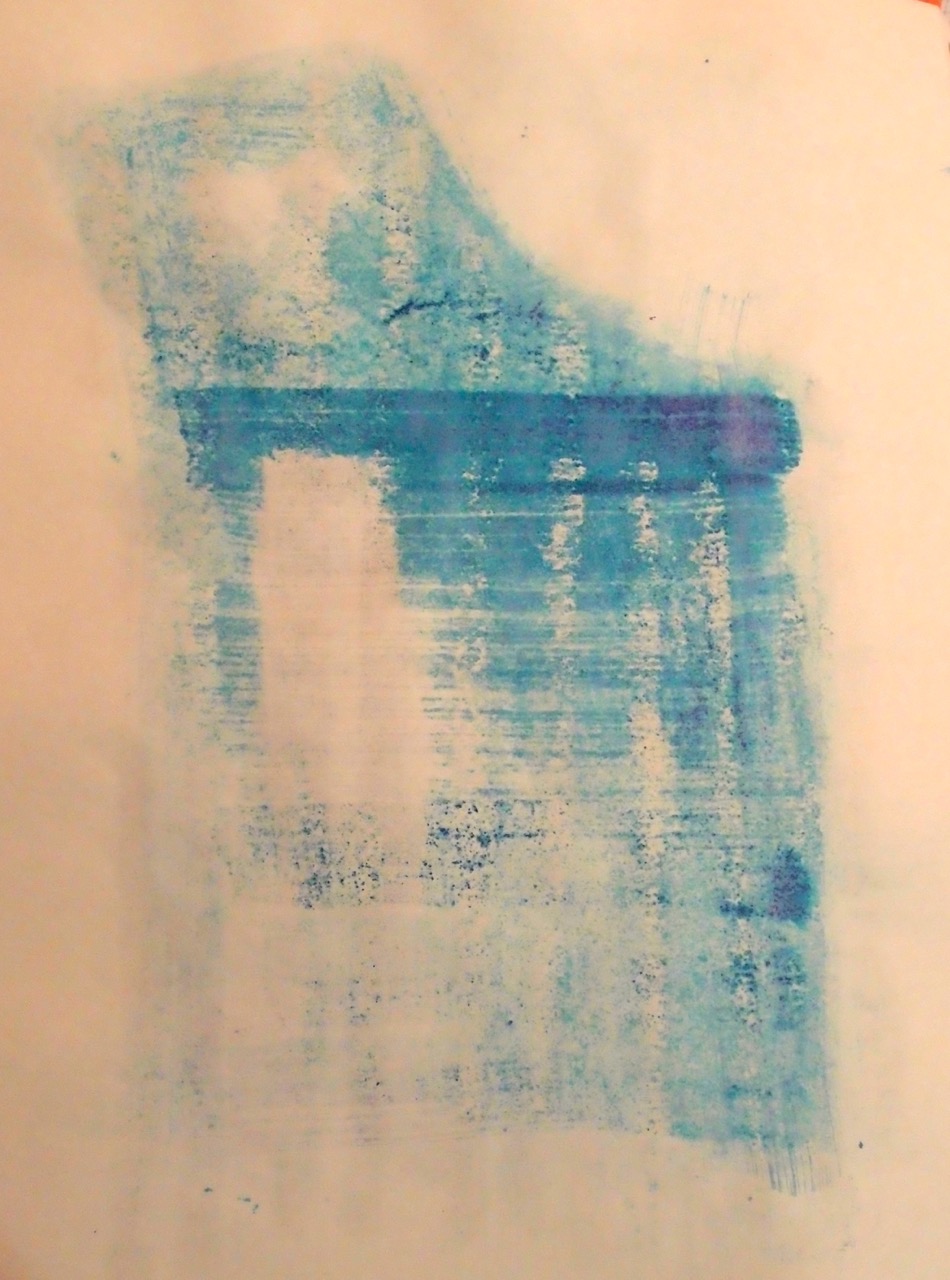
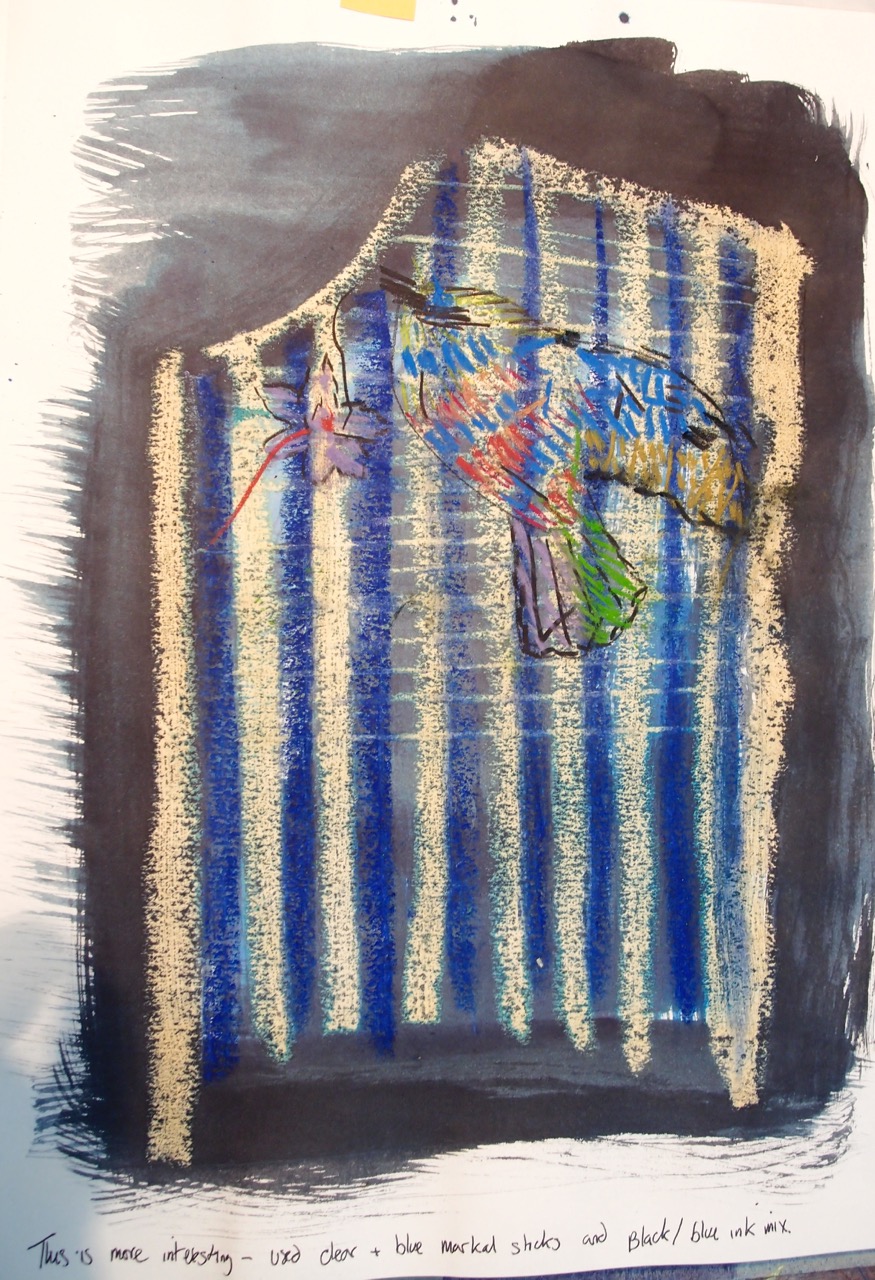
In these drawings I was experimenting with capturing the texture of the huipil, using a resist and an ink wash. Above using a white and blue Markal paintsticks with blue ink. The rough texture of the paper is quite good at representing woven fabric, I used quite a loose blue wash to show the uneven fading of the fabric.

With added stitch detail.
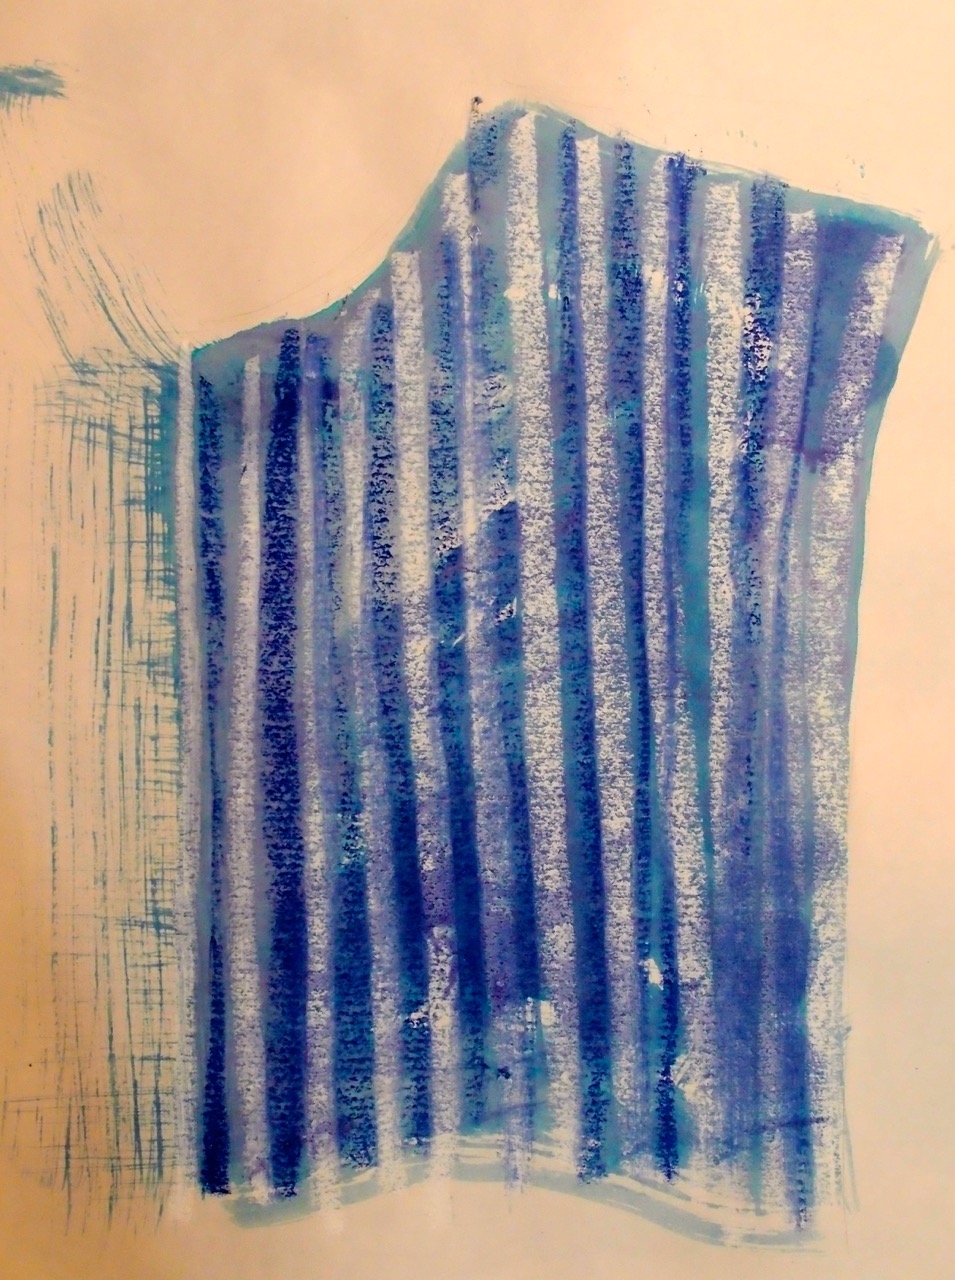
In this drawing I dragged through the oil paint sticks, to emulate the different weave at the top of the huipil before adding the wash, the marks are really interesting and the black ink more dramatic, I am going to use this one to add detail of the embroidery.

Using oil pastels and ink wash, scratching into the surface, I have shown the difference in colours of the Akah jacket sleeve, the texture of the fabric, and the shape of the seam that handstitching created.
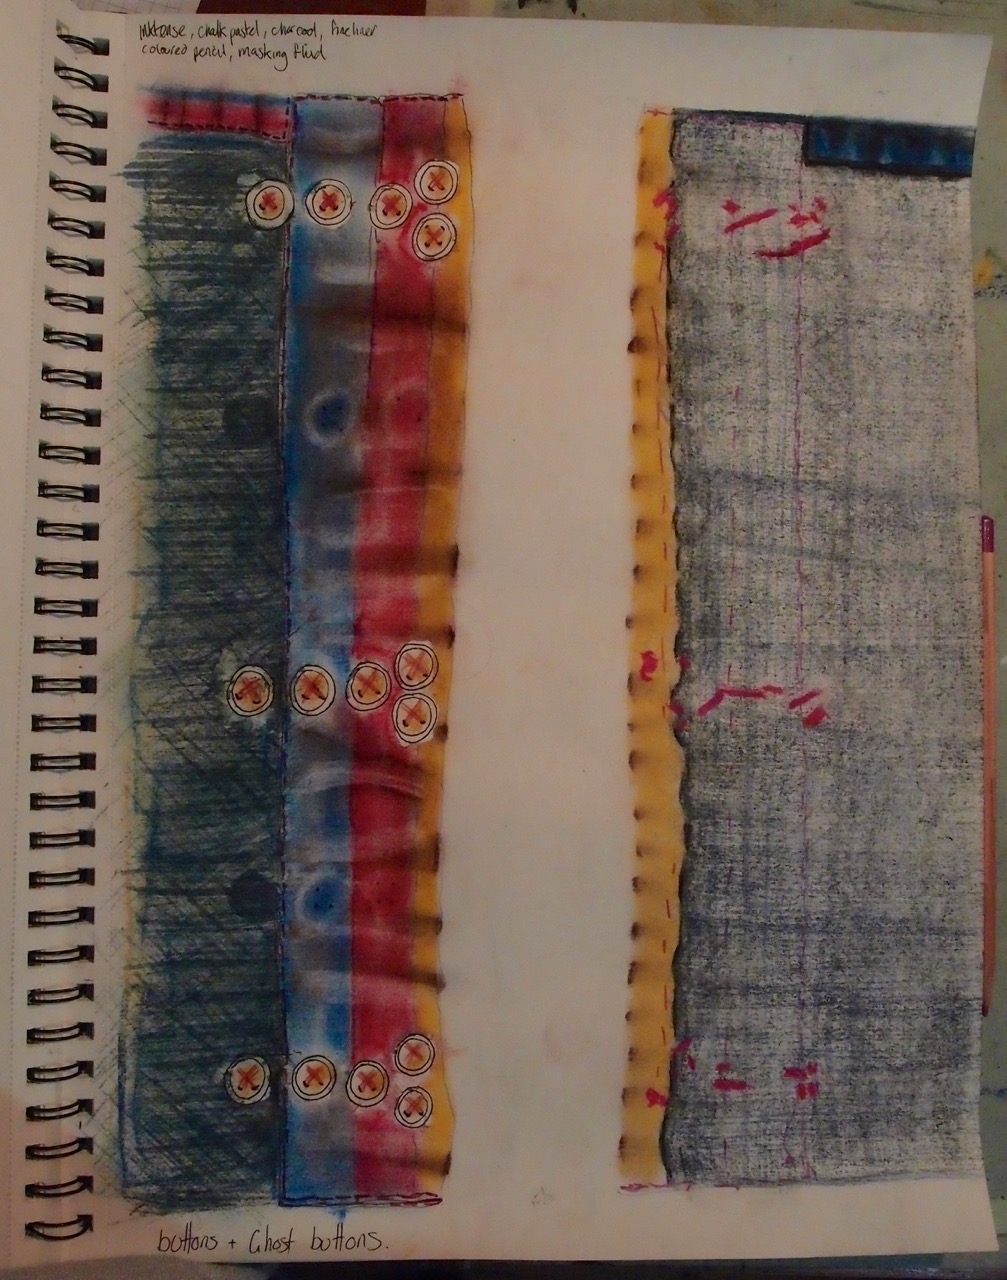
A close up of the front bottom section of the jacket, inside and out, using soft pastels, intense, charcoal, water, coloured pencils. I really enjoyed the close investigation. next I will get the magnifying glass out.
Shoulder seam close up. Combining collage of texture I drew with inktense and water, brown paper, pencil crayons and acrylic paint. I used a magnifying glass and tried to portray the texture of the fabric including worn areas. I used acrylic paint in a darker tone applied with my finger with a lighter tone on top to give the beads some form, they are cleaner on the top where they are polished with wear so I added a highlight dot with a paintbrush.
A close up of the fabric weave and stitches.